After installing the packages, you must grant the appropriate permissions to your Salesforce users. @Sign includes pre-defined Permission Sets to make this process simple and secure.
Configuring security in Salesforce can be time-consuming. @Sign uses a Managed Permission Set model to simplify your administration and ensure your integration never breaks due to security updates.
Zero Configuration: Instead of checking dozens of boxes for “Read/Write” access on custom objects, you simply “Assign and Forget.”
Automated Updates: When we introduce a new feature or add a field to the @Sign package, we update the Permission Sets automatically. You don’t have to manually edit profiles or adjust field-level security every time there is a new release.
Security Best Practices: We follow the “Principle of Least Privilege.” Our permission sets are pre-configured to give users exactly what they need—and nothing more—protecting your sensitive CRM data.
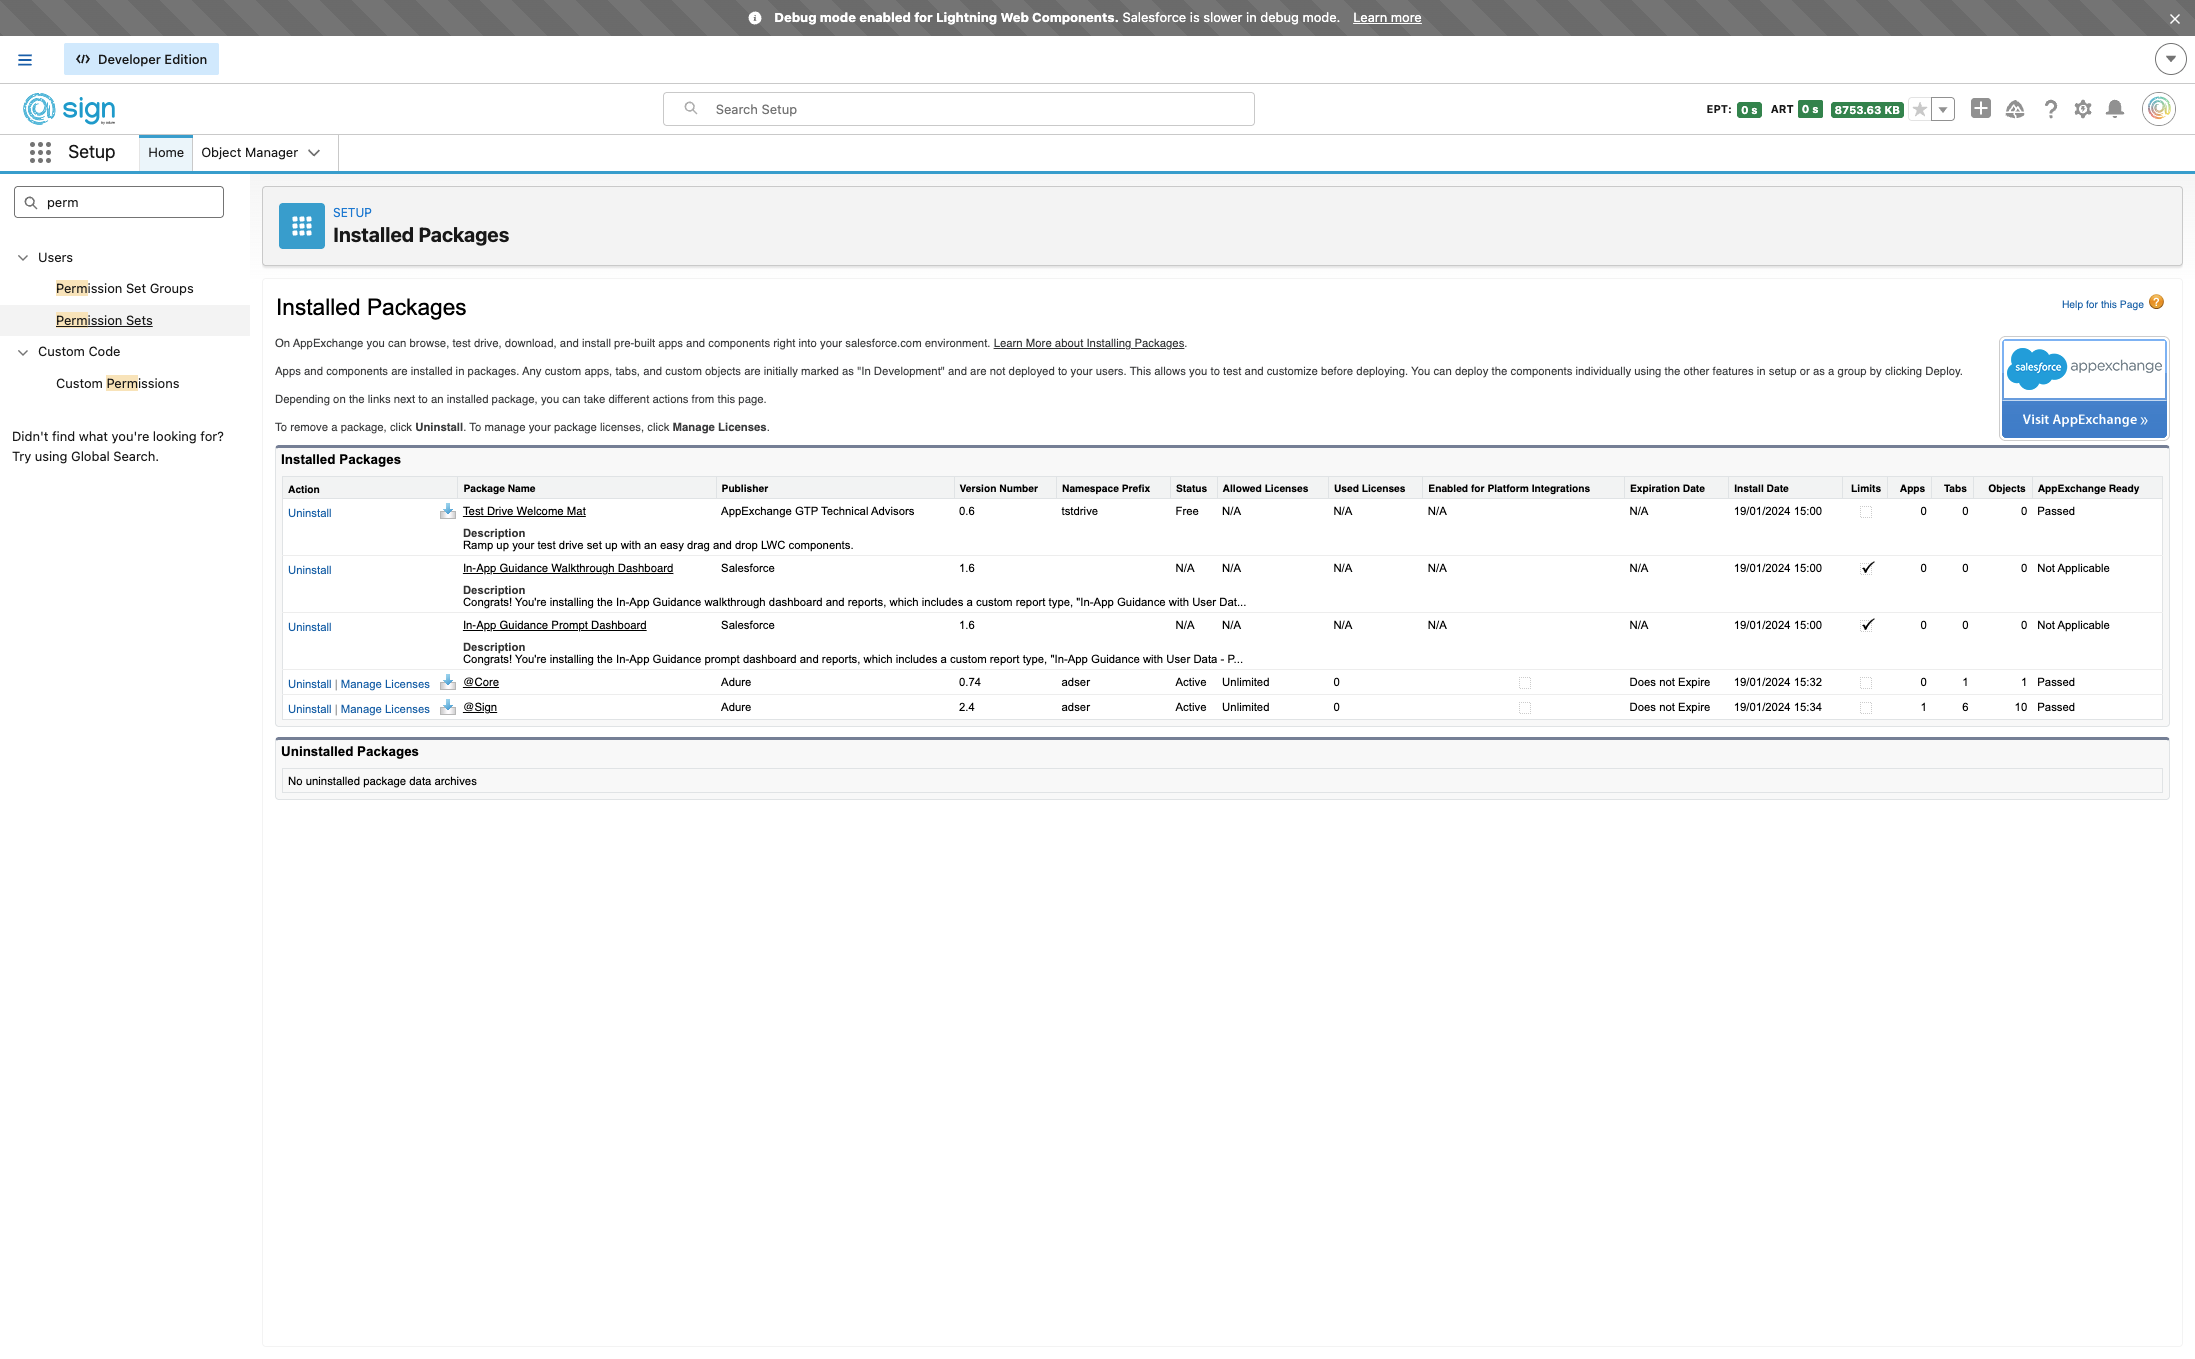
In your Salesforce environment, open the Setup menu to access your admin settings.
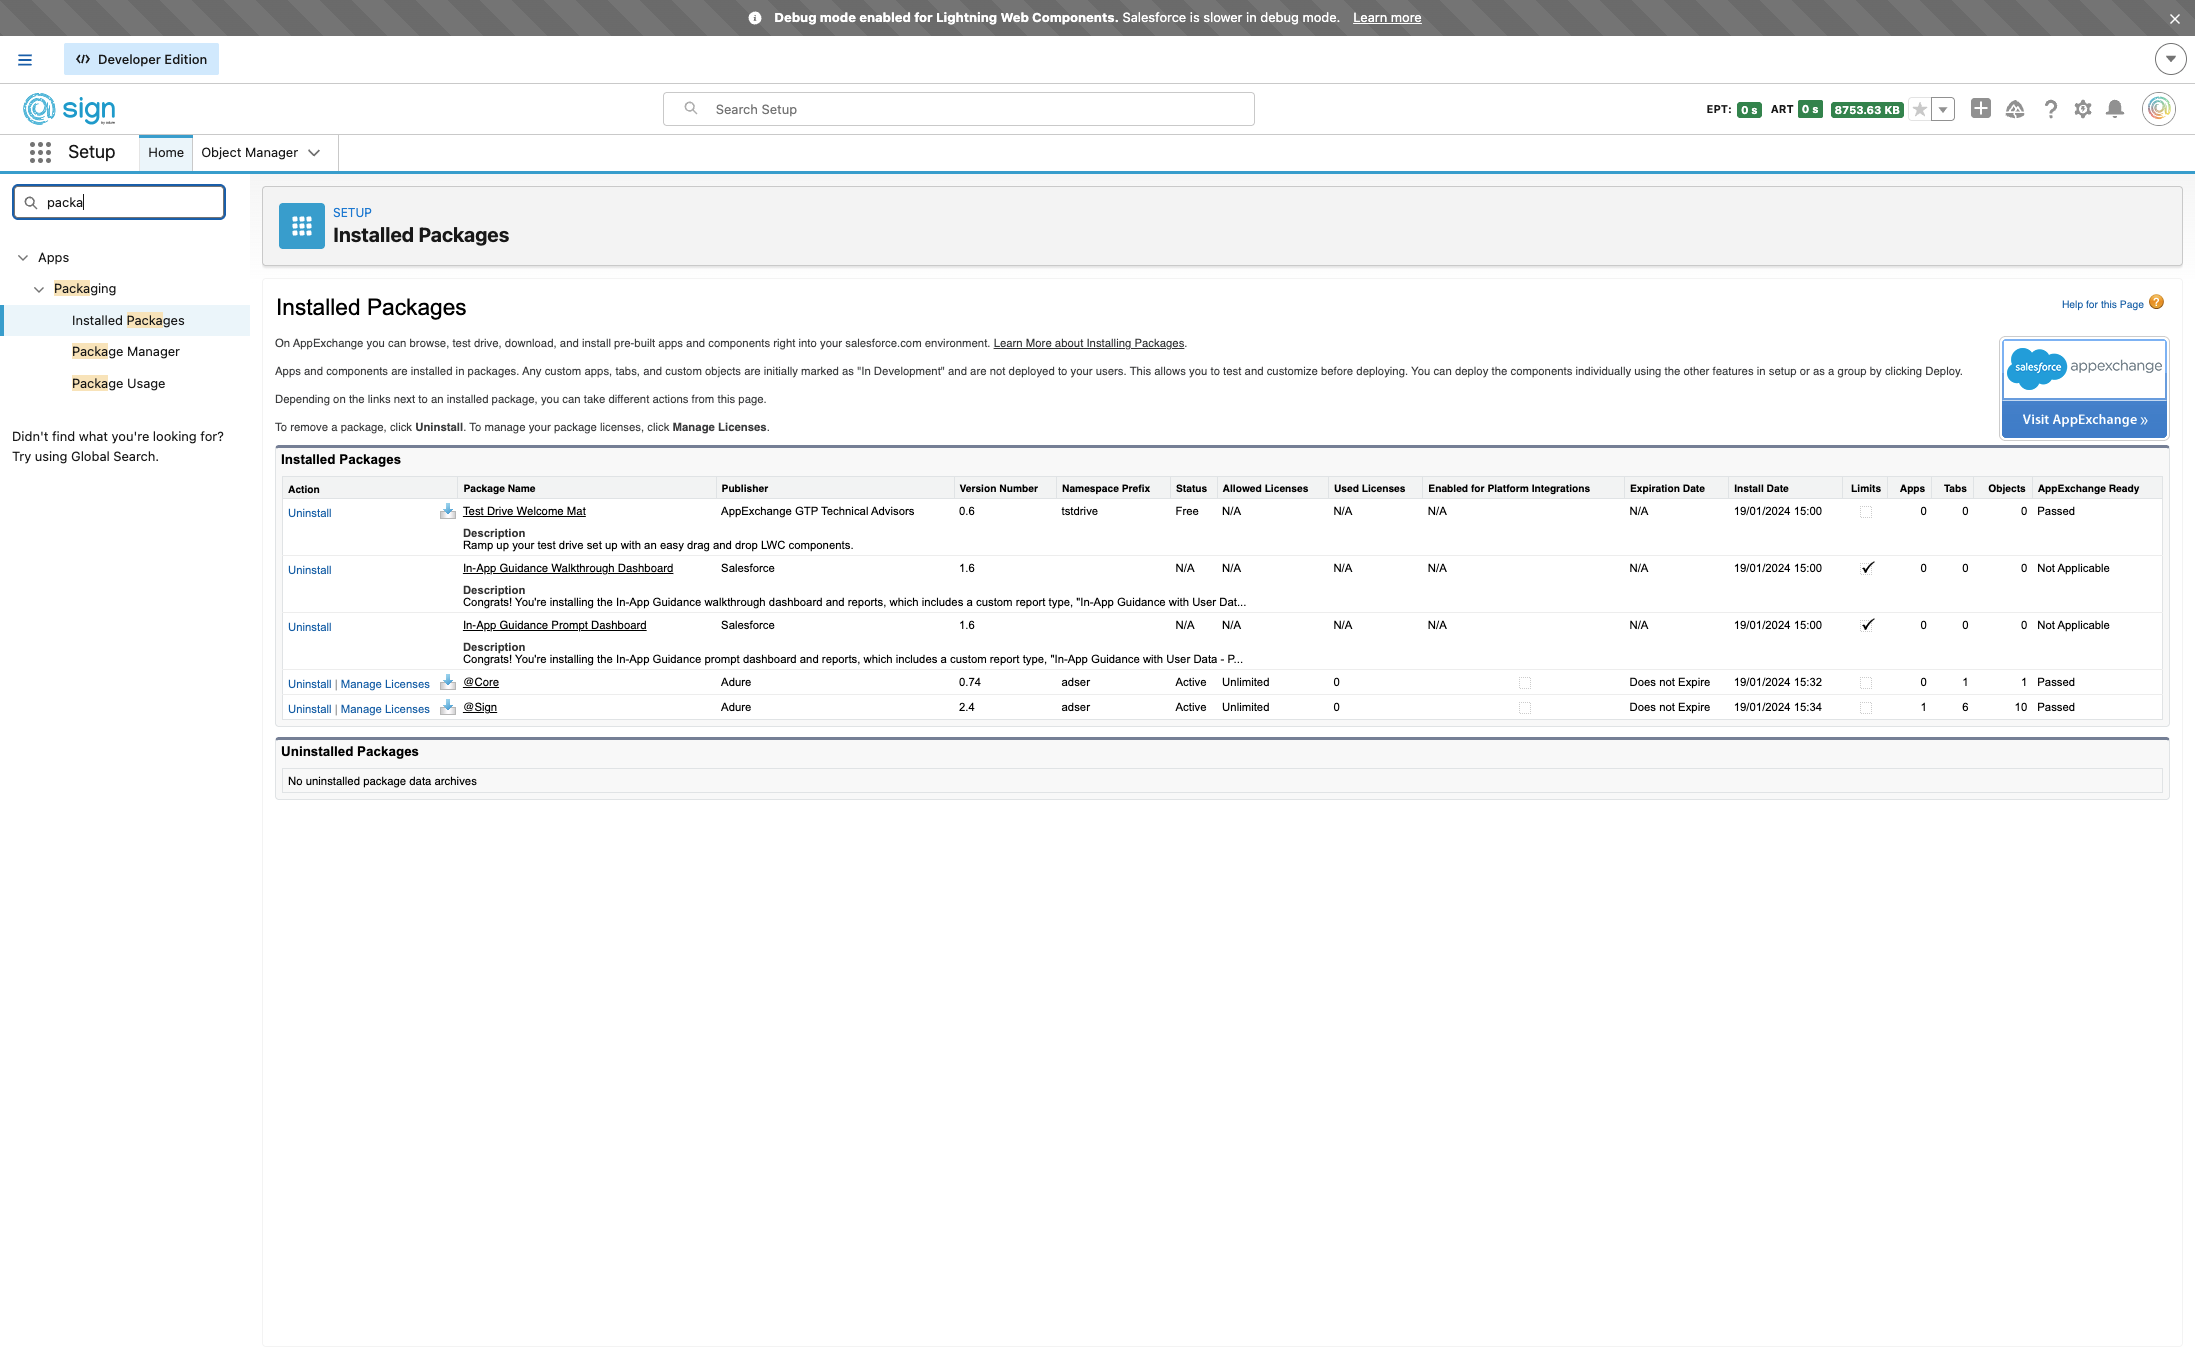
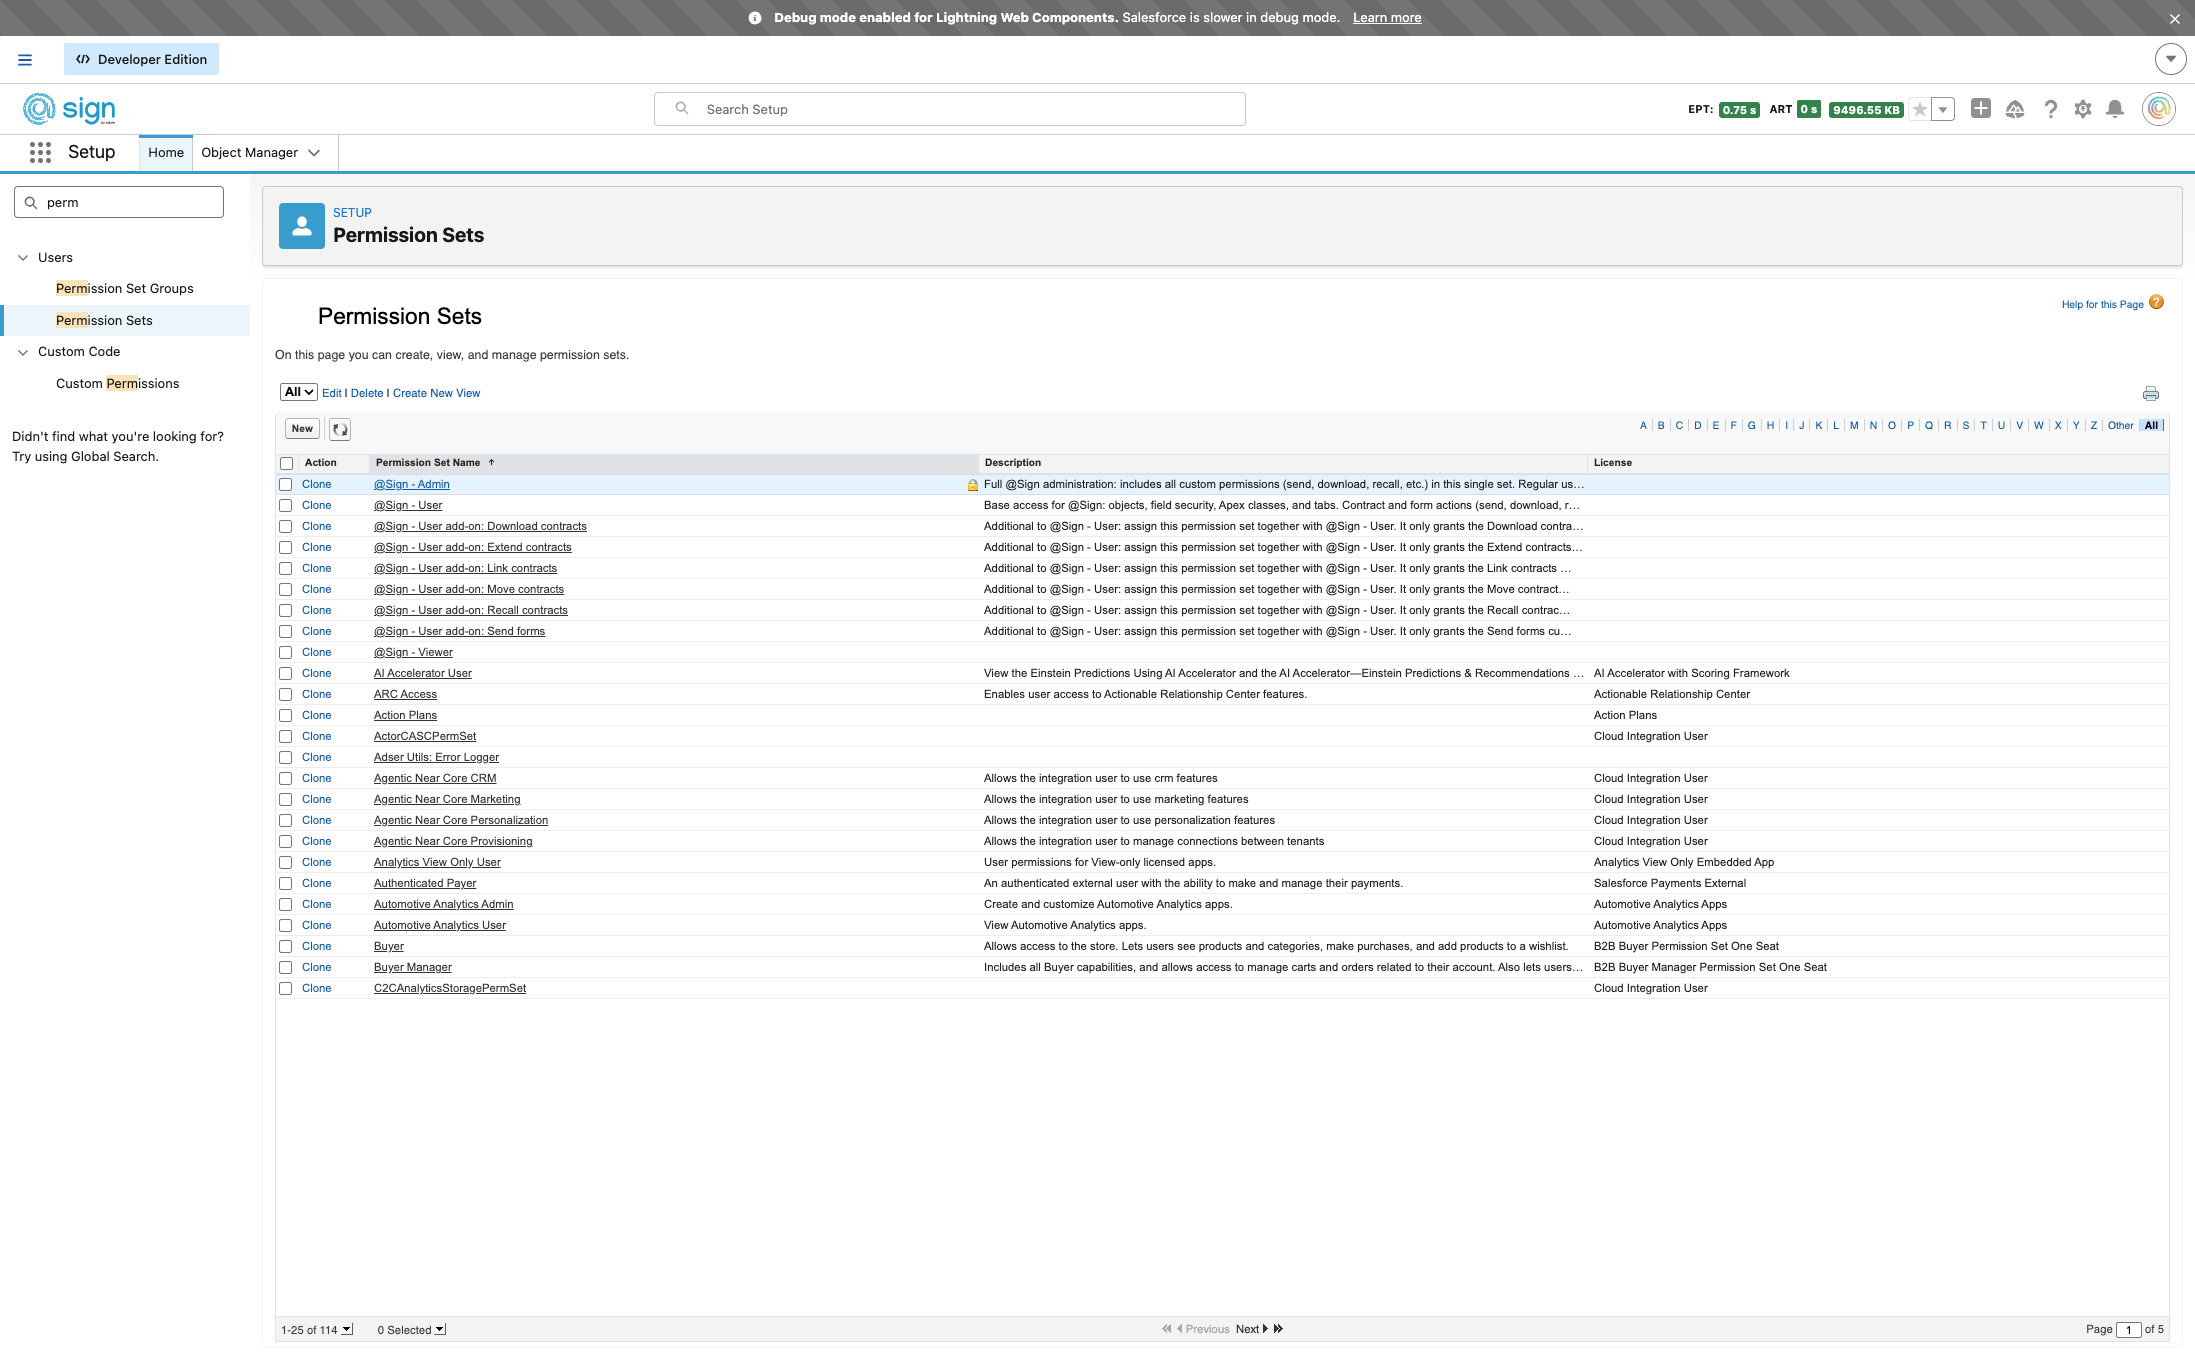
In the Setup search bar or menu, find and click on 'Permission Sets'
@Sign comes with three ready-to-use permission sets: Admin for full configuration access, User for your team members who send contracts and forms, and Viewer for anyone who only needs read-only visibility. Additional sets are available to fine-tune specific features in the LWC Component.

Drag to pan
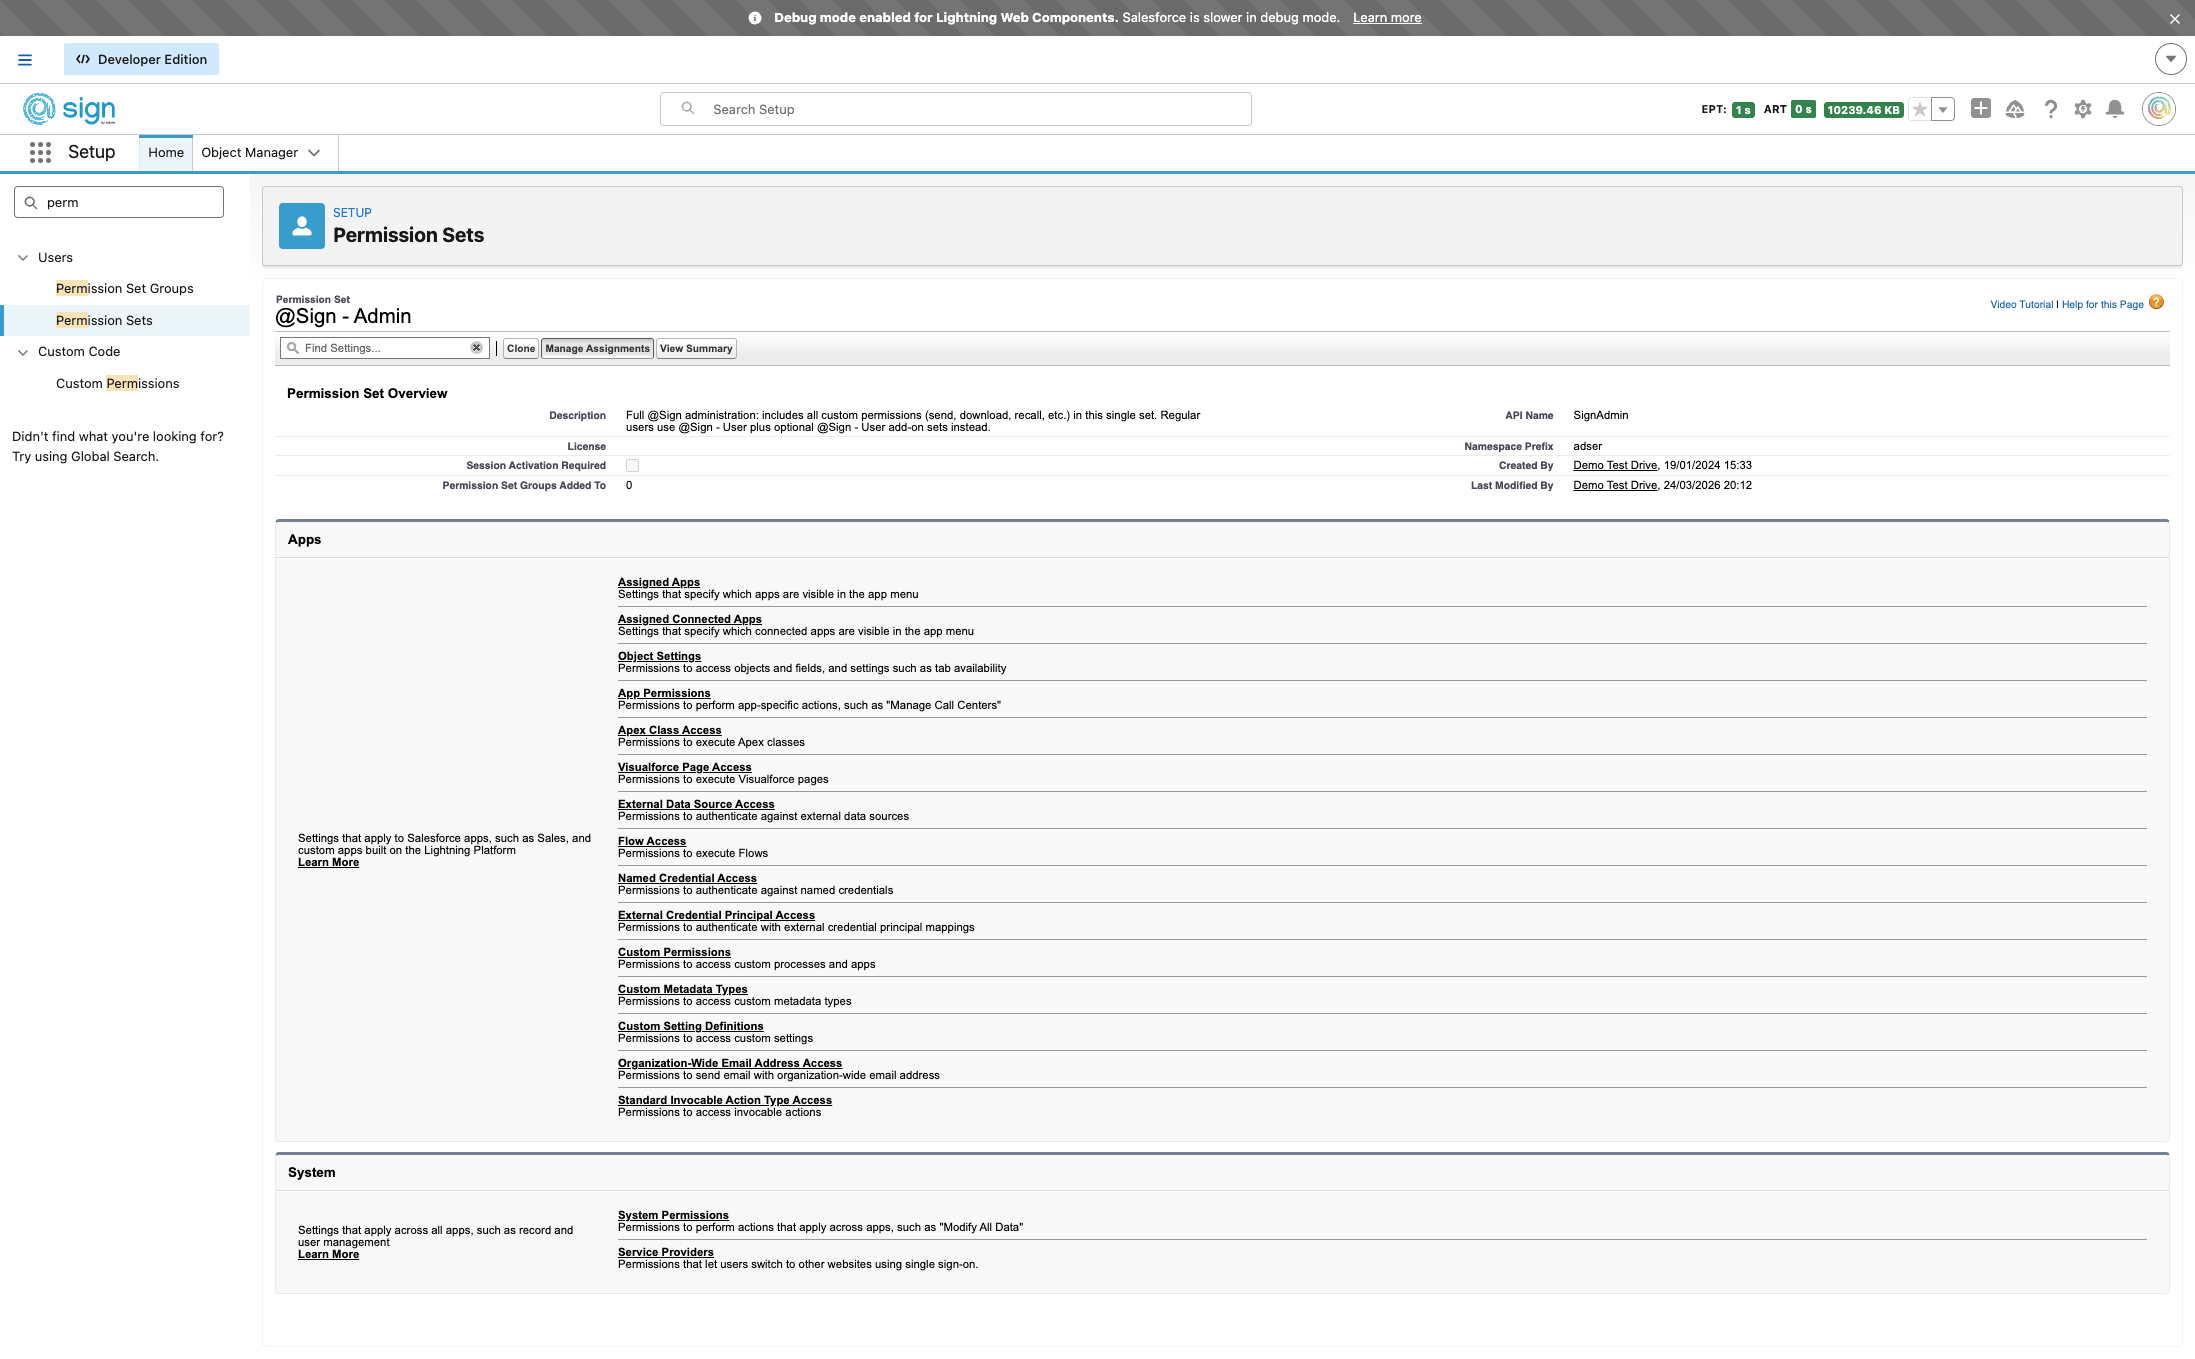
To get started with the @Sign setup, open the Admin permission set — you'll assign it to yourself first.
Inside the Admin permission set, click 'Manage Assignments' to see who currently has this permission and make changes.
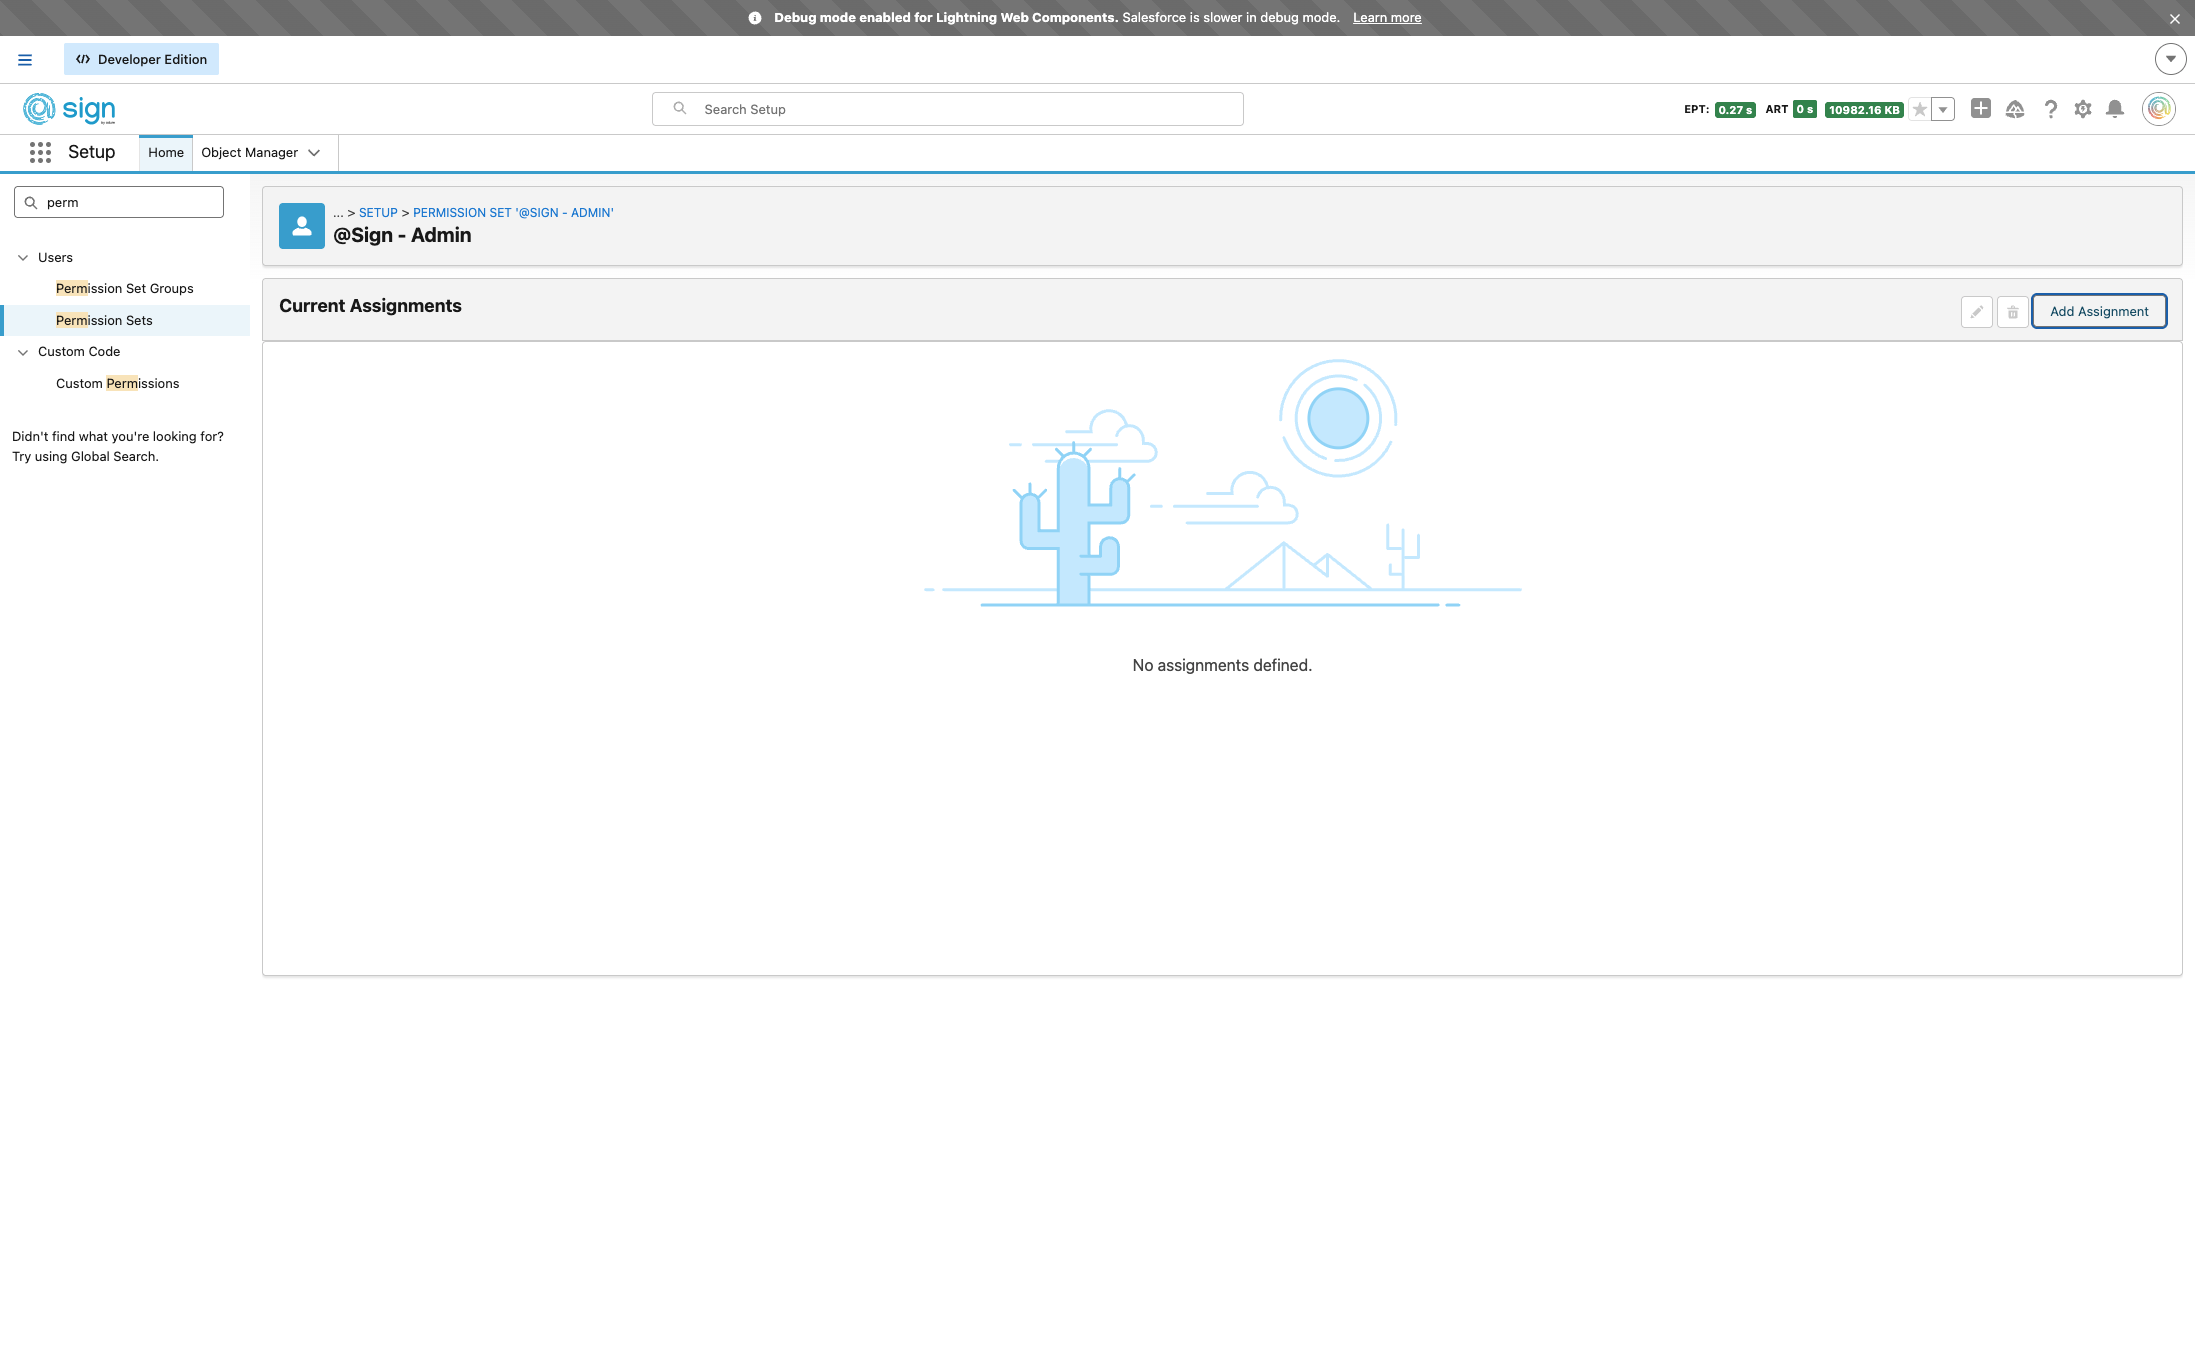
Click 'Add Assignment' to start assigning the Admin permission set to one or more users.
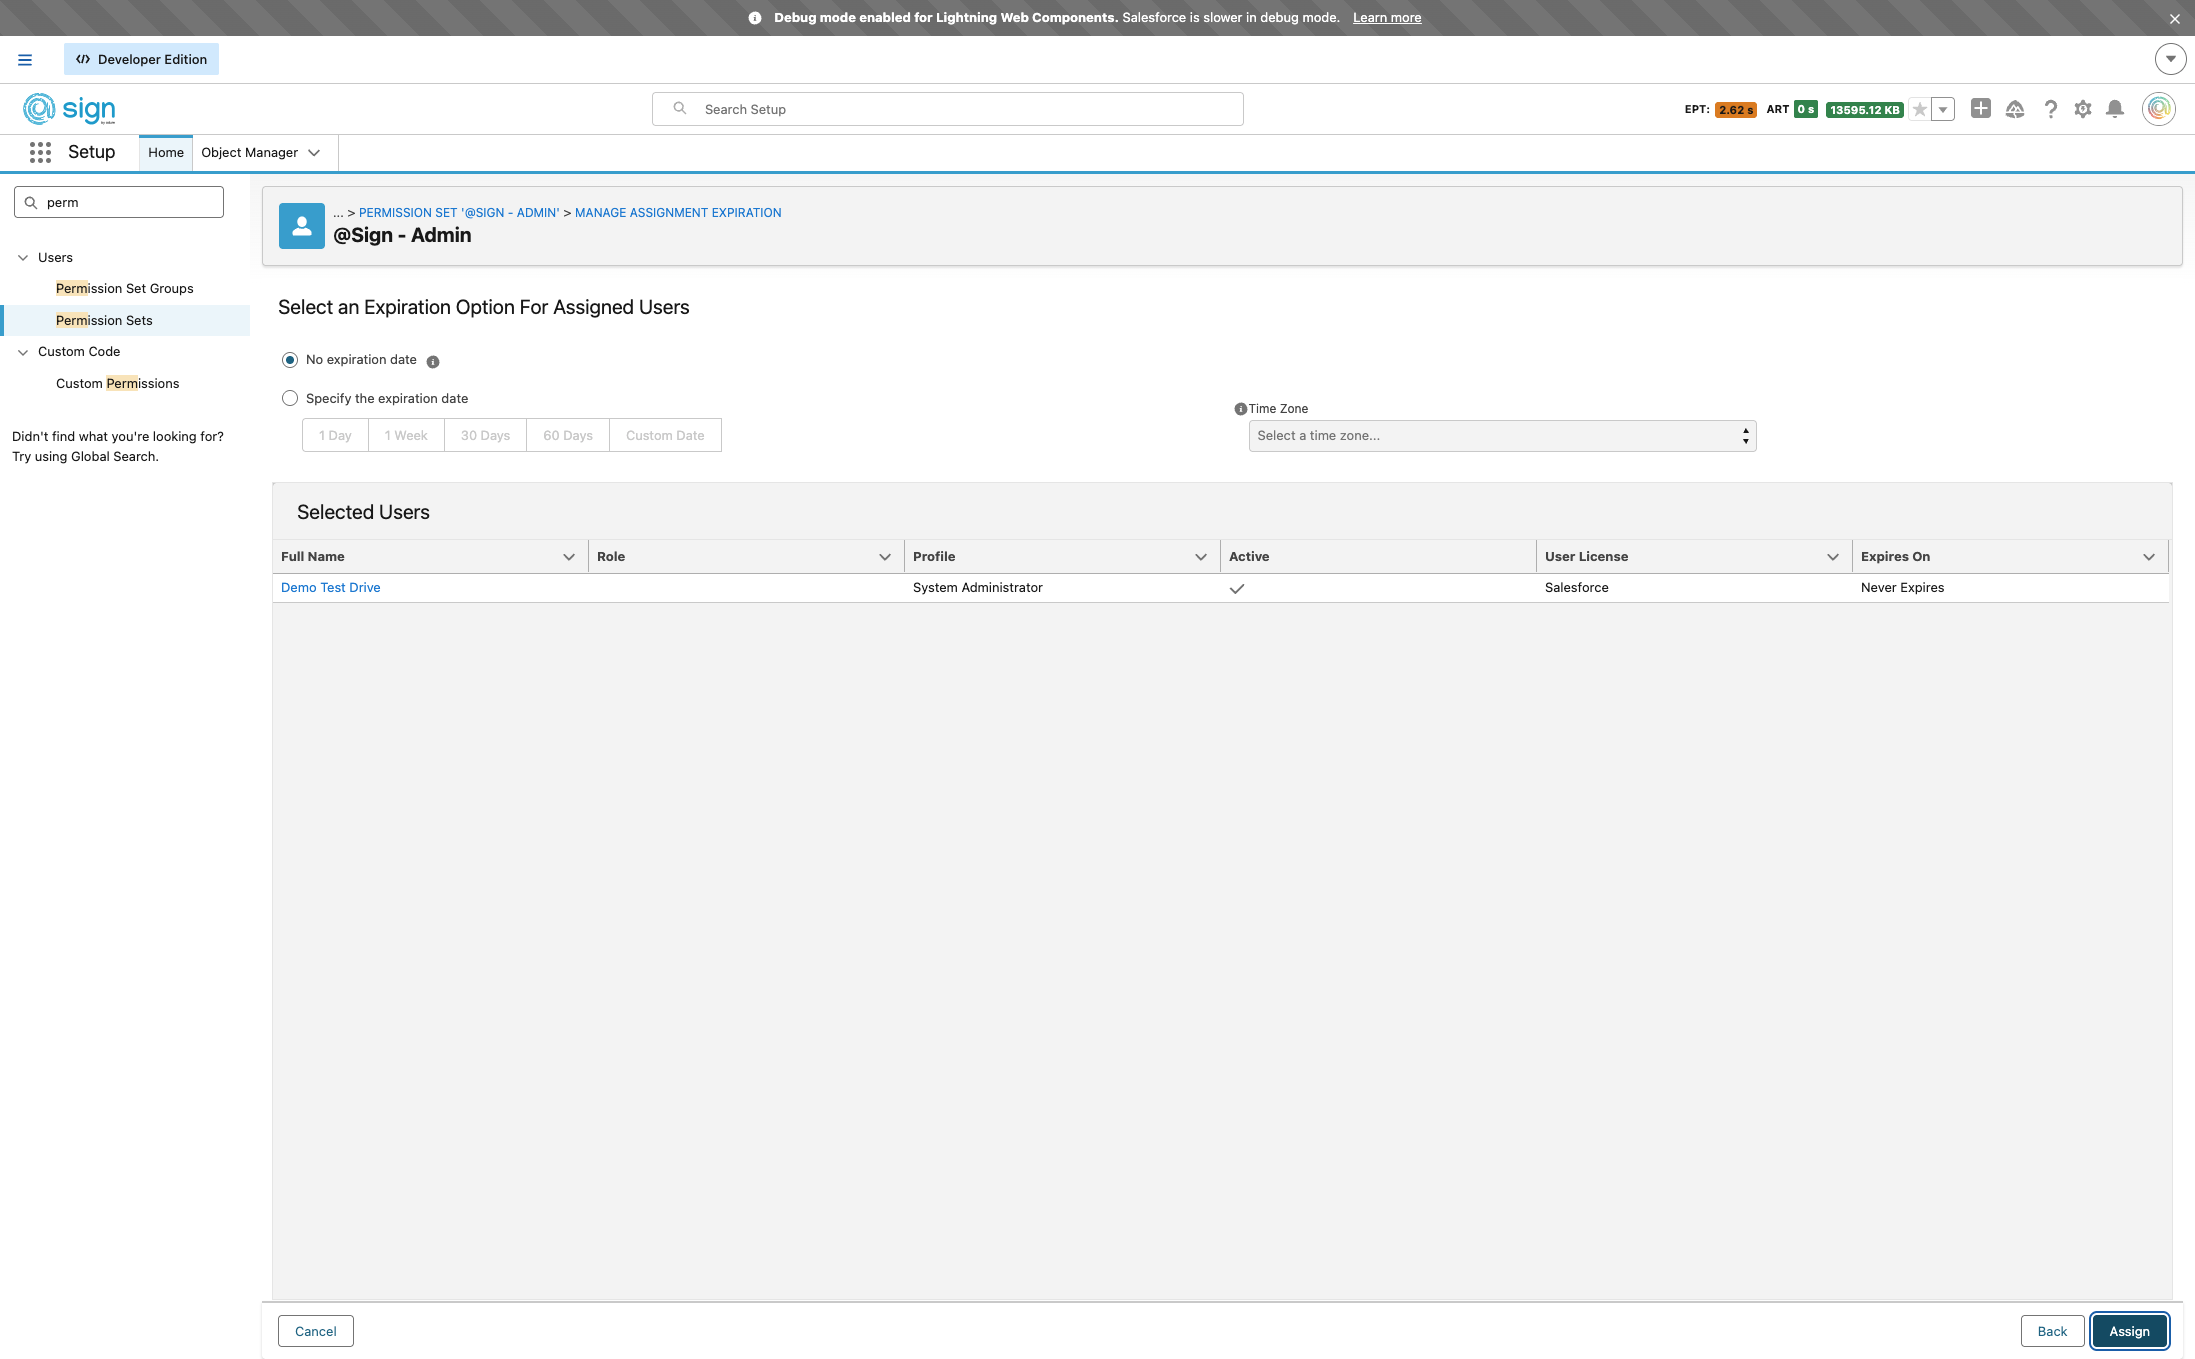
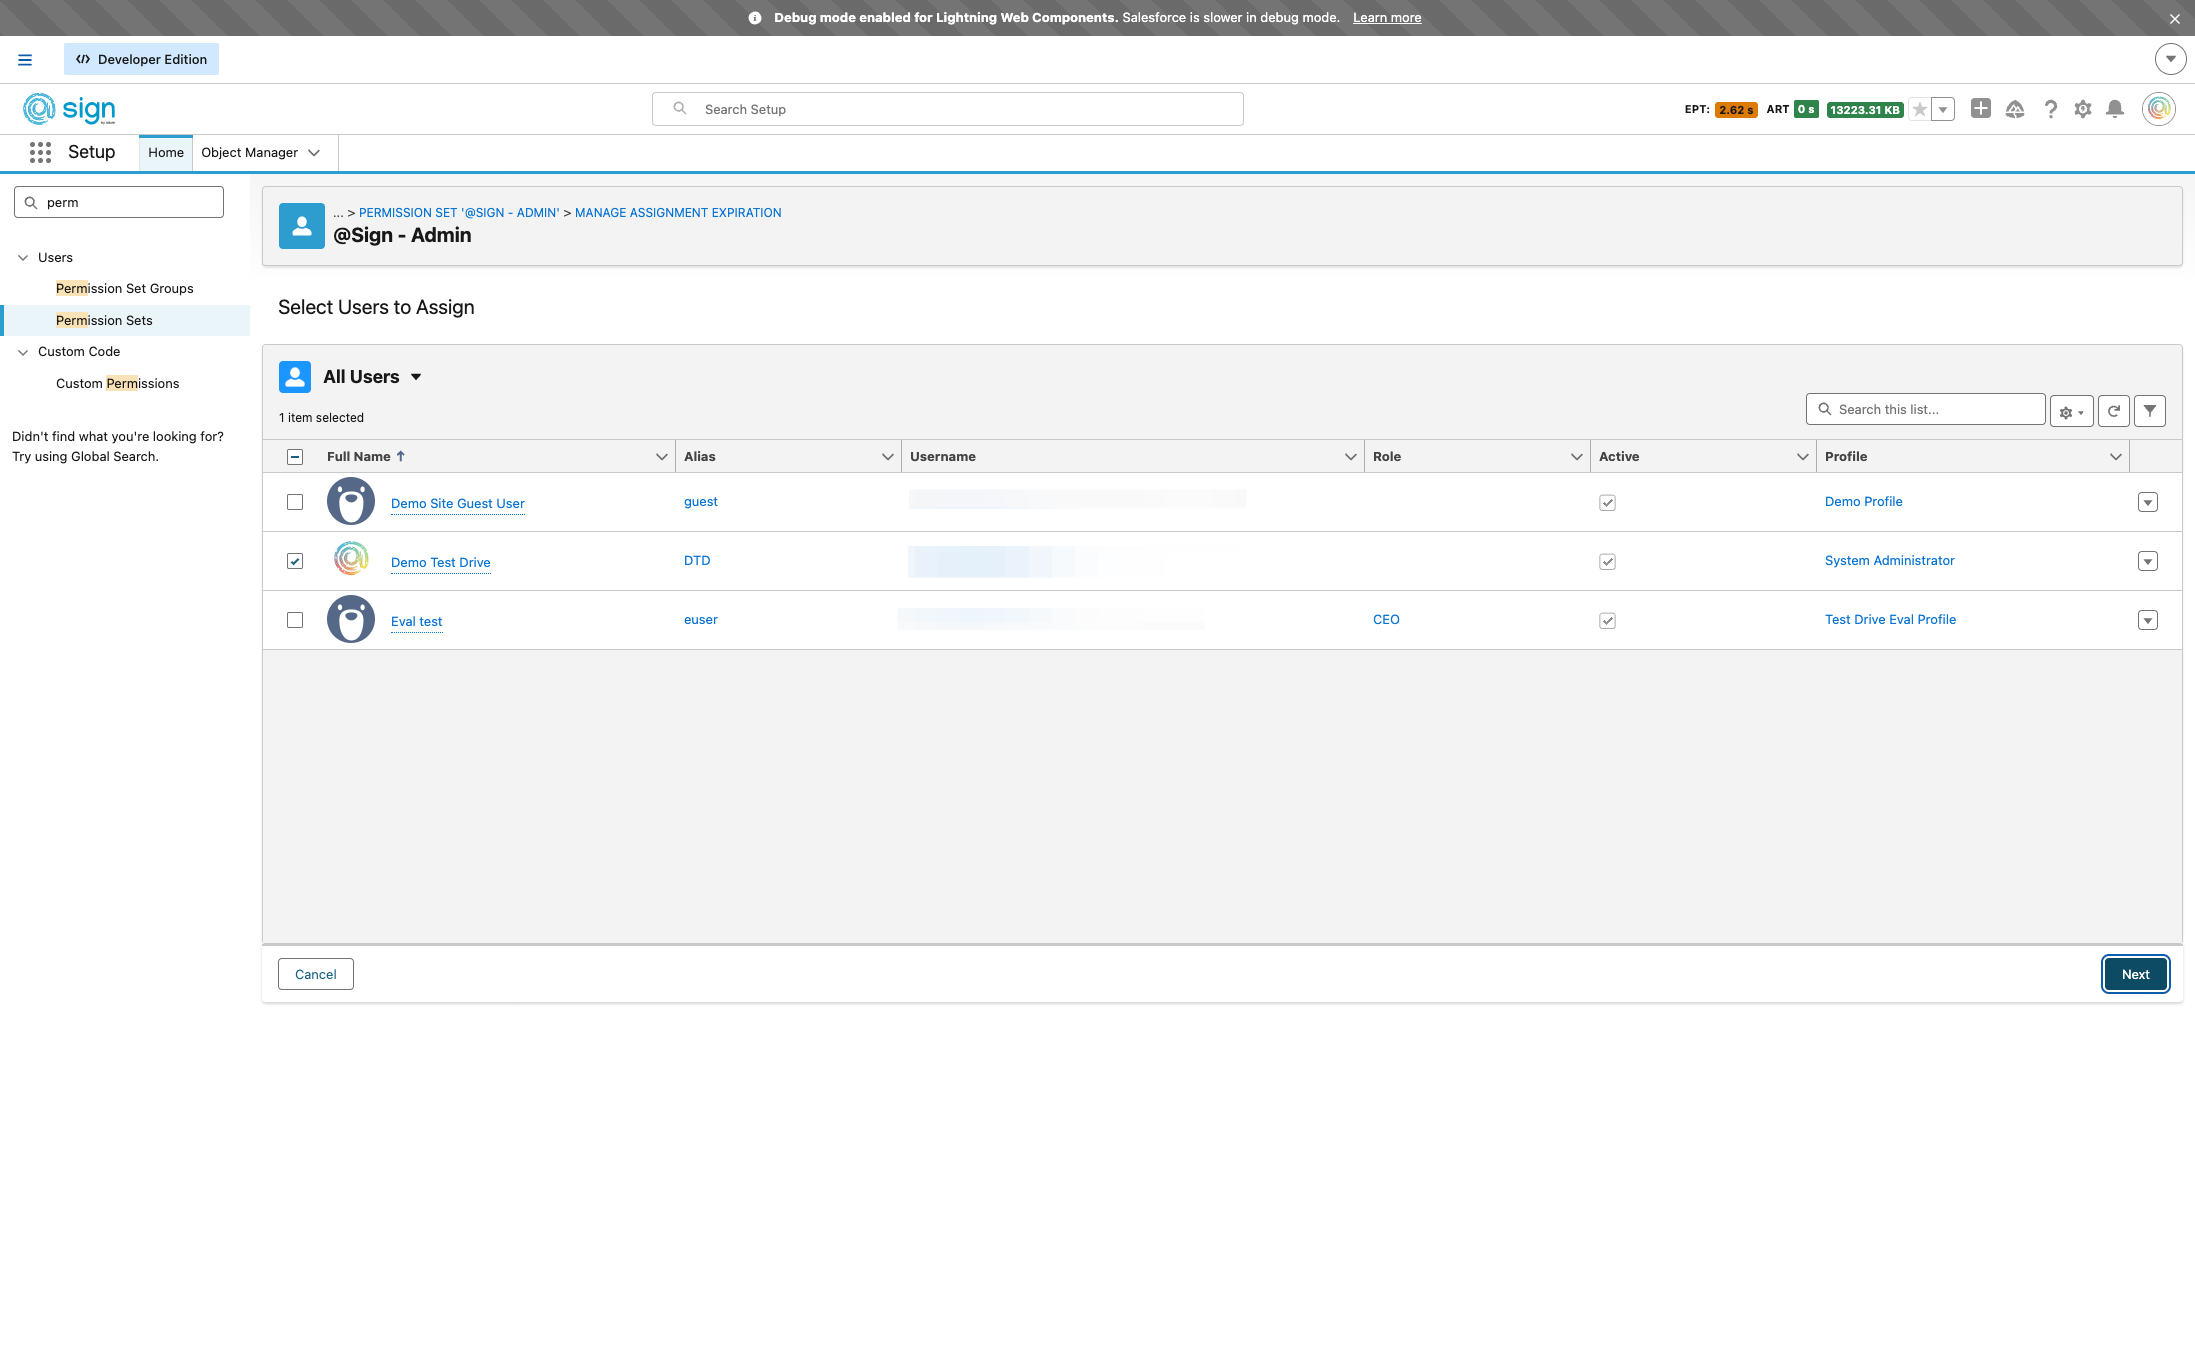
Select the user or users you want to grant Admin access to, then click 'Next' to proceed.
Drag to pan
Review your selection and click 'Assign' to confirm. The selected users now have full @Sign admin access.