The Lightning Web Component (LWC) is the primary interface for your Salesforce users. By placing the @Sign – Overview component on your record pages (Leads, Accounts, Opportunities, etc.), you provide your team with a centralized hub to send documents, track real-time signature progress, and access signed files without leaving the record.
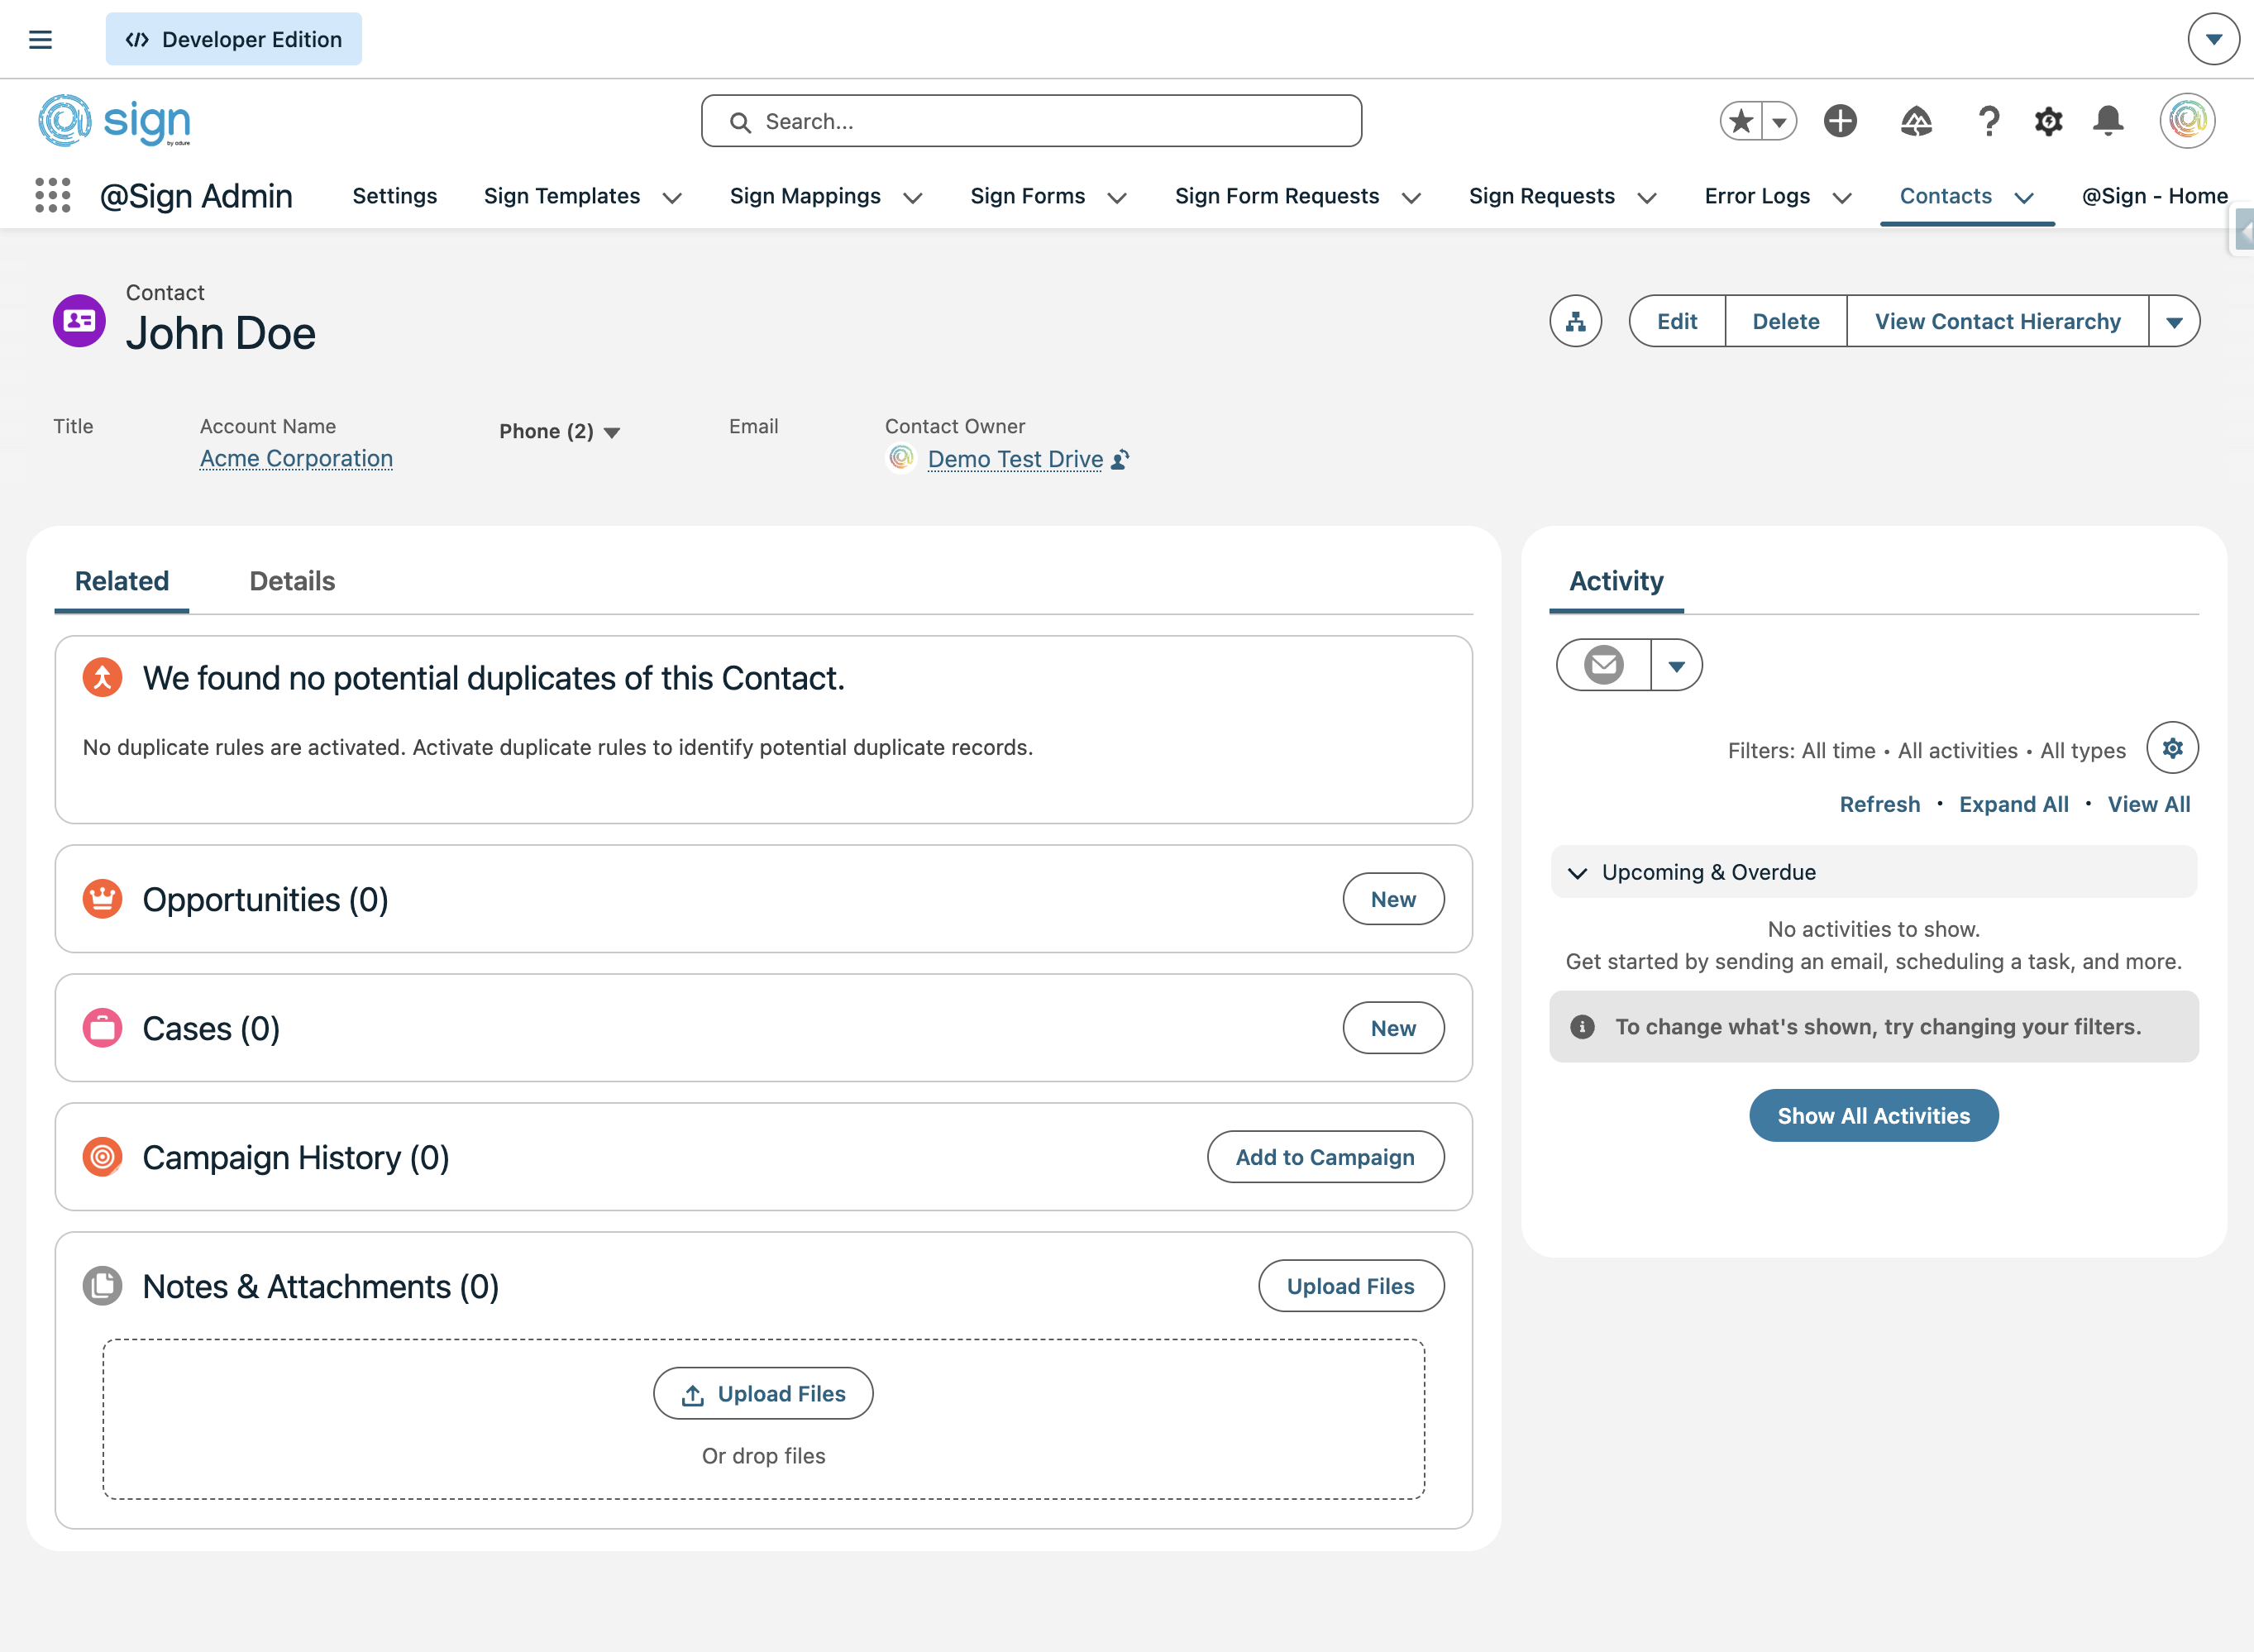
Open a record page for the object type where you want to add the @Sign component. In this example we'll use a Contact — click through to the detail page of any contact record.

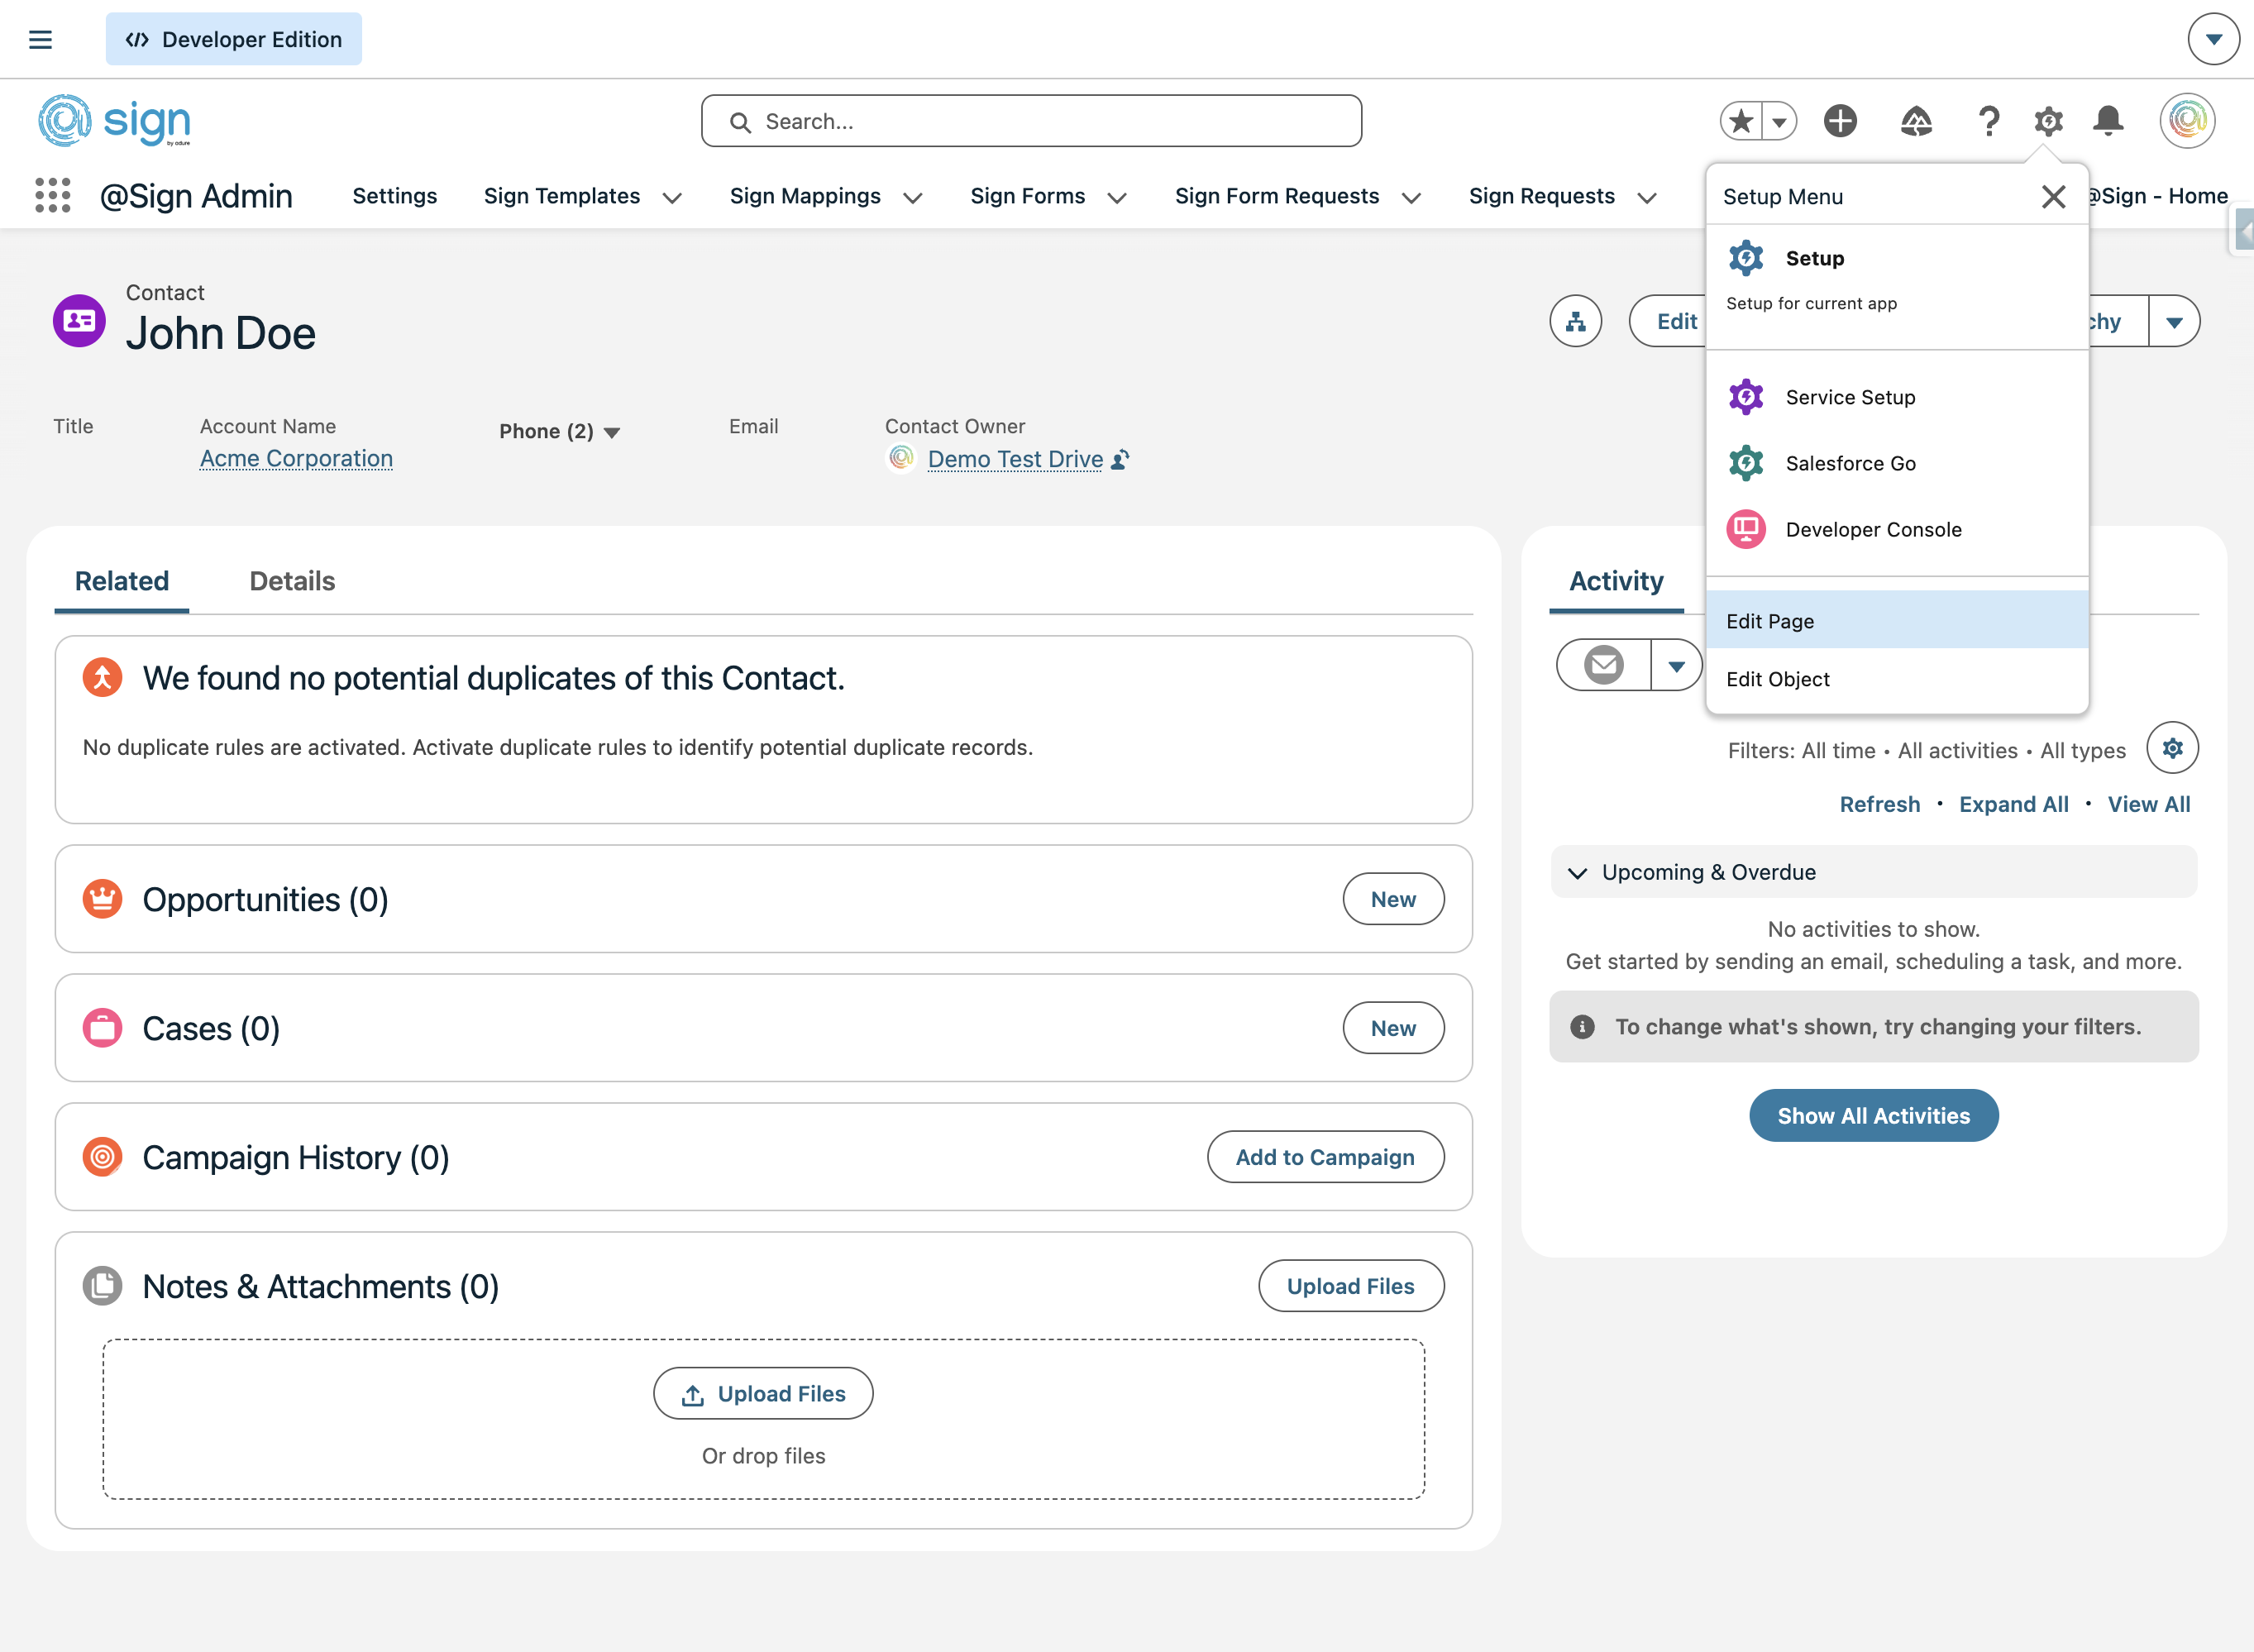
On the record page, click the gear icon in the top-right corner to open the Setup menu.
From the Setup dropdown, select 'Edit Page' to open the Lightning App Builder for this record page.
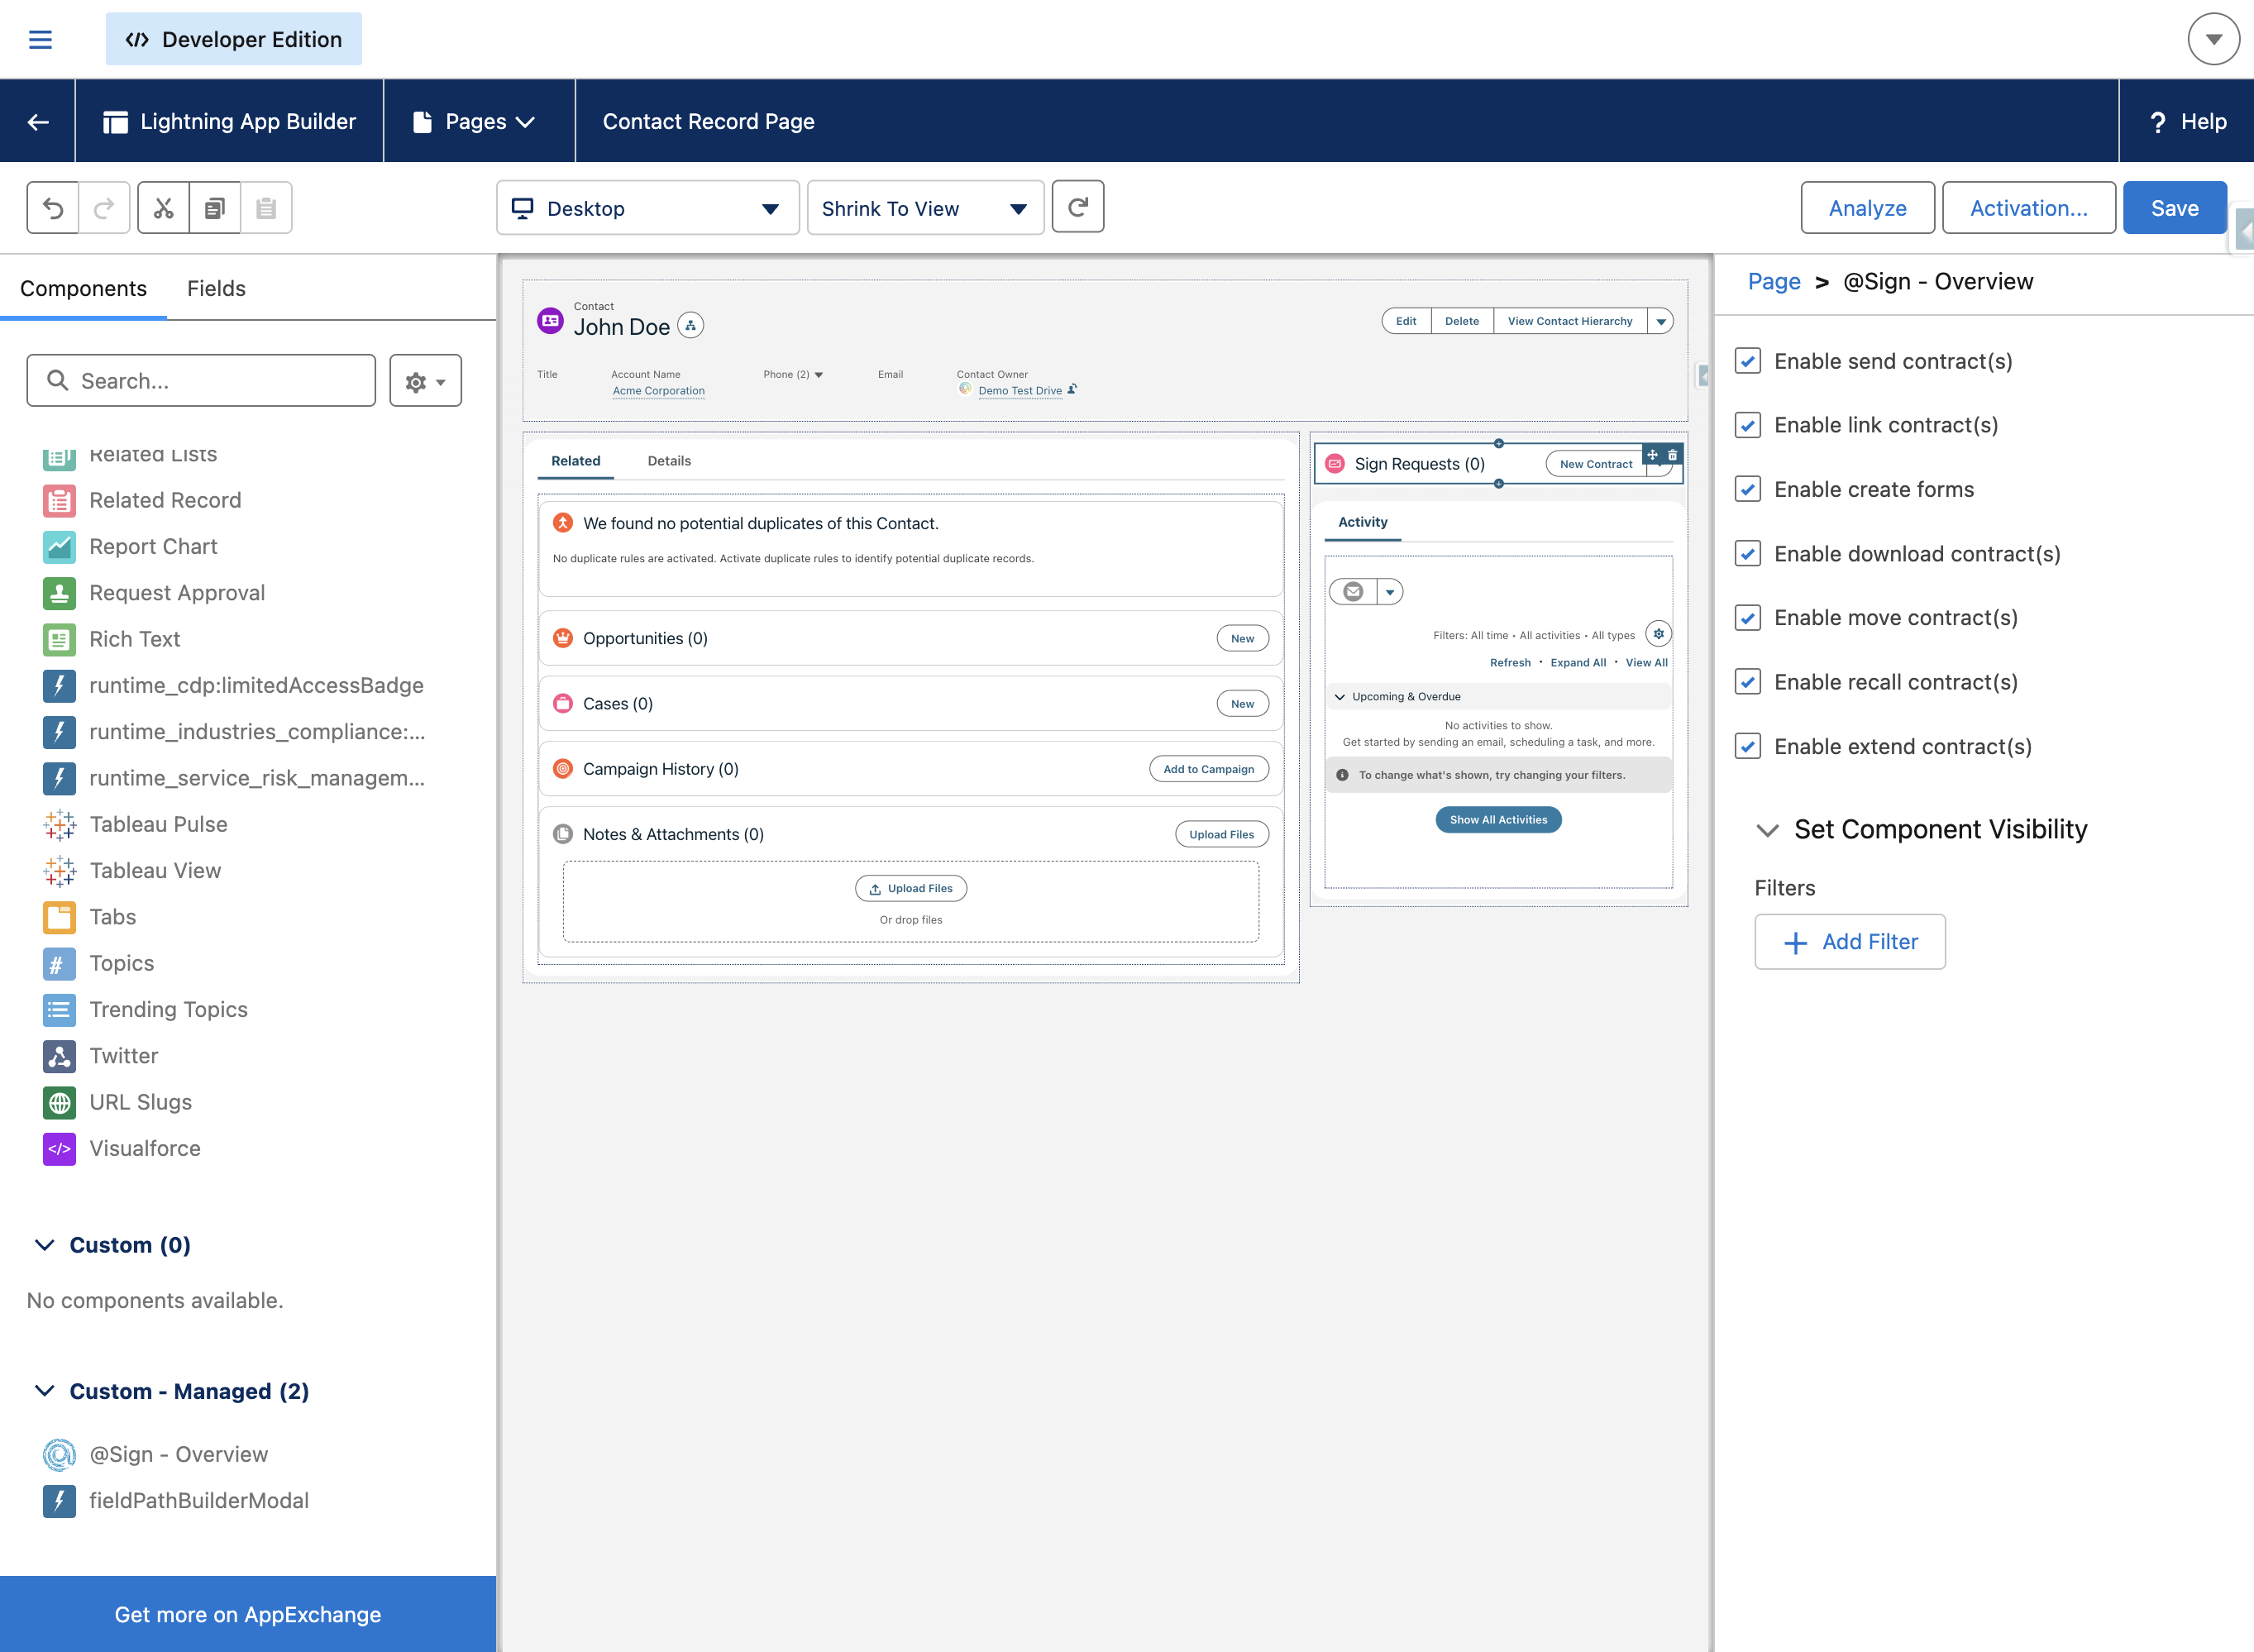
In the component library on the left, scroll down to the 'Custom - Managed' section and find '@Sign - Overview'. Drag and drop it onto the page layout where you want it to appear.
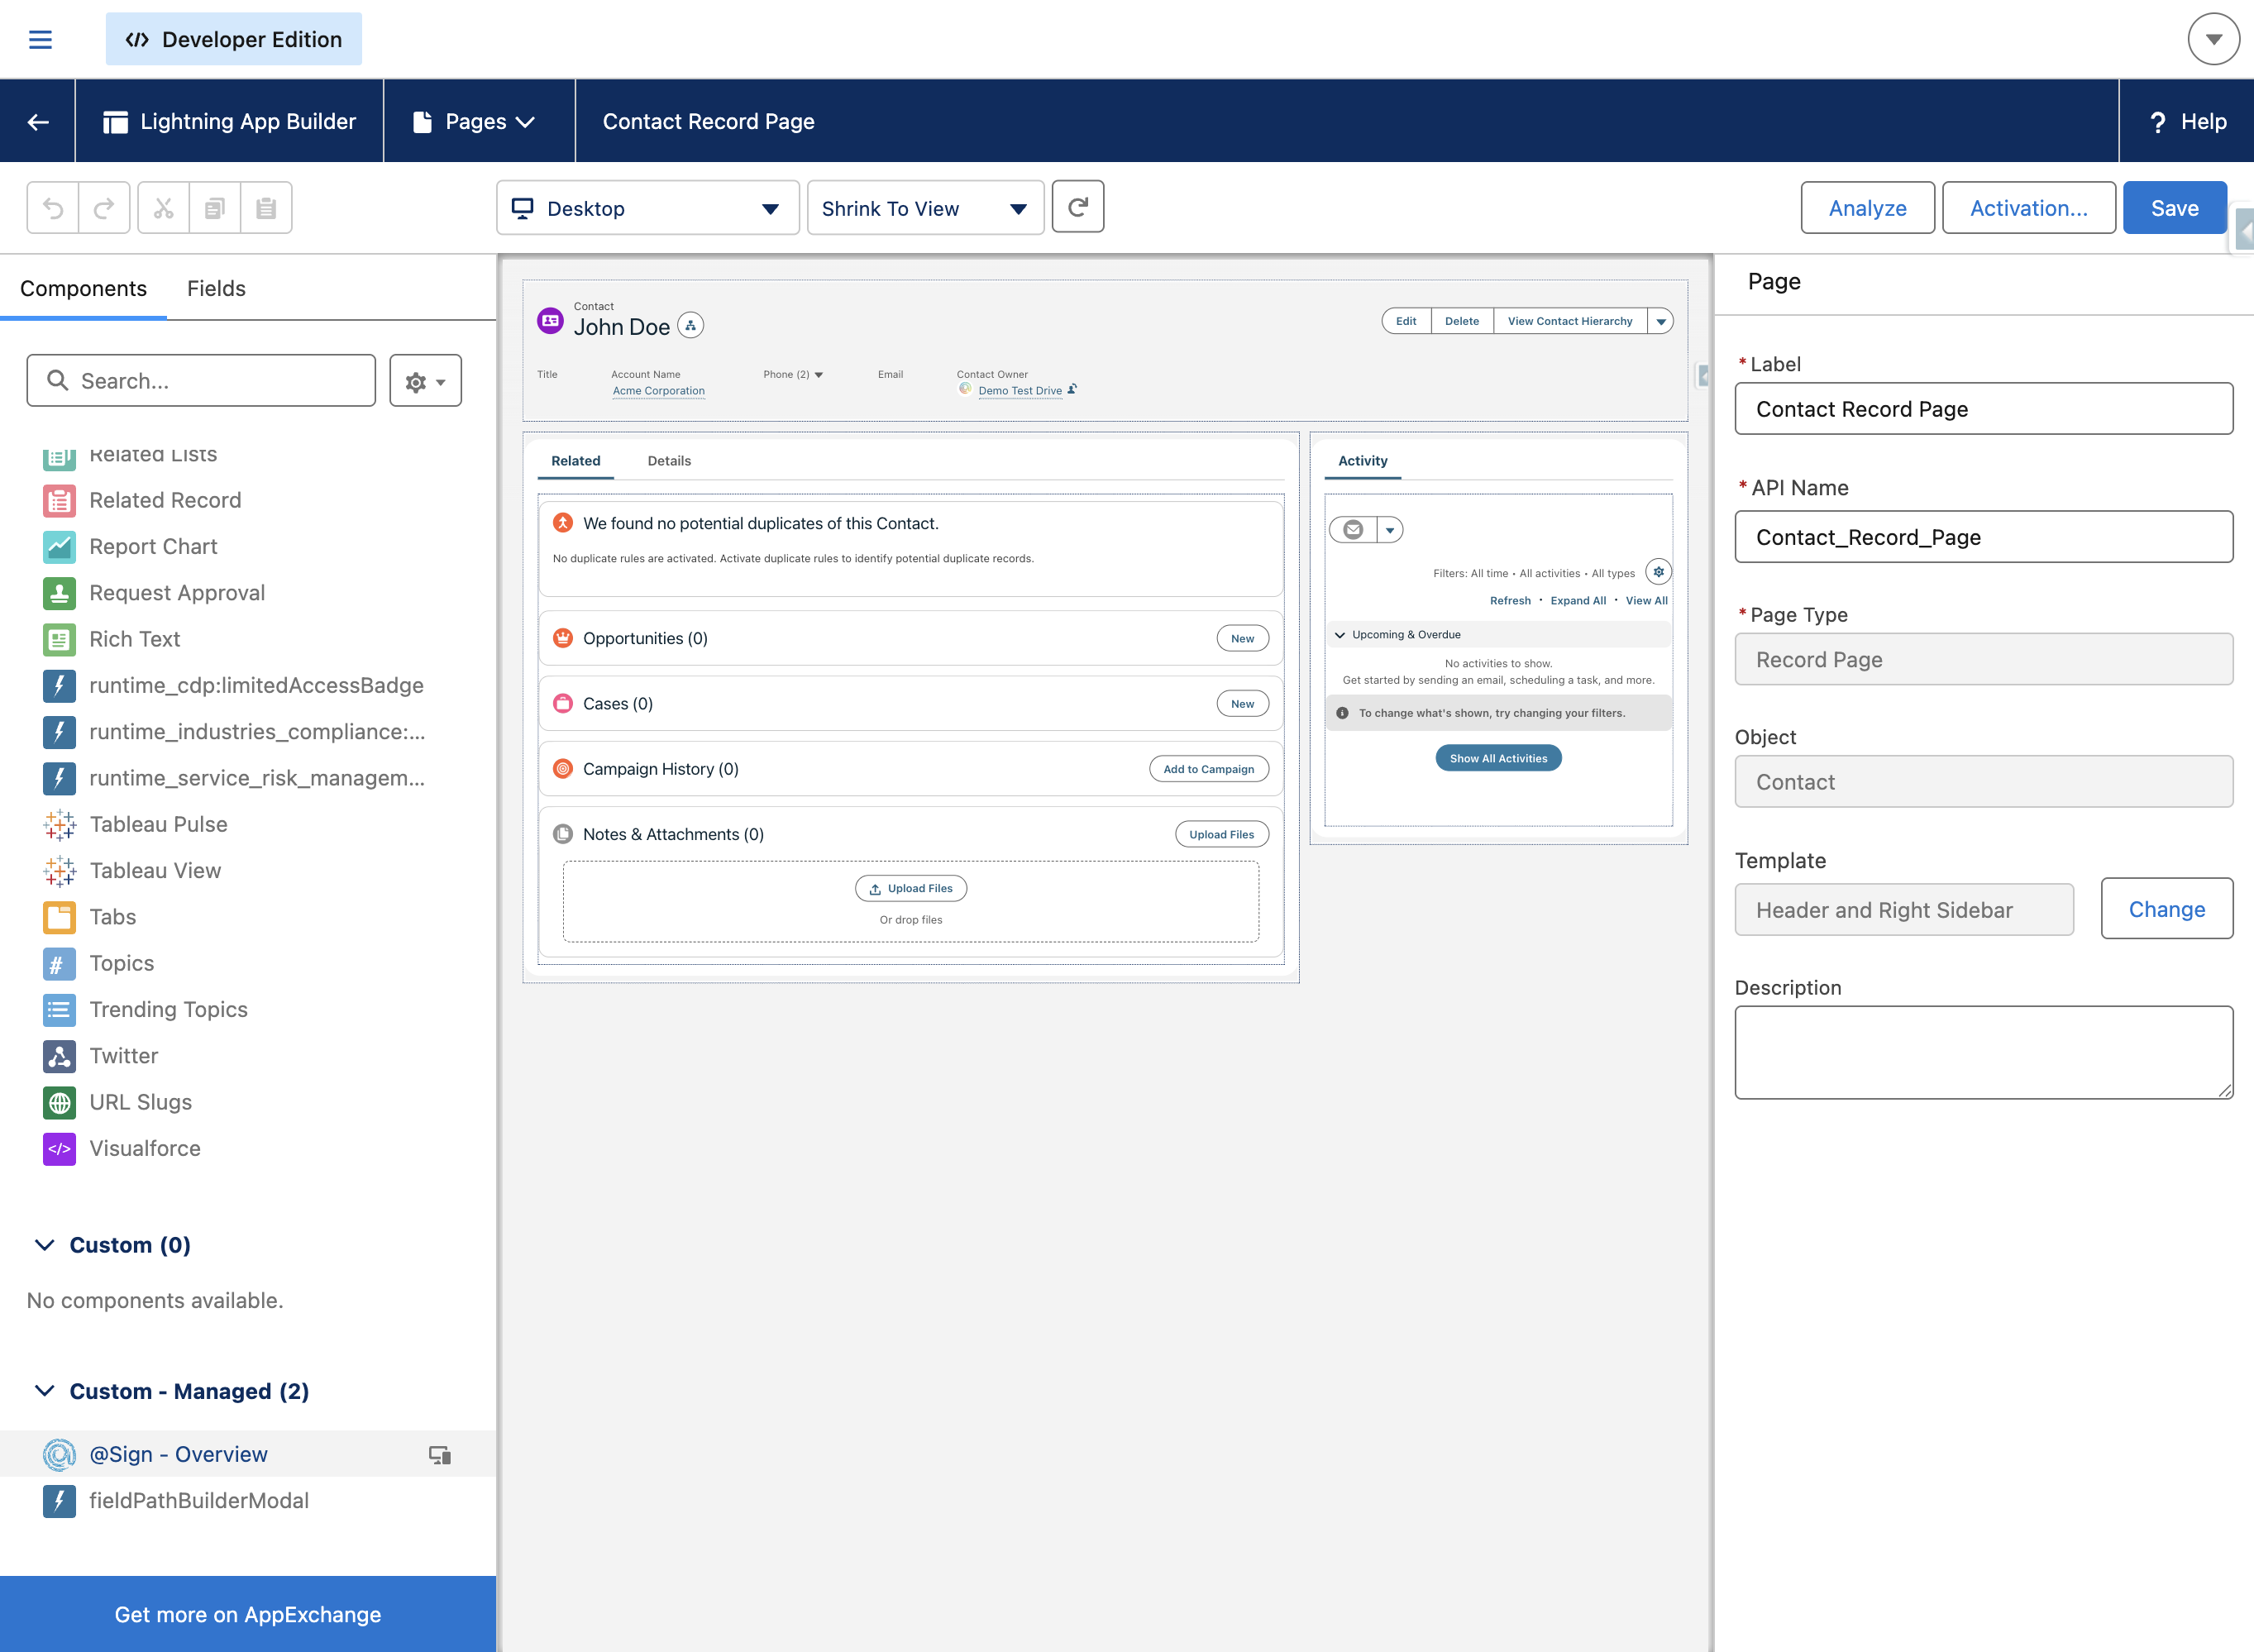
Click on the placed component to open its settings panel on the right. Here you can enable or disable individual features — such as sending contracts, linking contracts, creating forms, downloading, moving, recalling, or extending contracts. Any feature disabled here will be unavailable to all users on this page, regardless of their permission set. You can also set component visibility filters to control which users see the component at all.
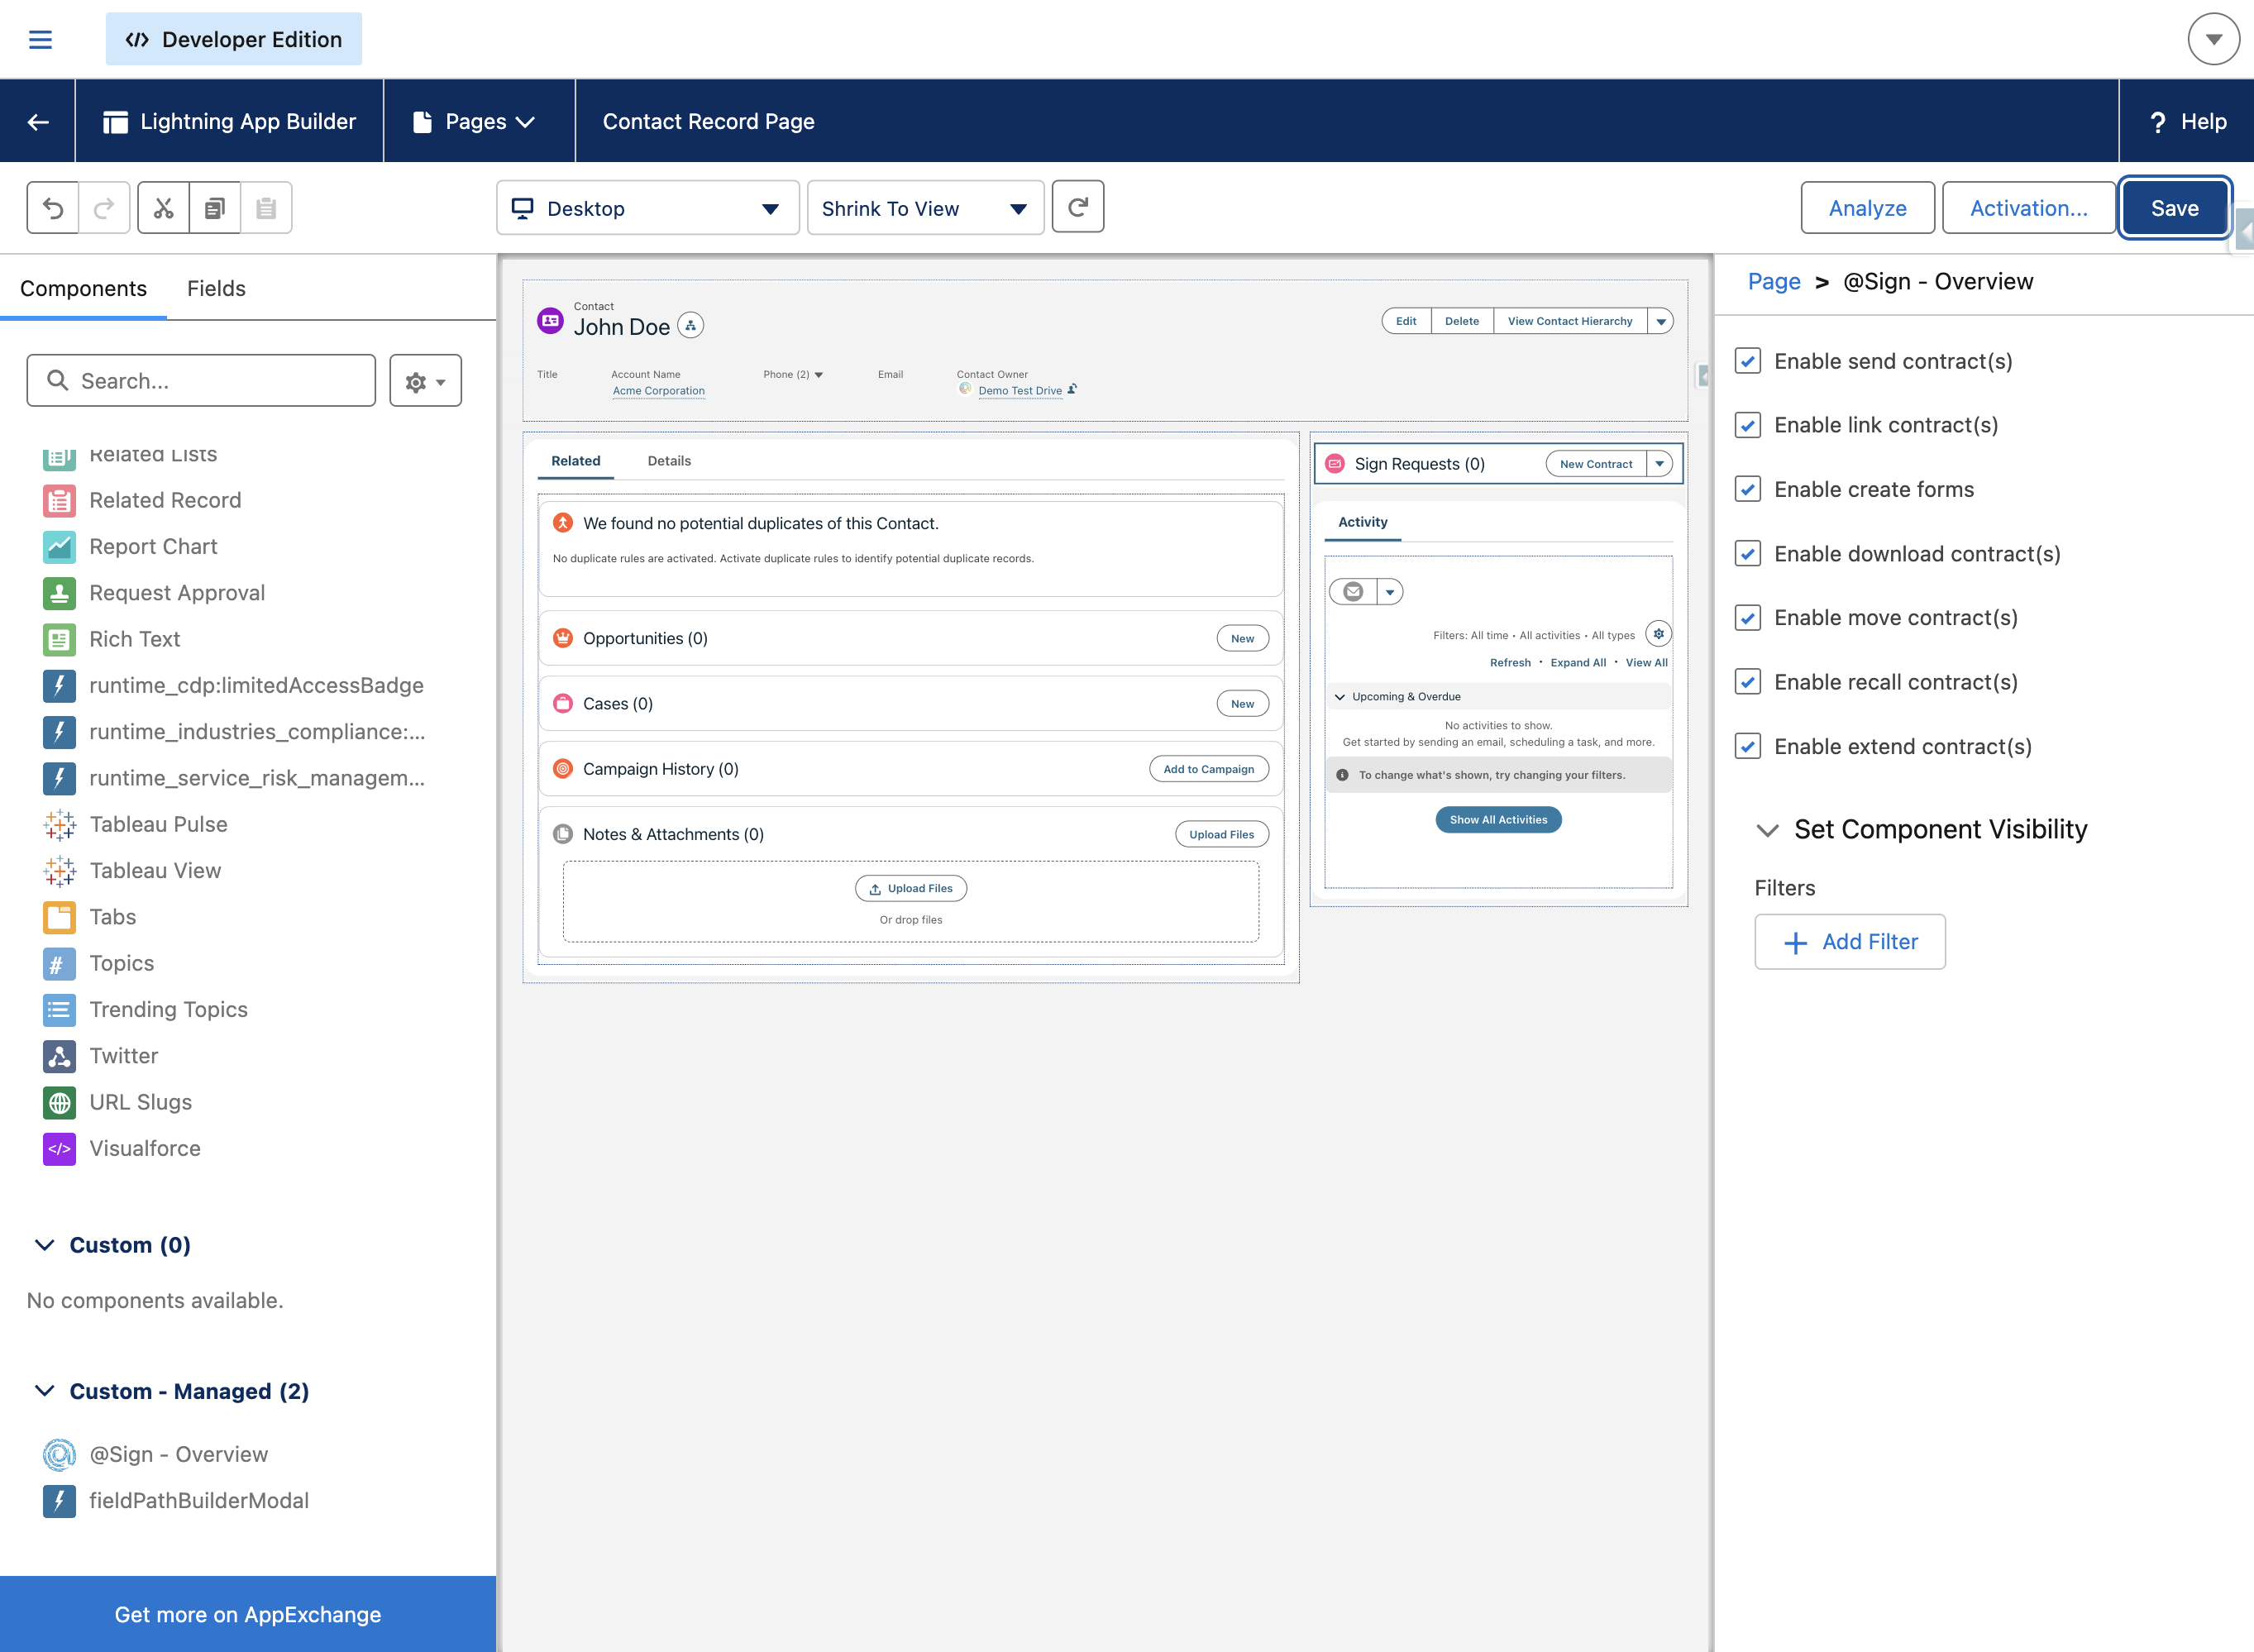
Once you're happy with the configuration, click 'Save' in the top-right of the Lightning App Builder to apply your changes to the page.
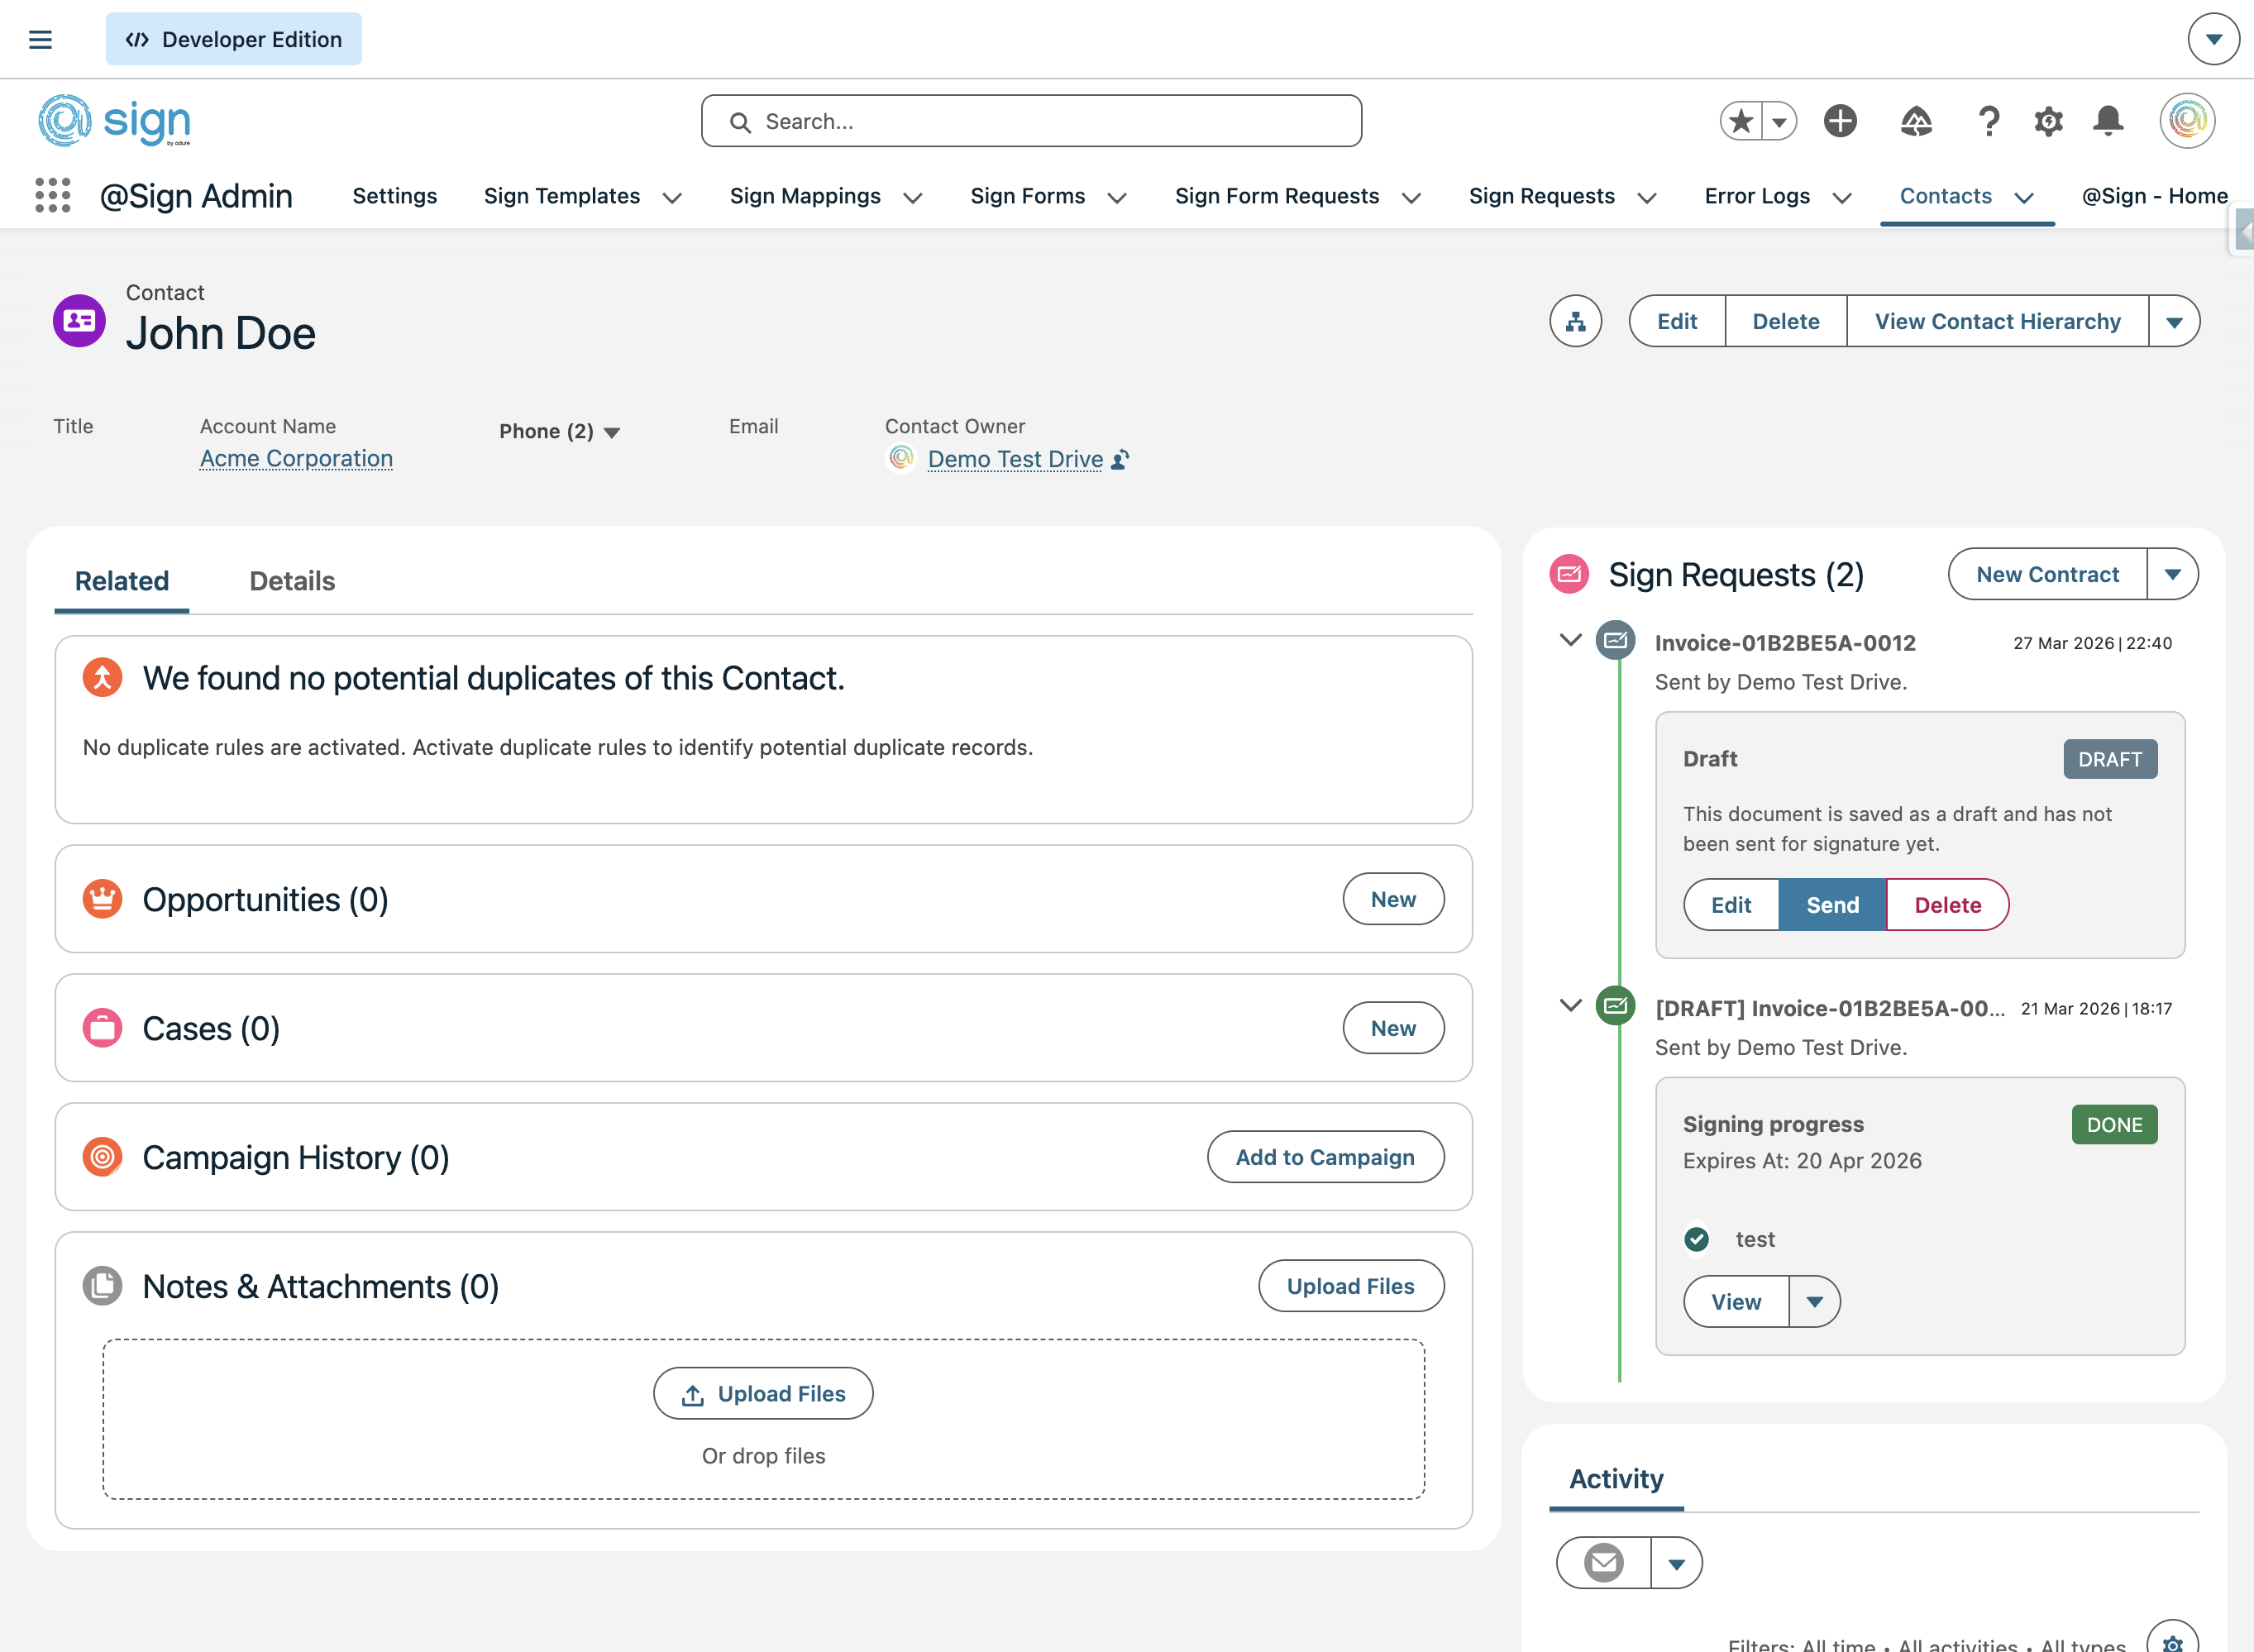
Back on the record page, the @Sign - Overview component is now visible in the sidebar. It shows a timeline of all Sign Requests linked to this record, along with a 'New Contract' button to send new ones.
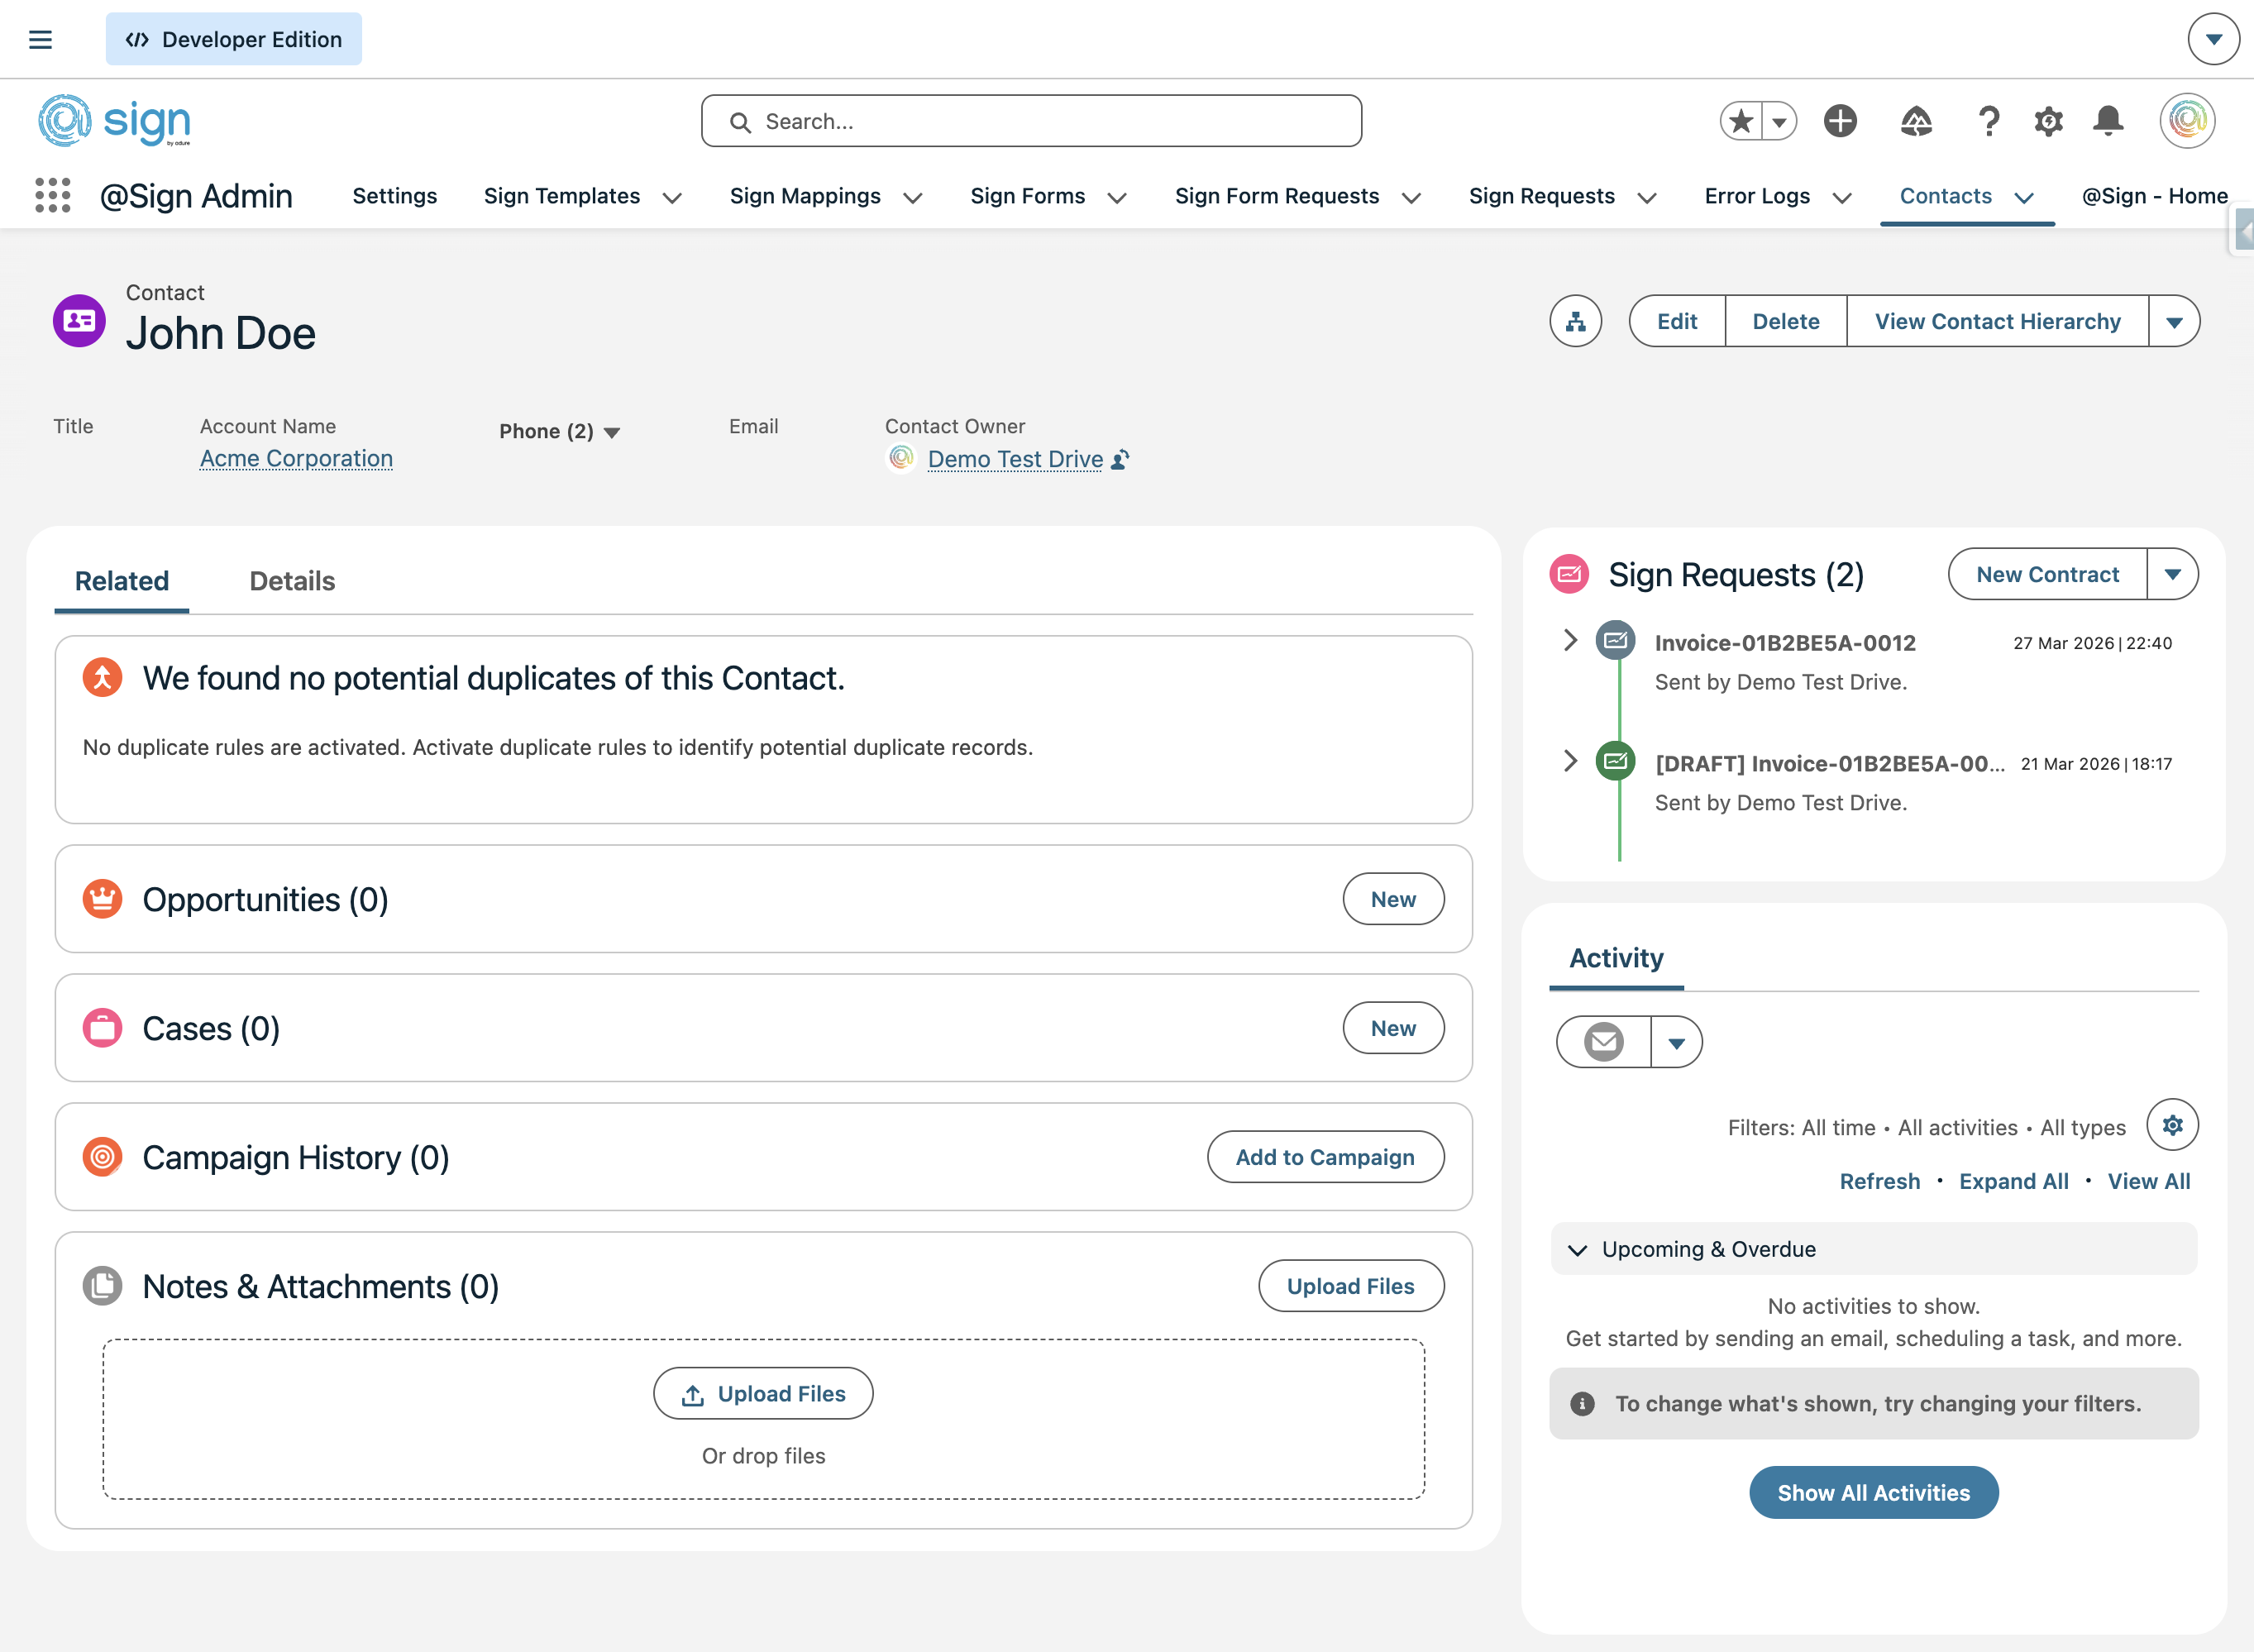
Click on any contract in the timeline to expand it and see its full details — status (also indicated by colour), signing progress, expiry date, and available actions. Drafts can be edited, sent, or deleted. Completed contracts can be viewed directly from this panel.