Sign Forms extend the power of @Sign beyond your internal team. They allow you to generate a public URL or hosted form that external users can fill out. Once submitted, the signed document is saved in Salesforce, and the data provided can be used to create contracts.
Open the Sign Mappings list view in your @Sign Admin app in Salesforce.
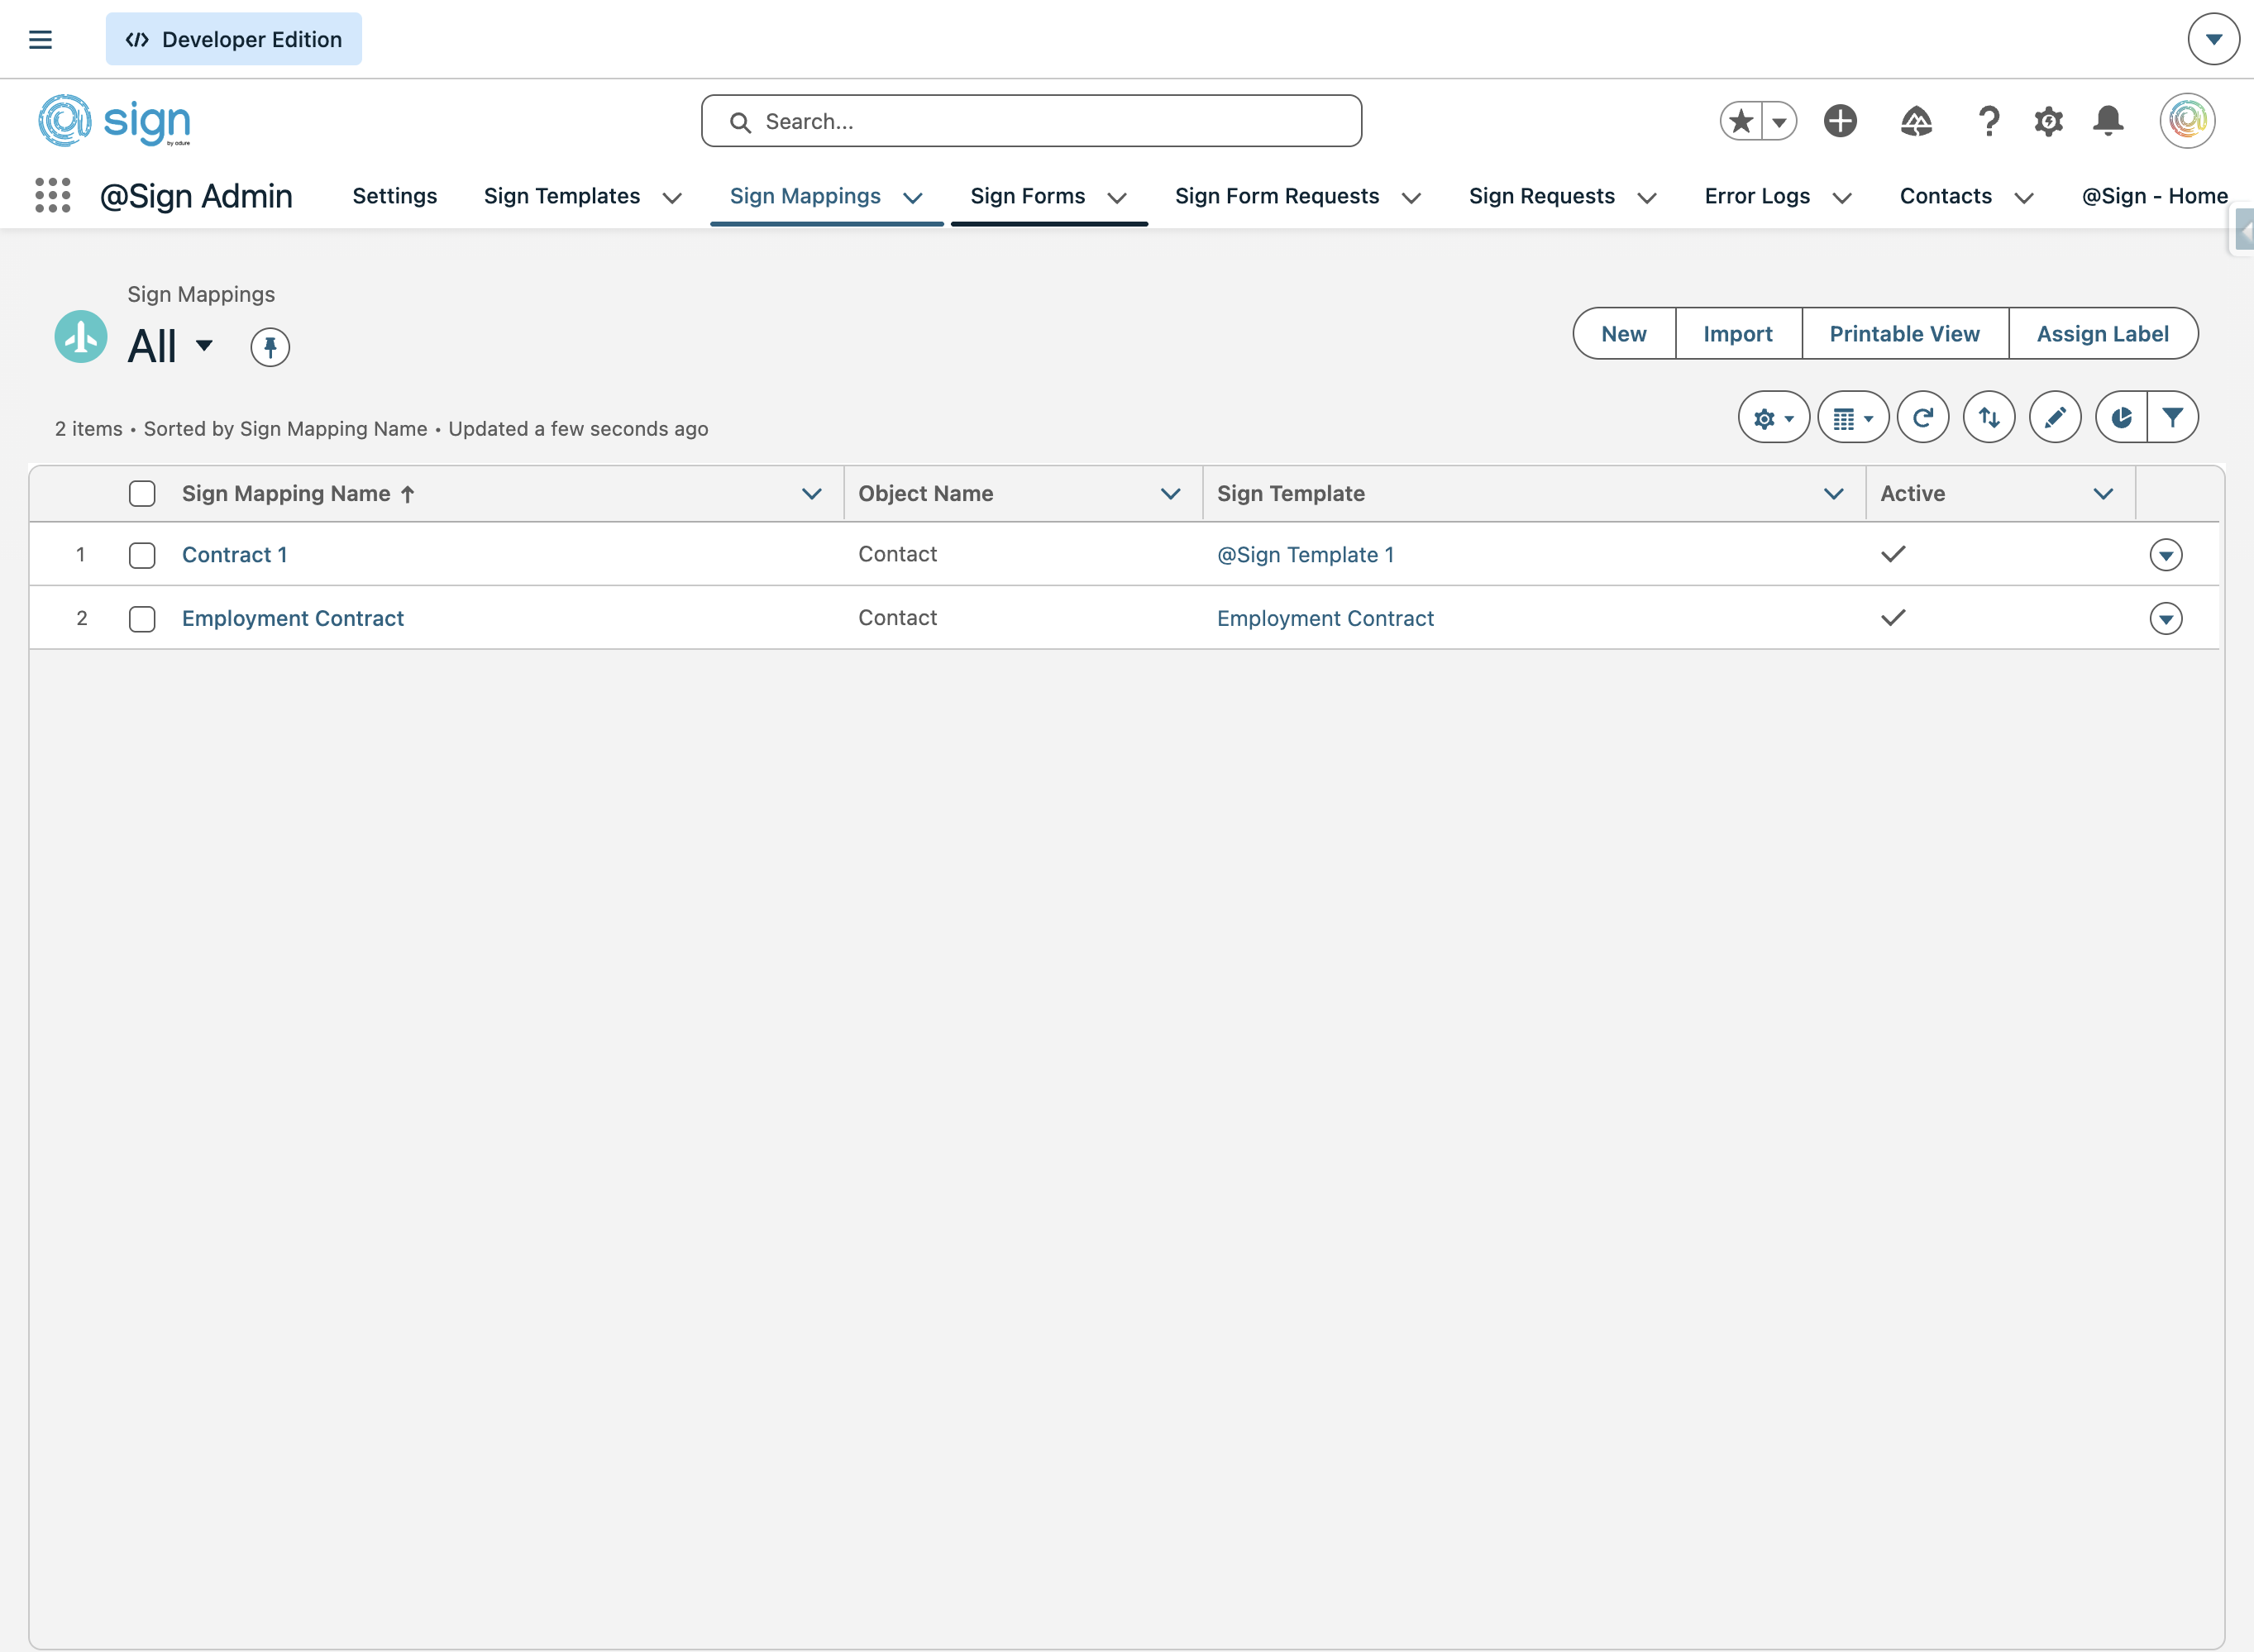
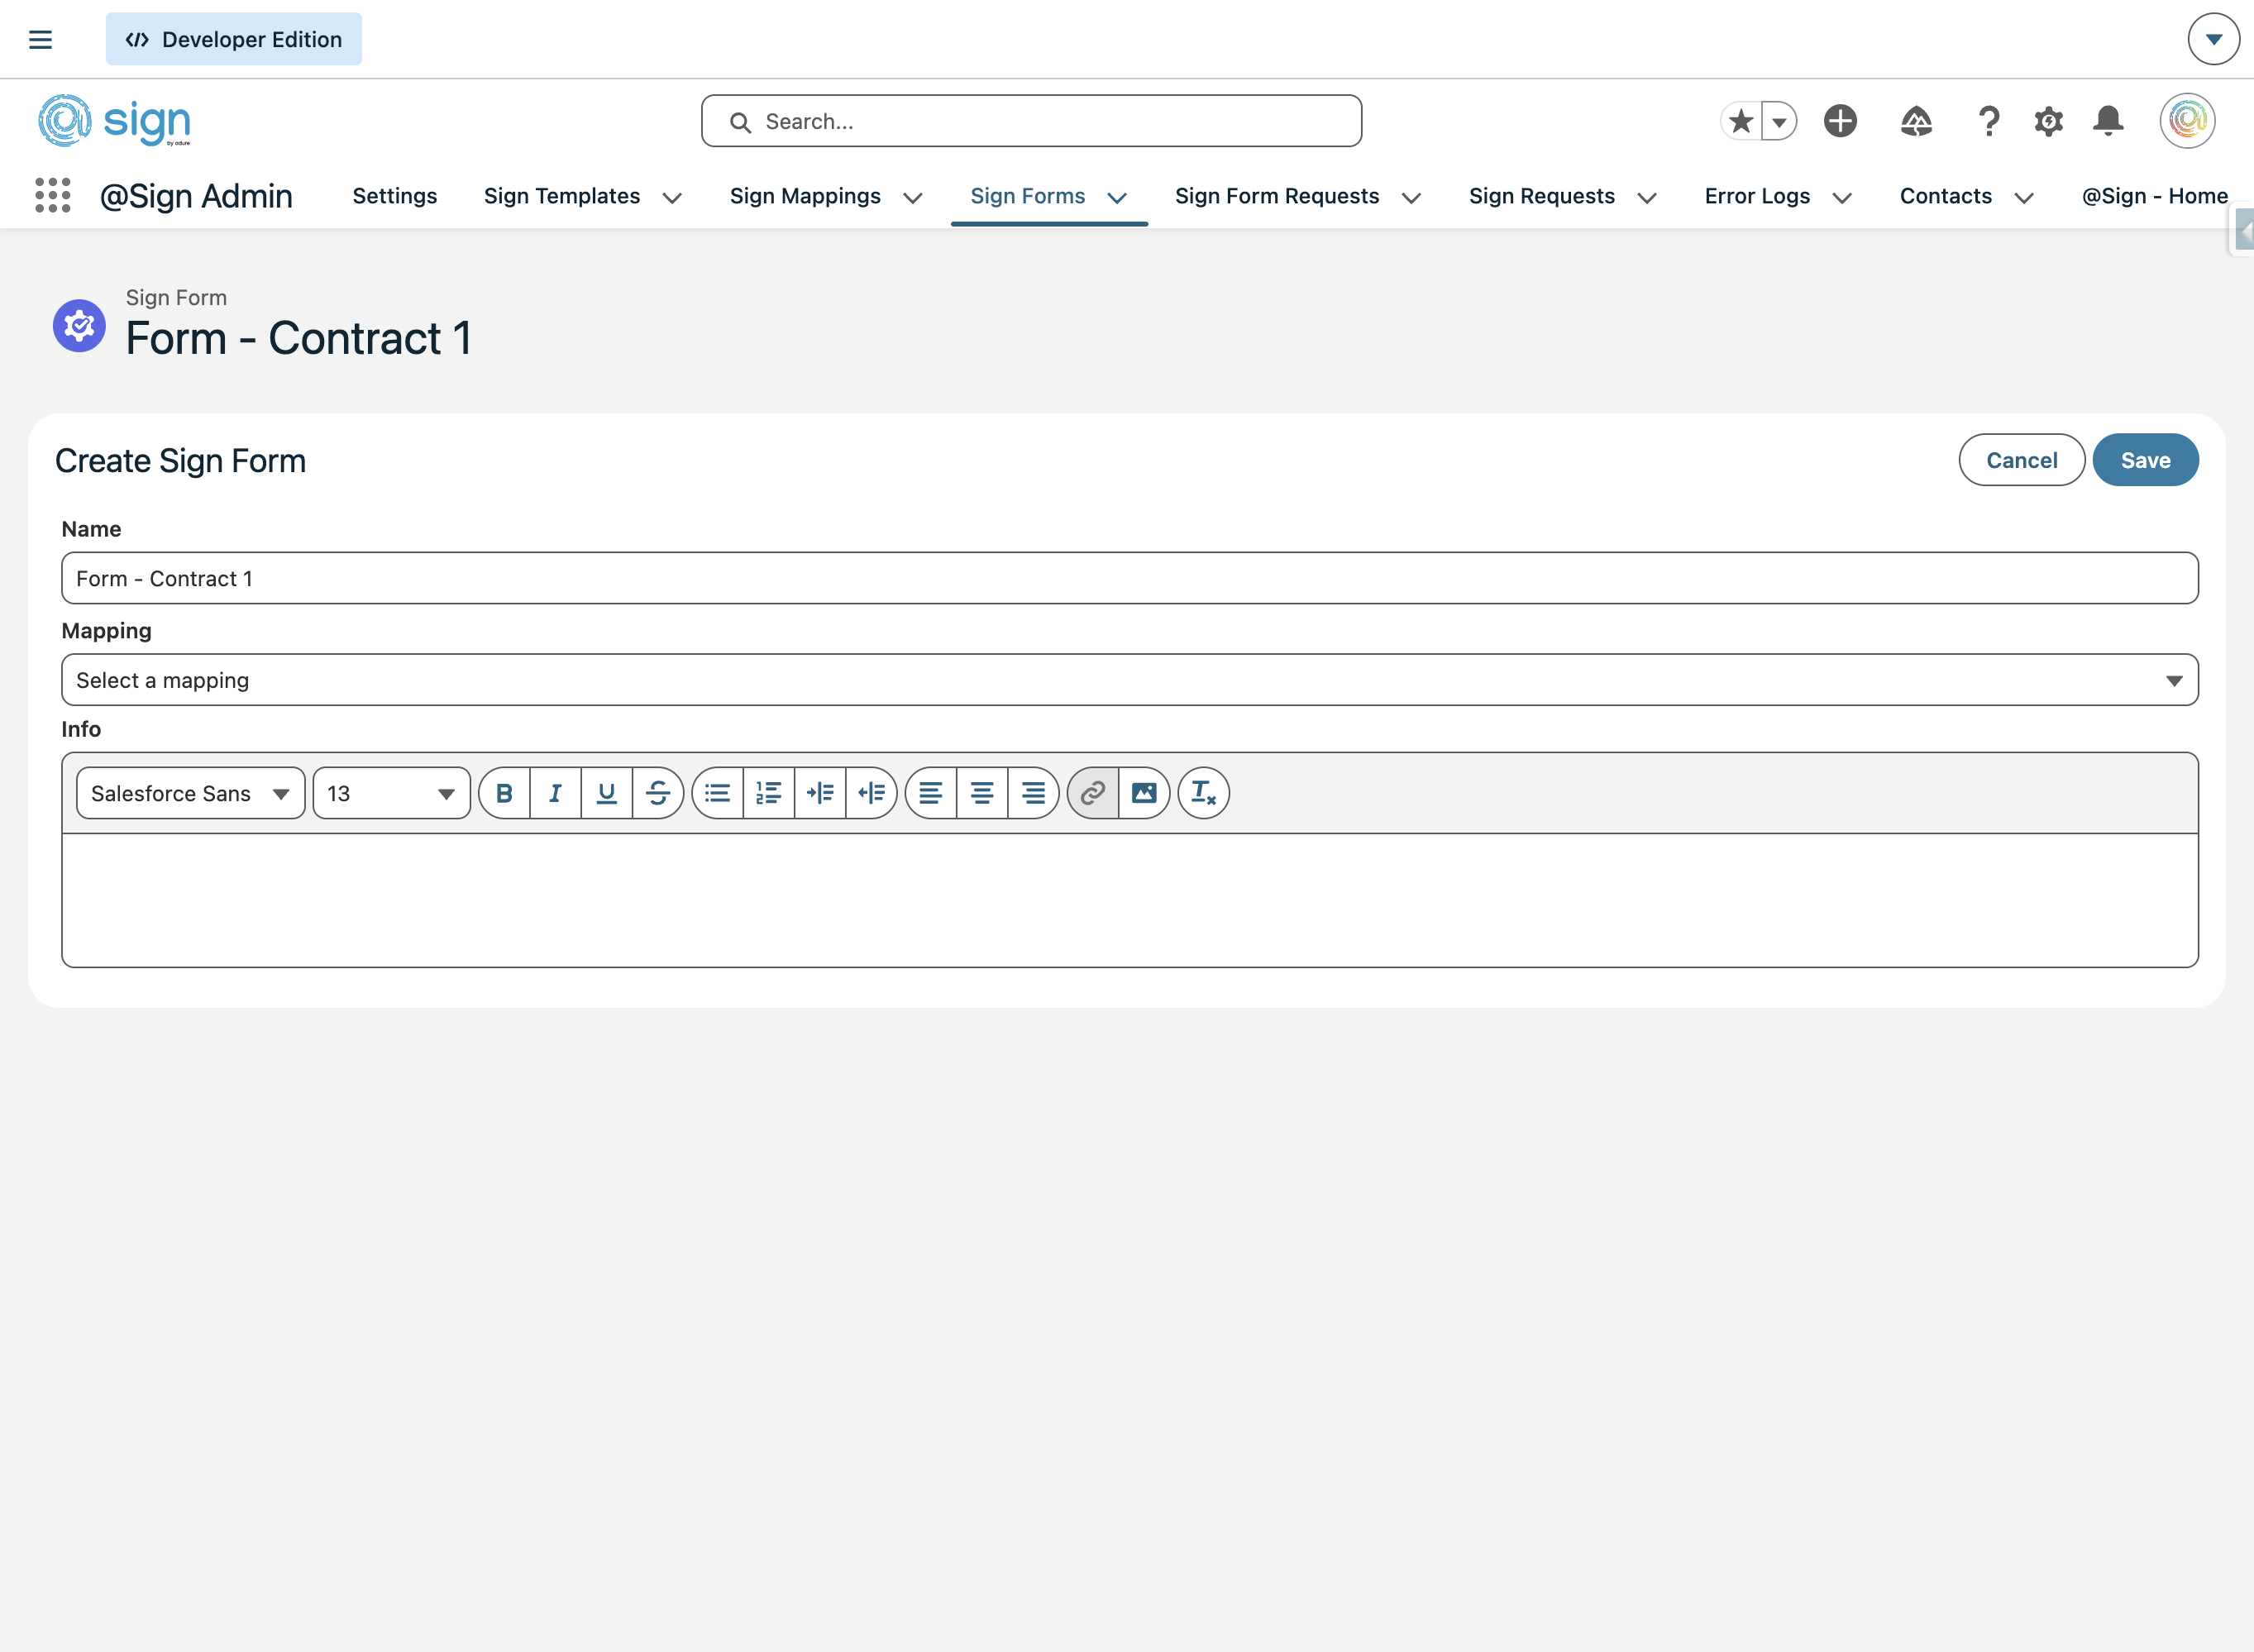
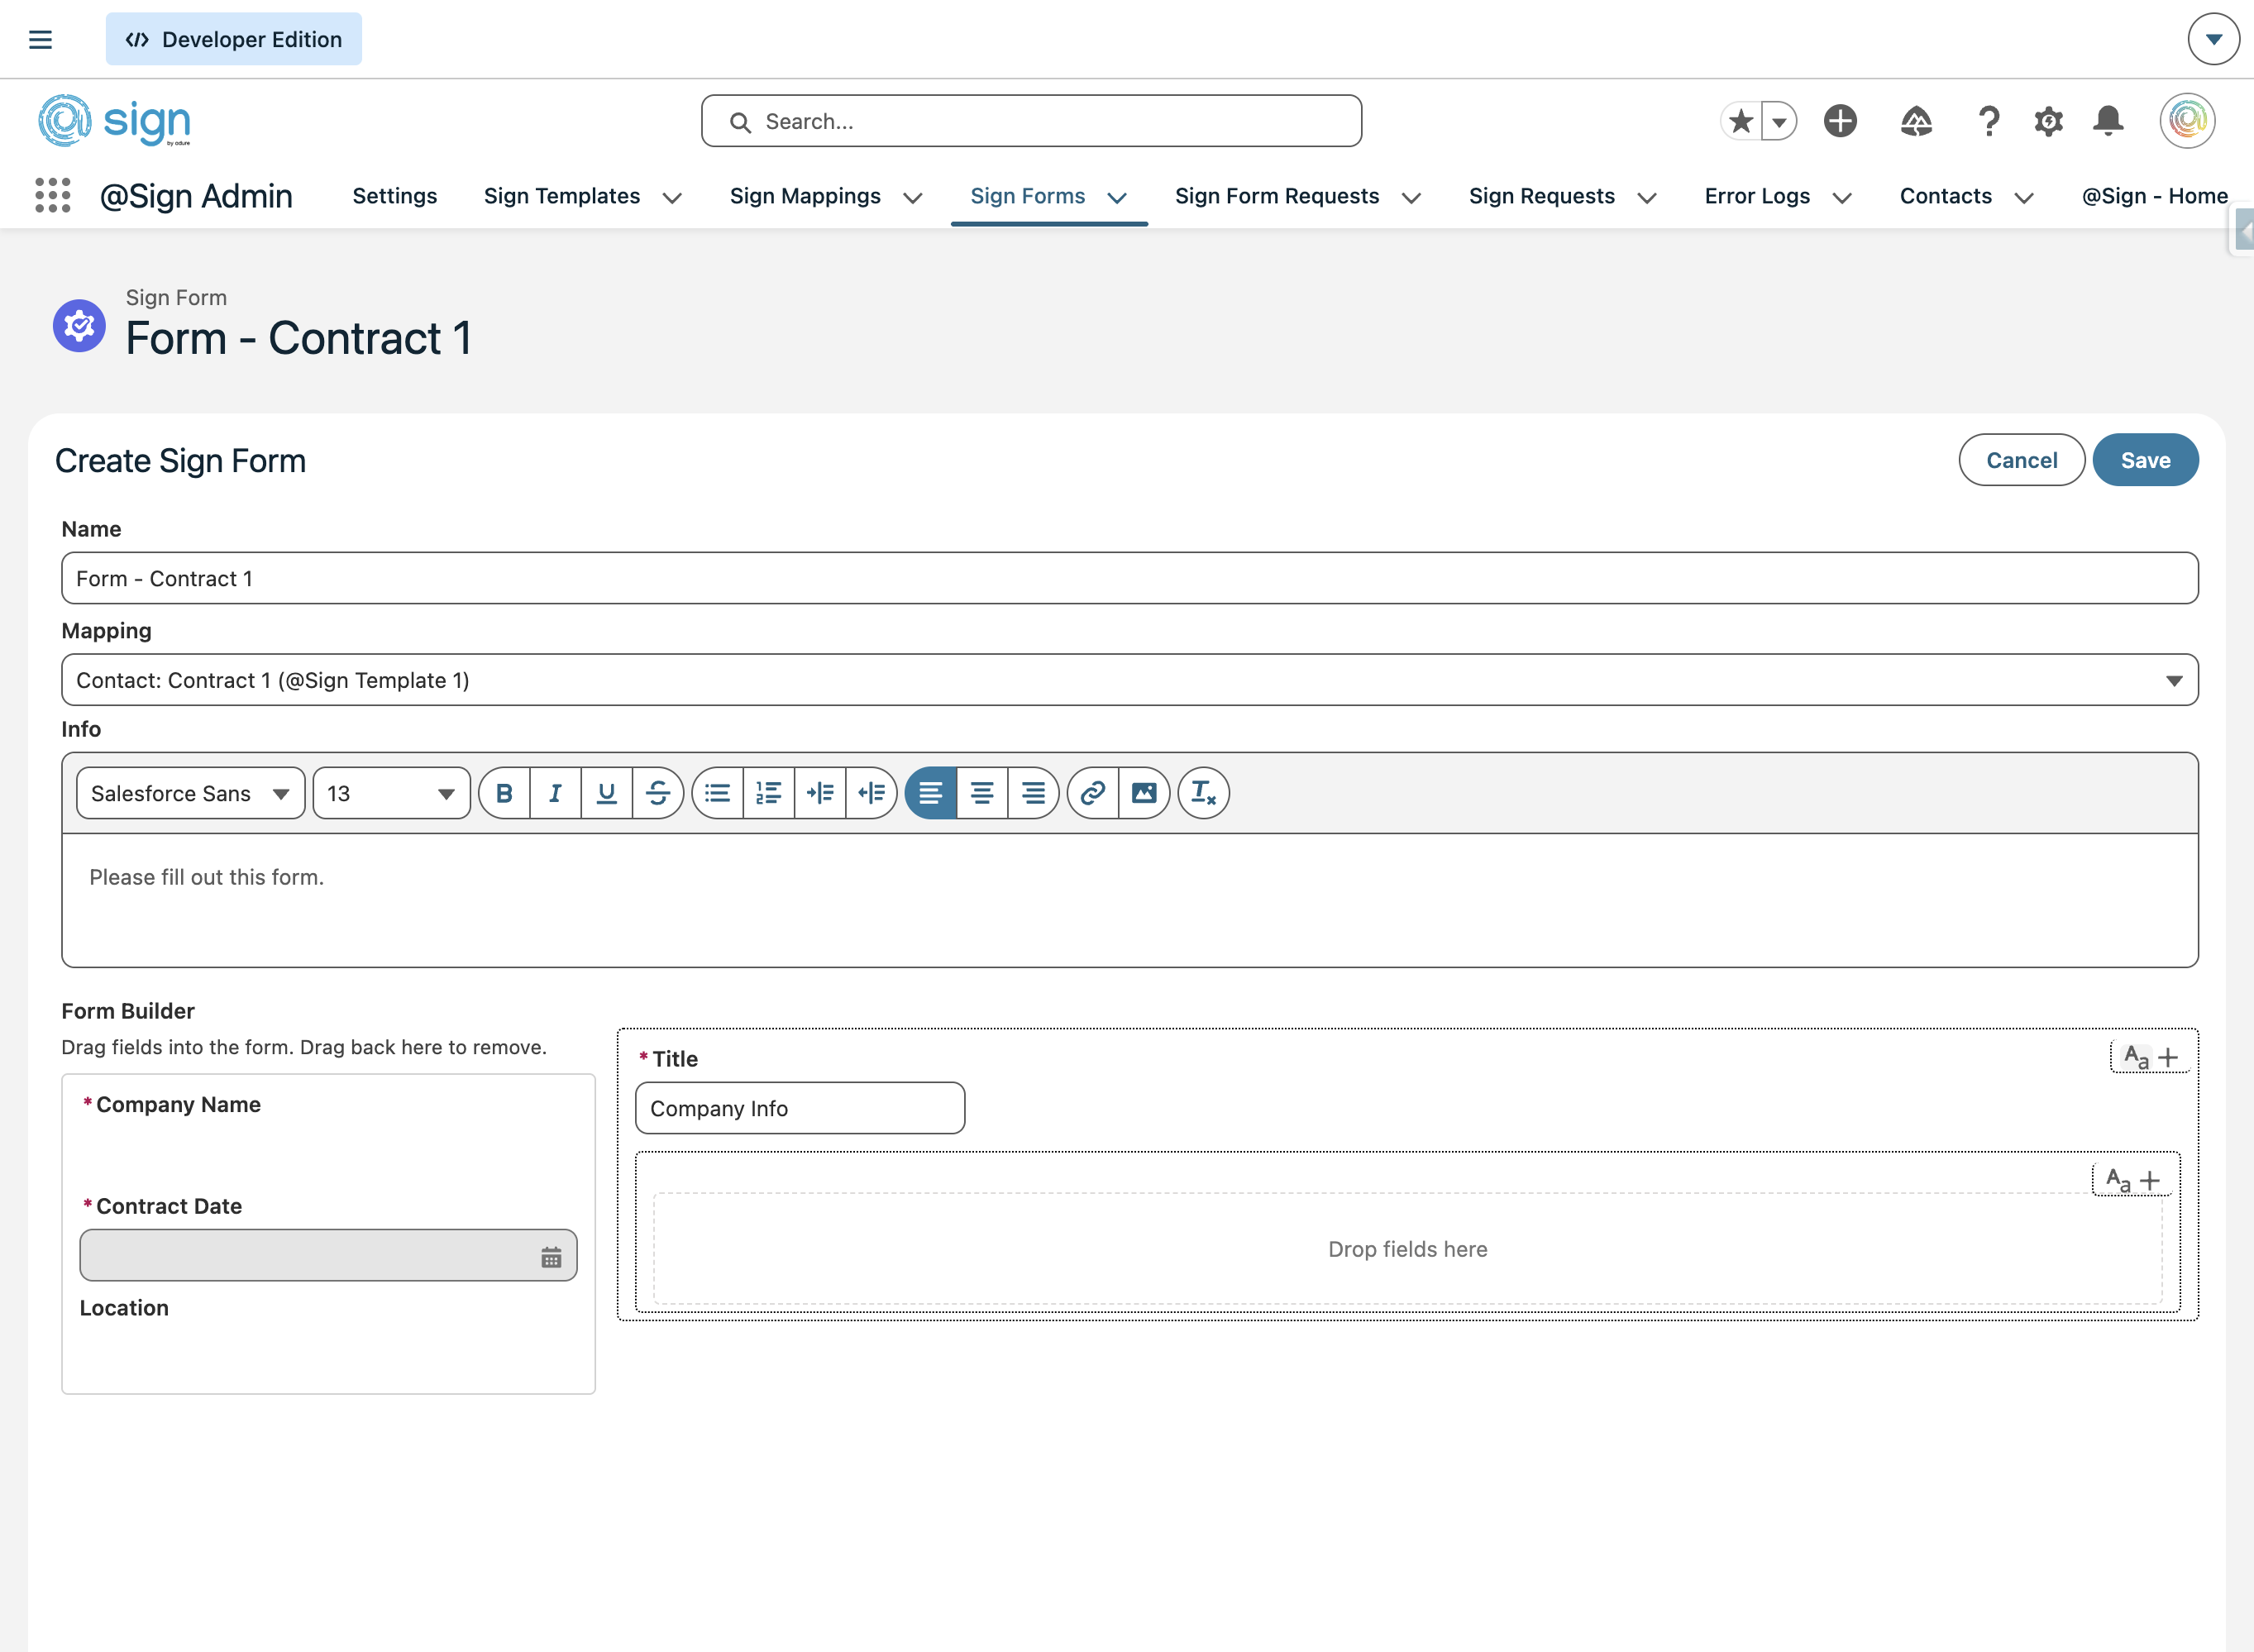
Click 'New' to start building a new Sign Form.
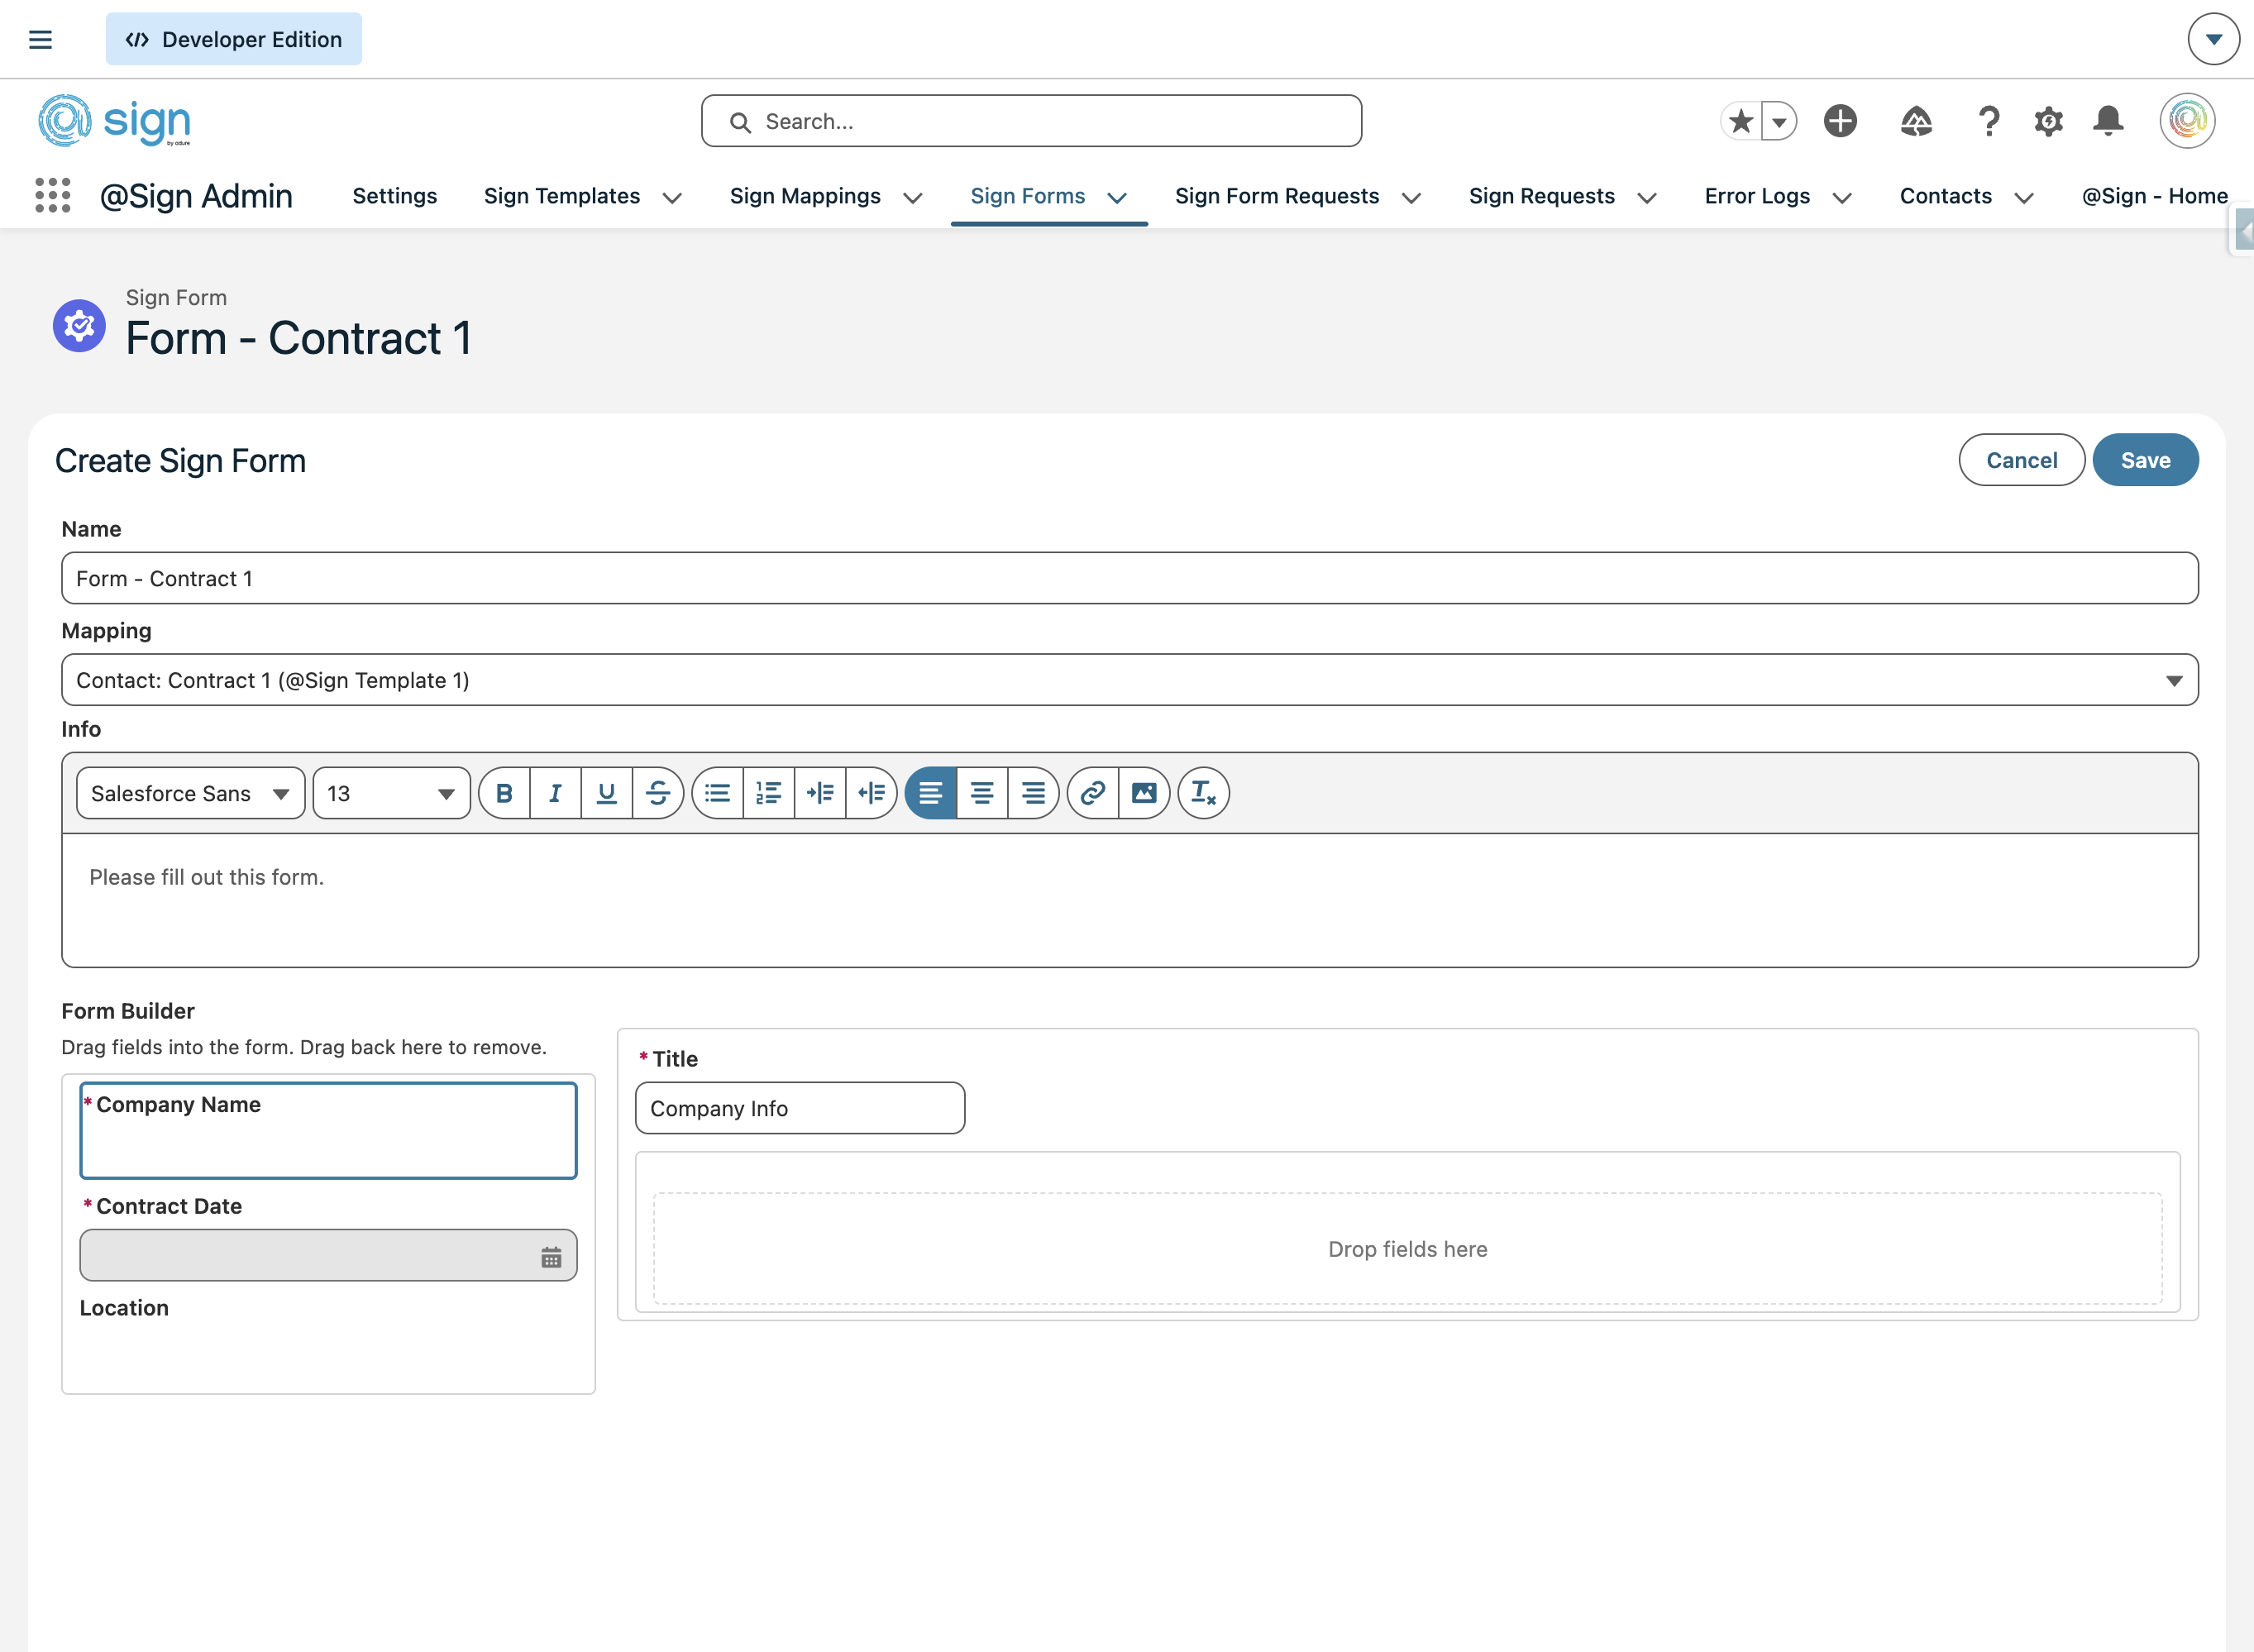
Enter a clear internal name for the form — this is only visible to admins, not to the end user filling it out.
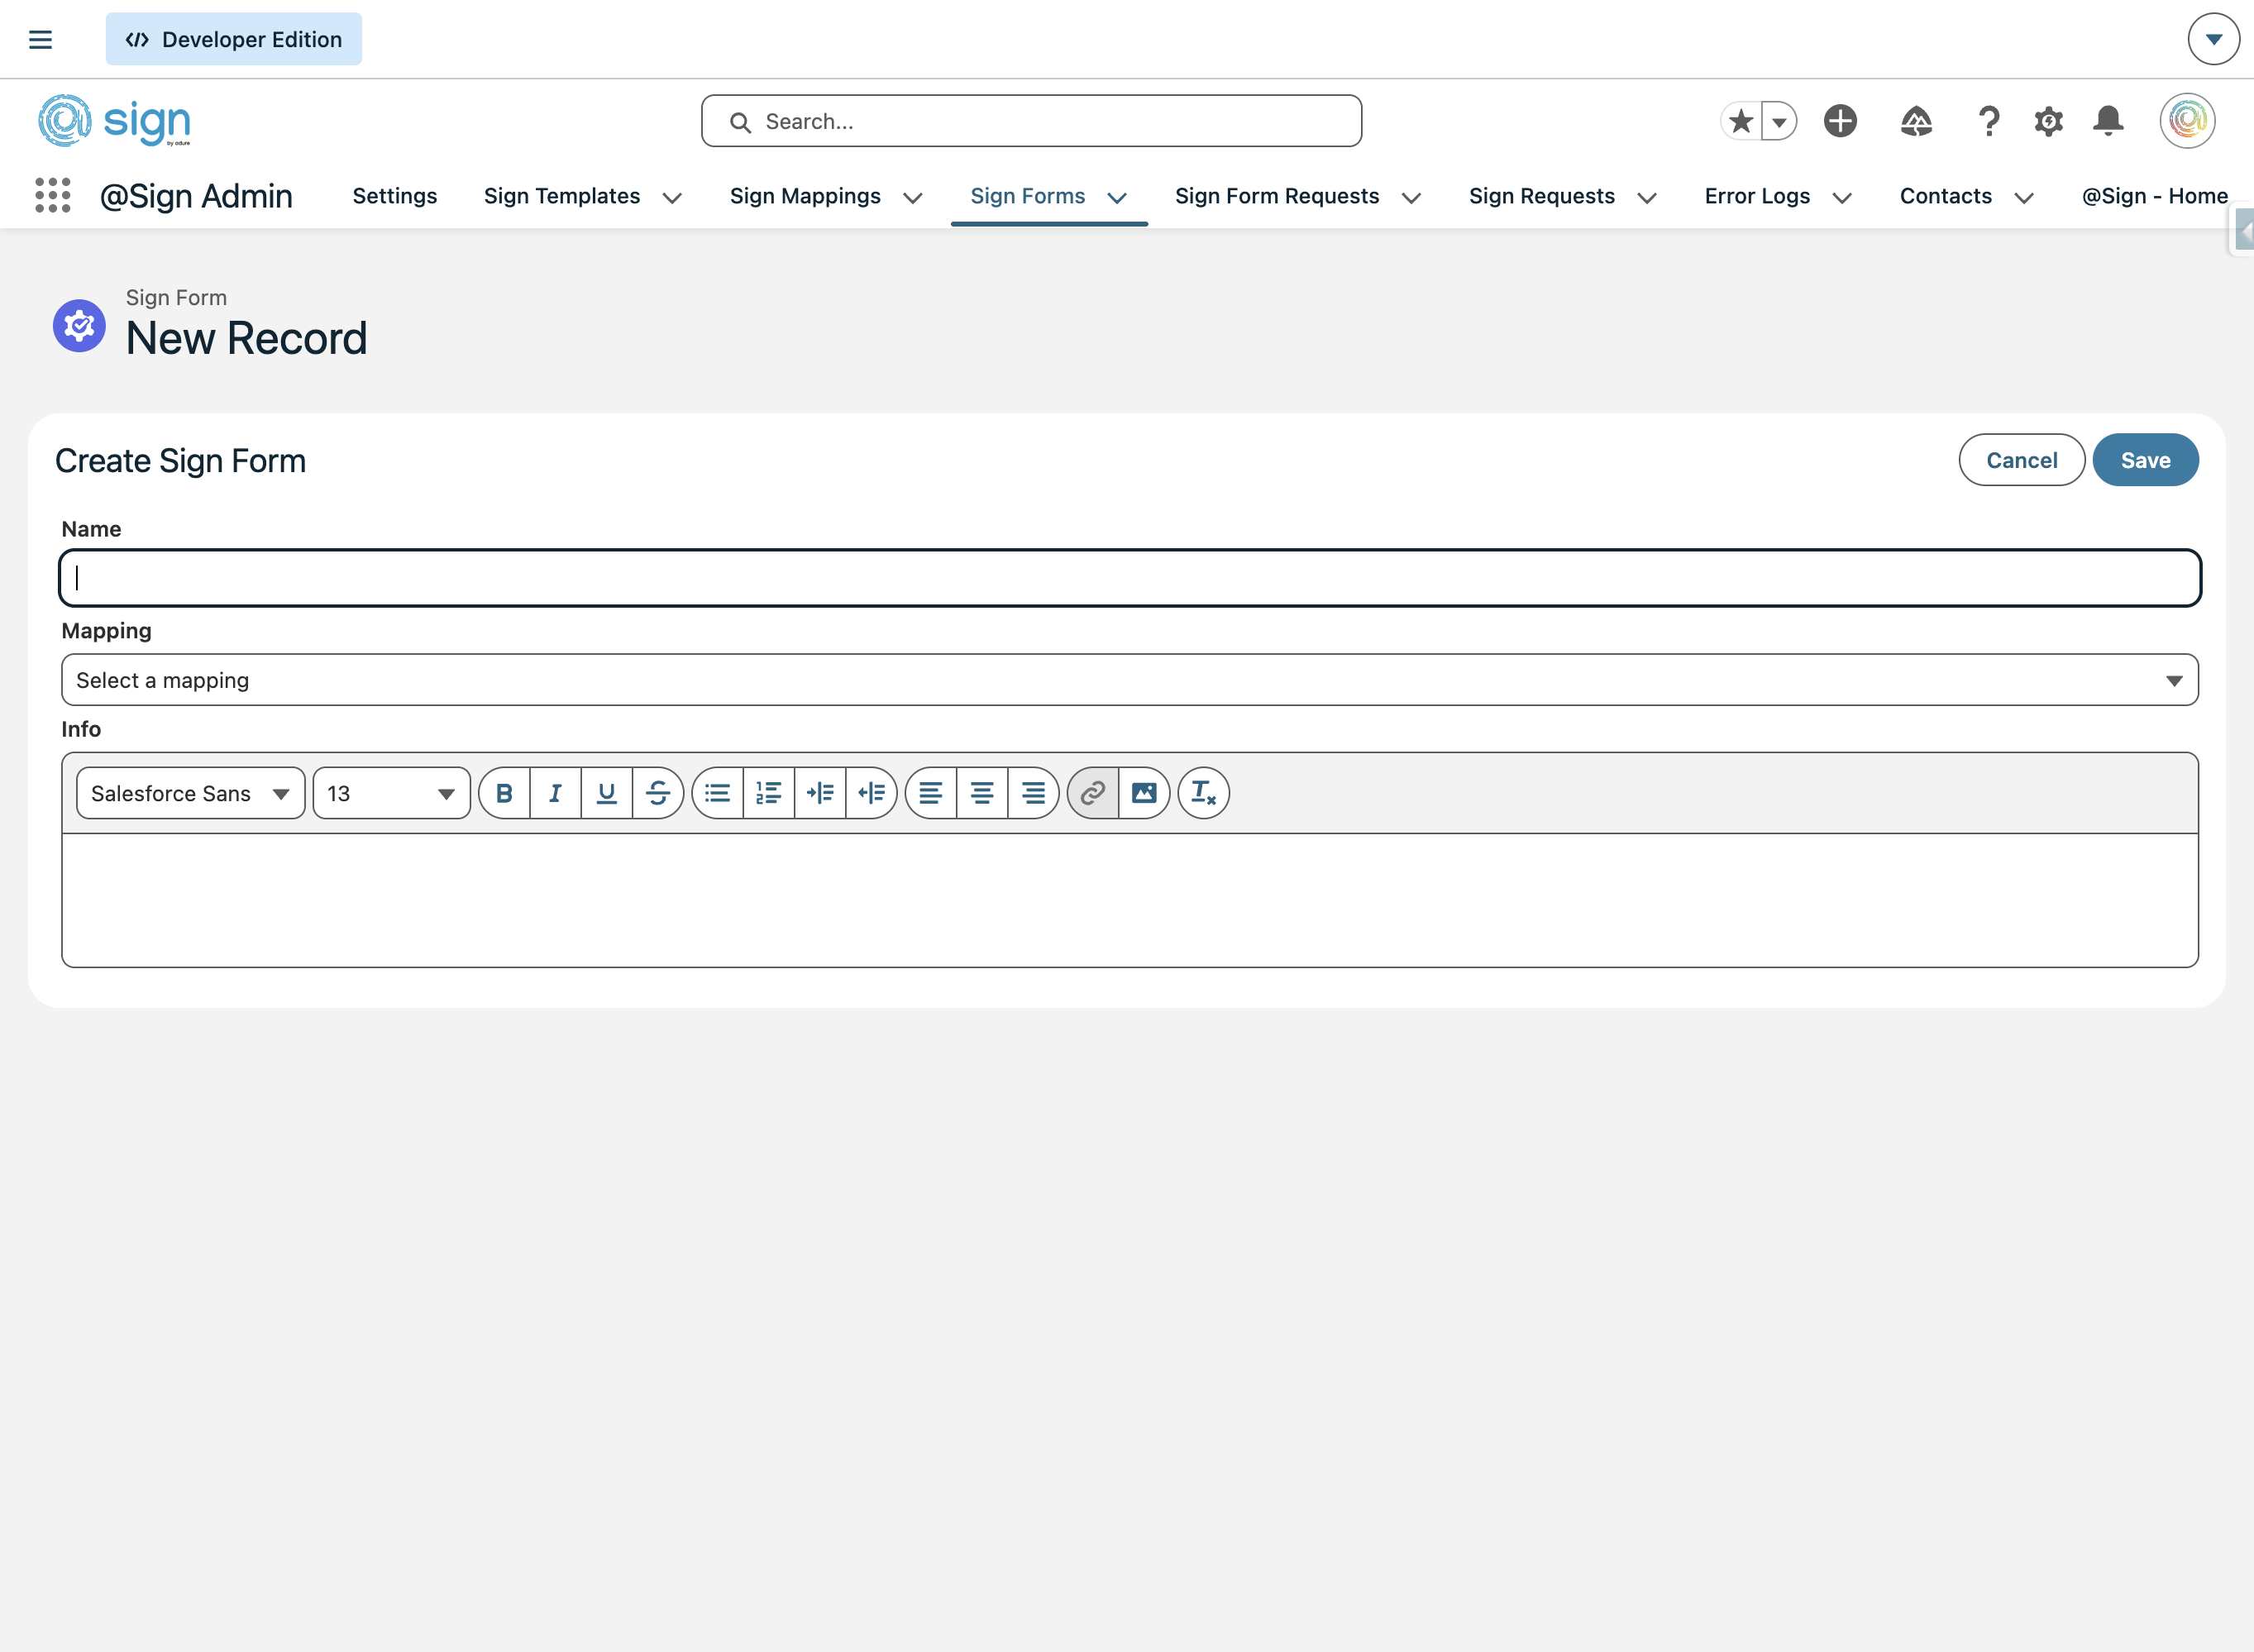
Use the Mapping dropdown to link this form to an existing Sign Mapping. This determines which template and object will be used when the form is submitted.
Use the Info field to write a help text or instructions that will be shown to the end user at the top of the public form — for example, 'Please fill out this form.' You can use the rich text toolbar to format it.
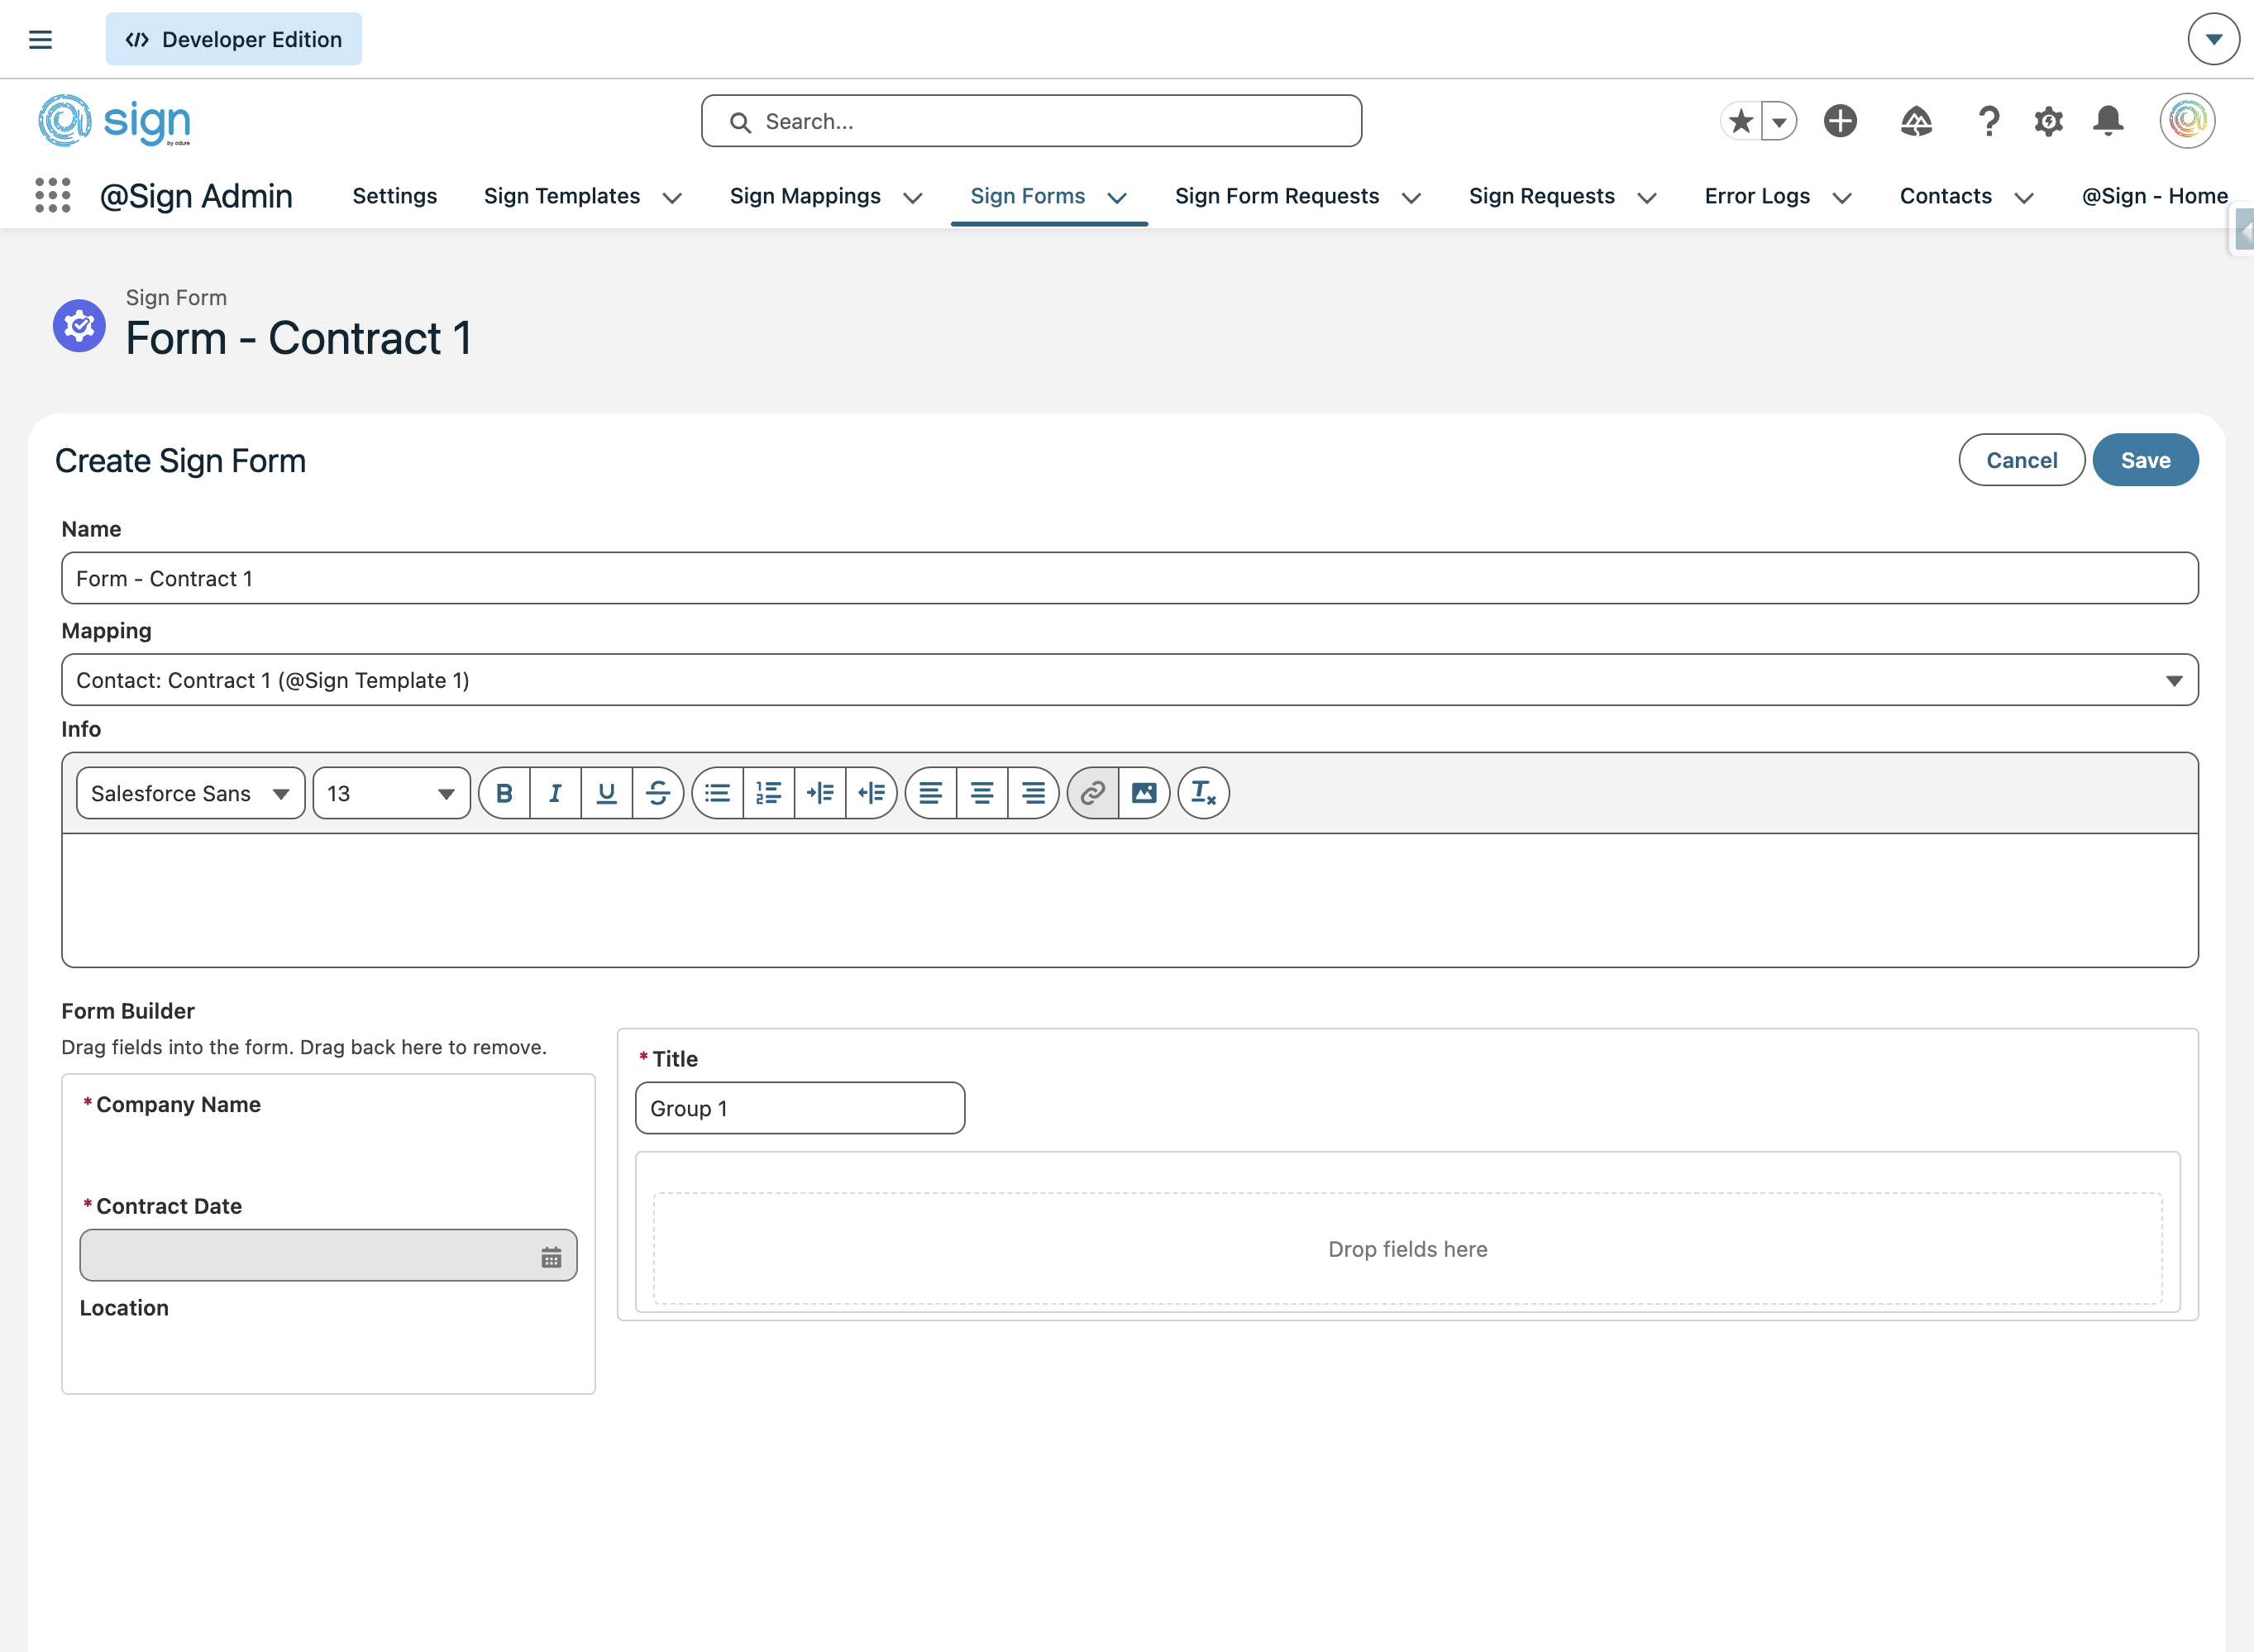
The Form Builder shows all available fields on the left and a section canvas on the right. Give your section a title, then drag fields from the left panel into the drop zone to place them on the form.
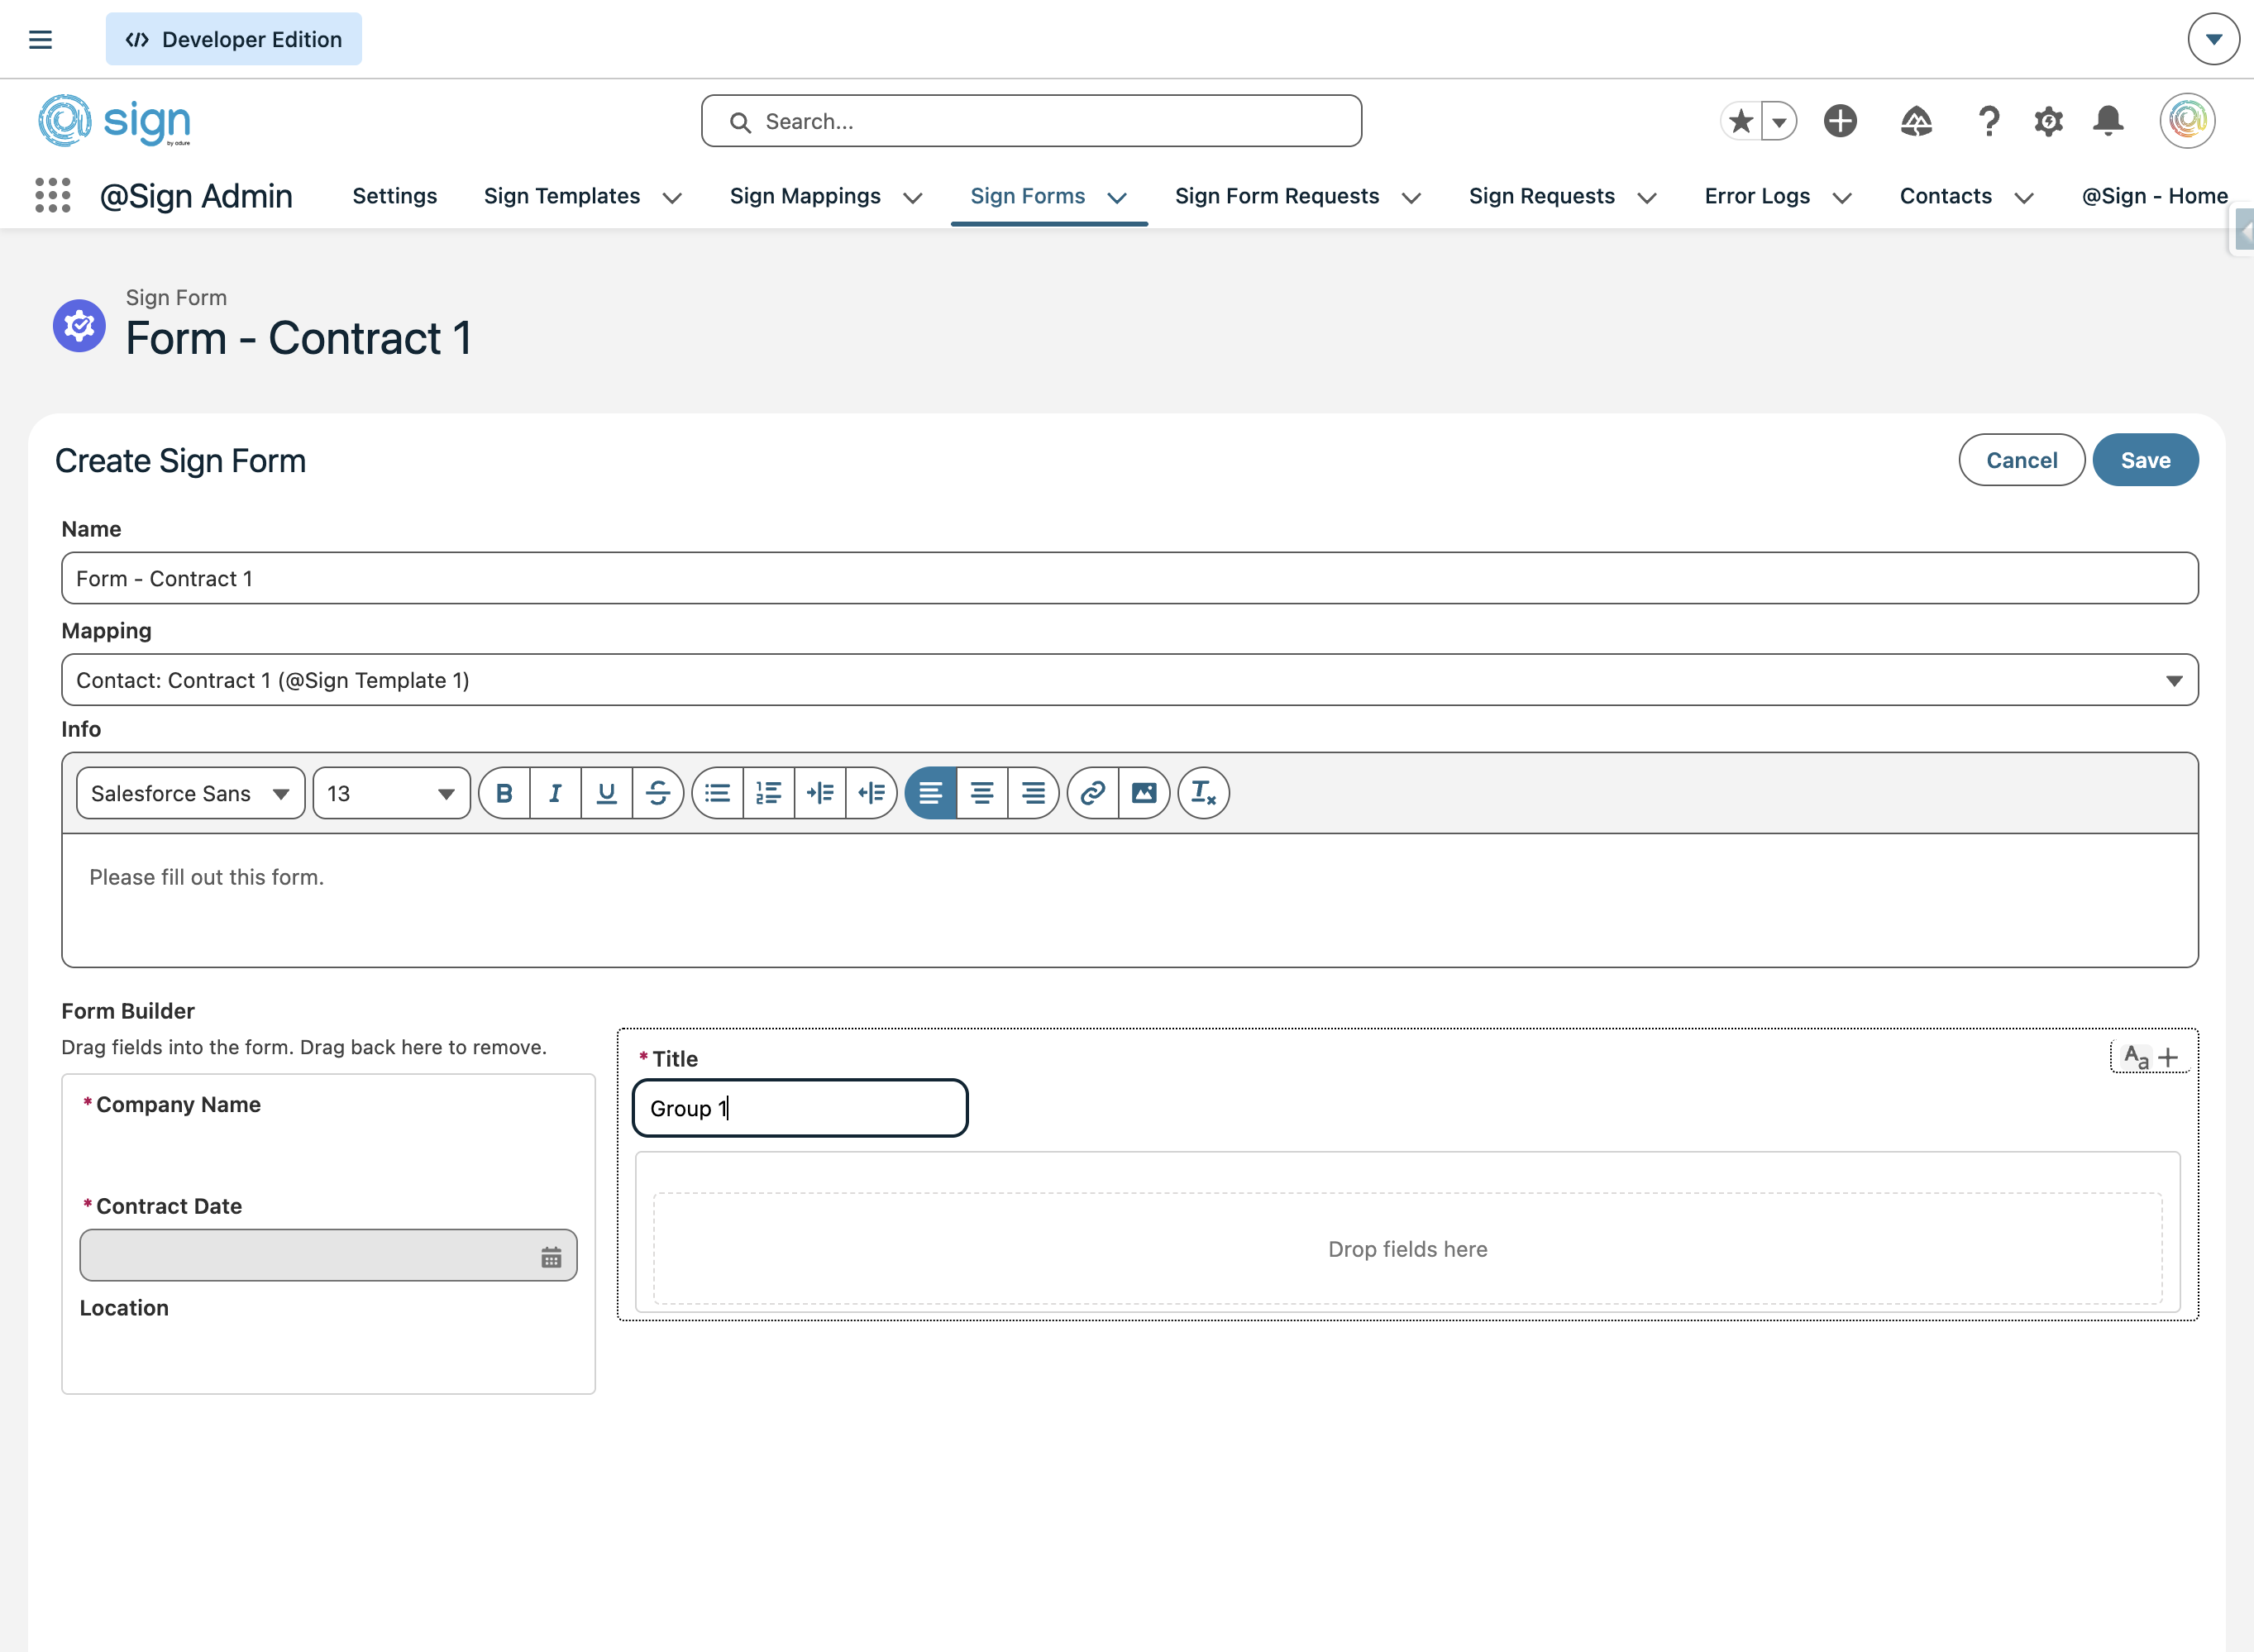
Click the '+' button at the top right of a section card to add a new row to that section.
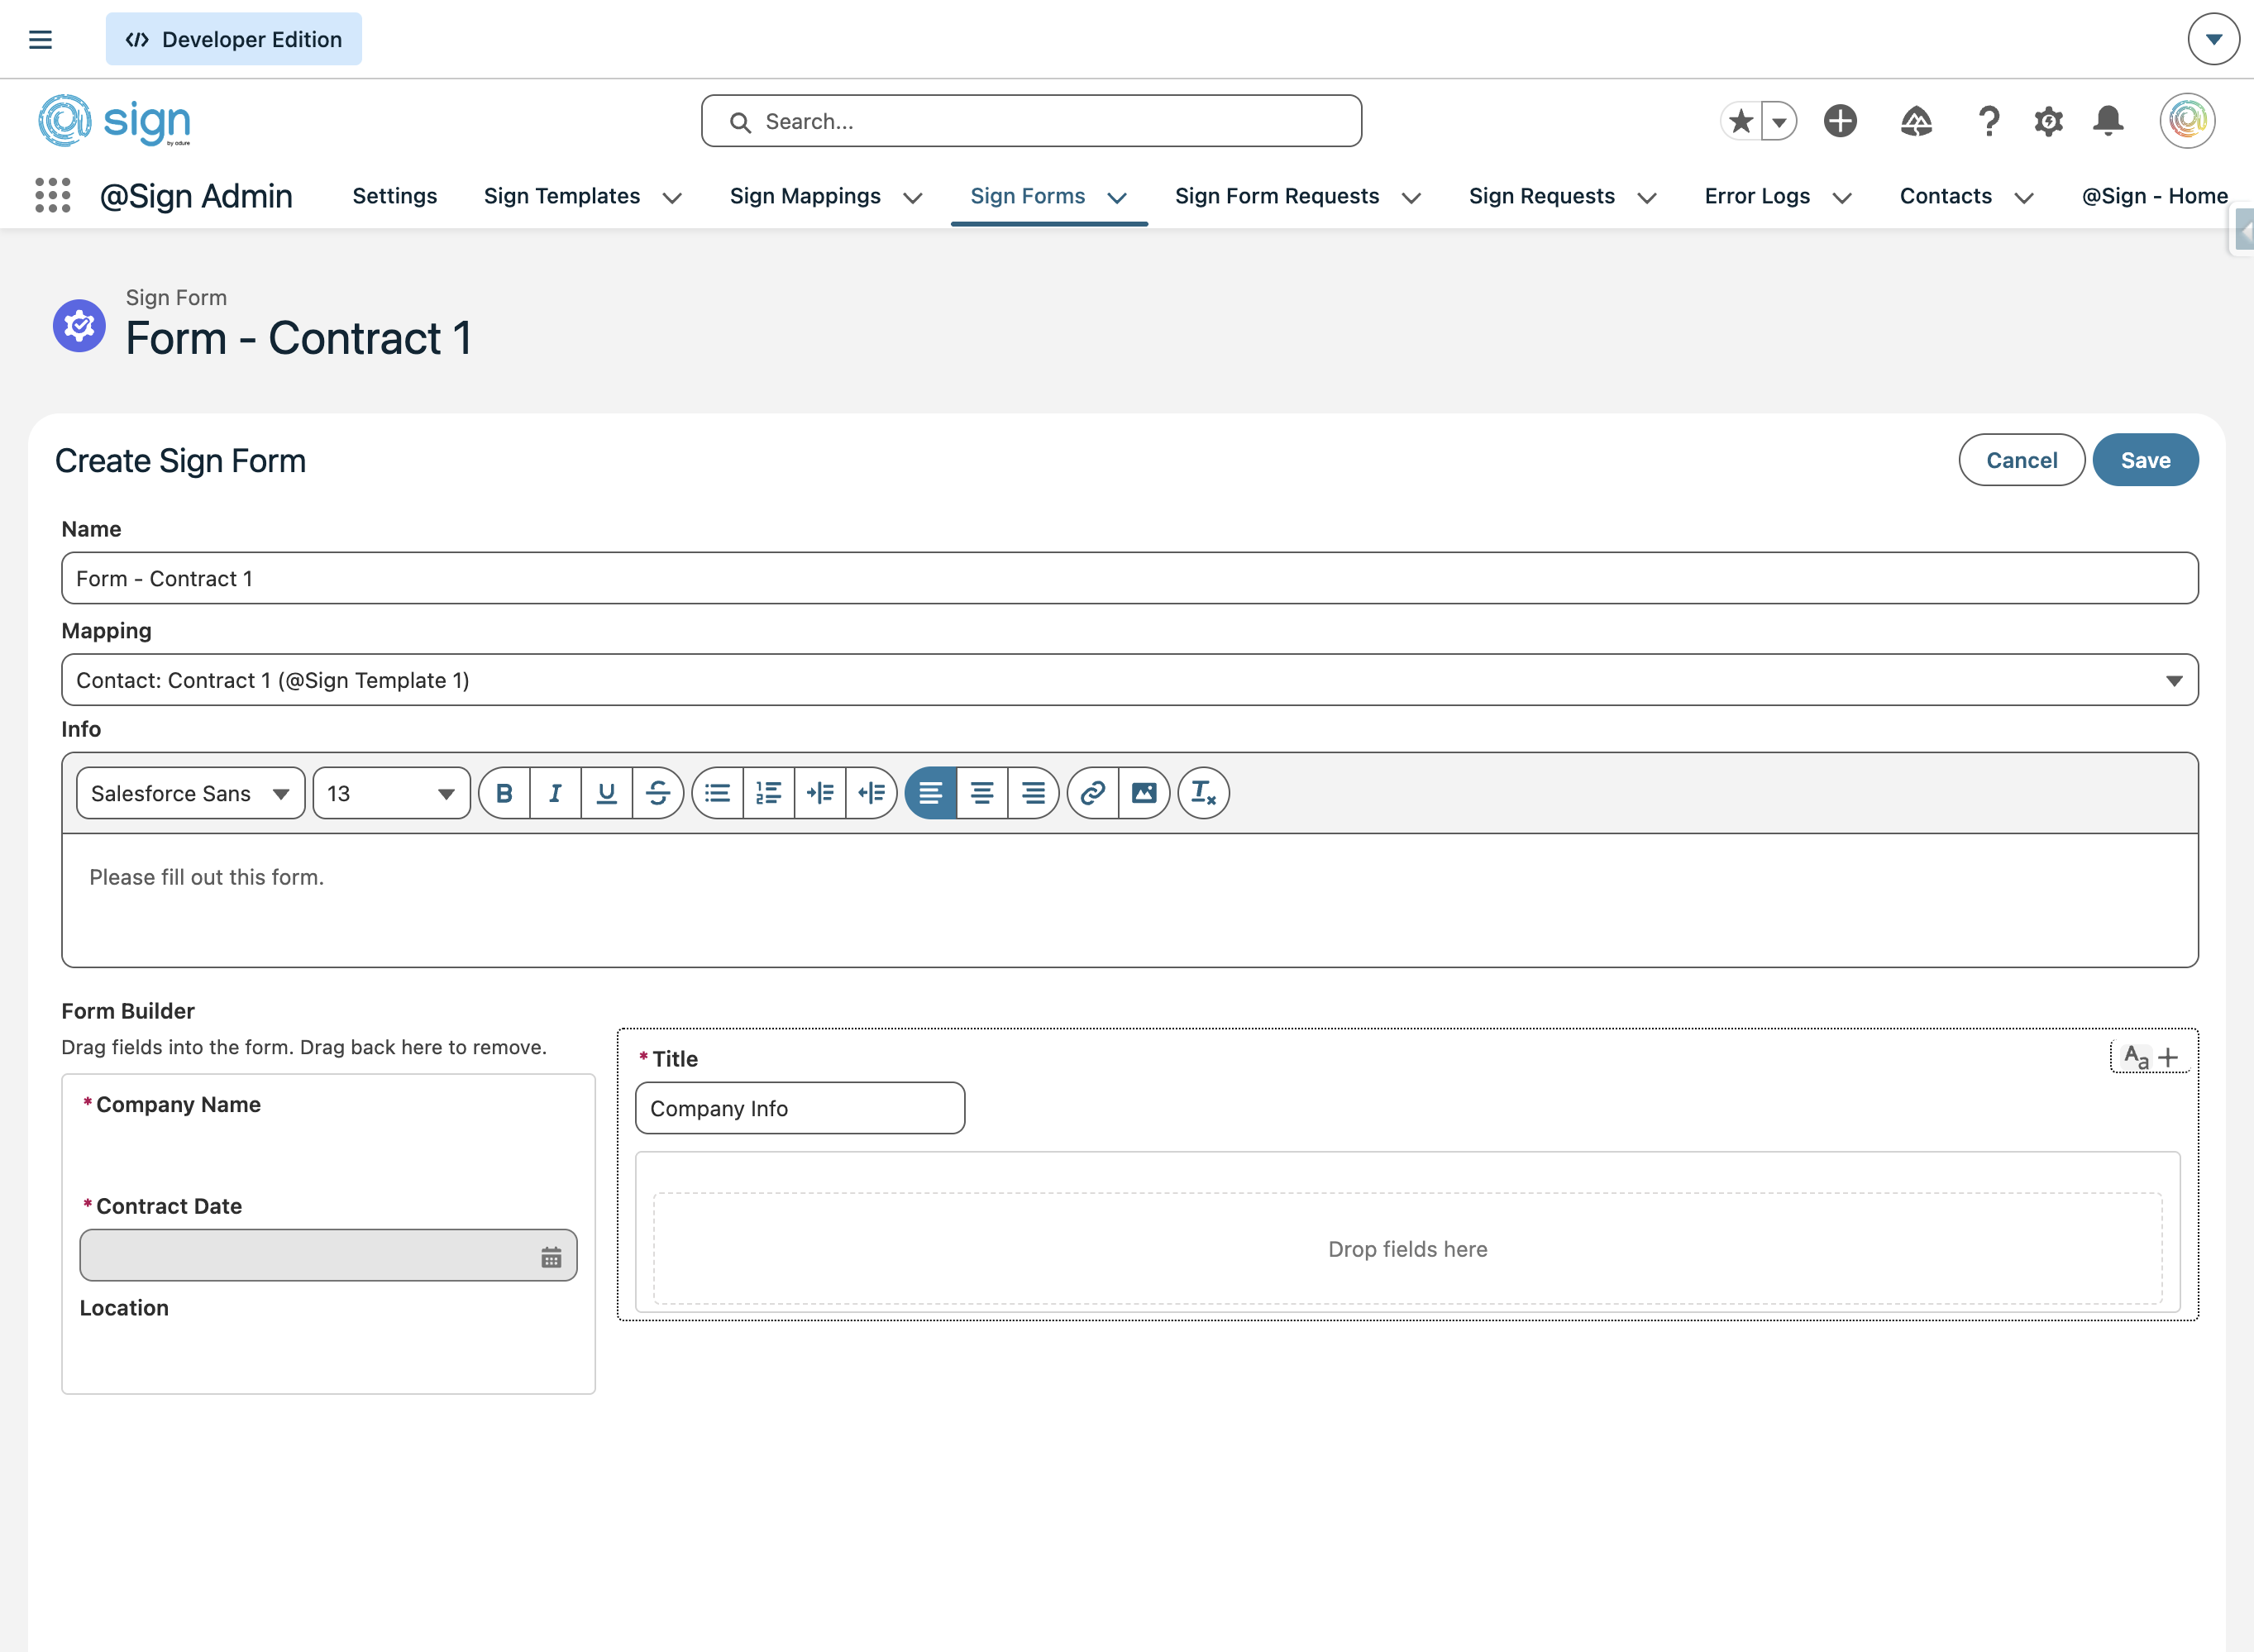
Click the '+' button on a row to add an extra column next to existing fields, allowing you to place multiple fields side by side.
Drag all the fields you need from the left panel into the drop zone on the right. Fields marked with an asterisk (*) are required. Once your layout is complete, click 'Save' to publish the form.